Advance Preparation
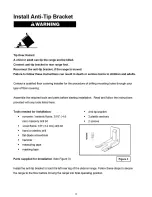
Tools and Parts
Gather the required tools and parts before starting installation.
Read and follow the instructions provided with any tools listed here.
■ Tape measure
■ Phillips screwdriver
■ Flat blade screwdriver
■ 1/8” flat blade screwdriver
■ Level
■ Hand or electric drill
■ Wrench or pliers
■ 1/8” (3.2 mm) drill bit (for wood floors)
■ Marker or pencil
■ 3/16” (4.8 mm) carbide-tipped masonry drill
bit (for concrete/ceramic floors)
PARTS SUPPLIED:
Check that all parts are included.
■ 3 - Oven racks
■ 1 Anti-tip brackets
■ 2 plastic anchors
■ 2 screws
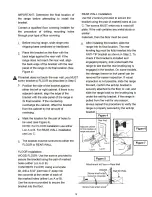
The anti-tip bracket must be securely mounted
to the floor. Thickness of flooring may require
longer screws to anchor bracket to subfloor.
PARTS NEEDED
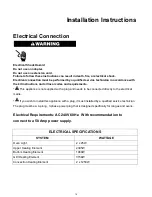
Check local codes. Check existing electrical
supply. See “Electrical Requirements” section.
Range Dimensions
•
Avoid placing cabinetry directly above the appliance when possible. If cabinetry is used above
the cooking surface, use cabinets no more than 13″ deep. Make sure the wall coverings, countertop
and cabinets around the appliance can withstand heat up to 200º F (93°C) generated by the
appliance. (See Figures 1 and 2)
•
Cabinet opening dimensions that are shown must be used. Given dimensions are minimum
clearances. (See Figures 1 and 2)
14


