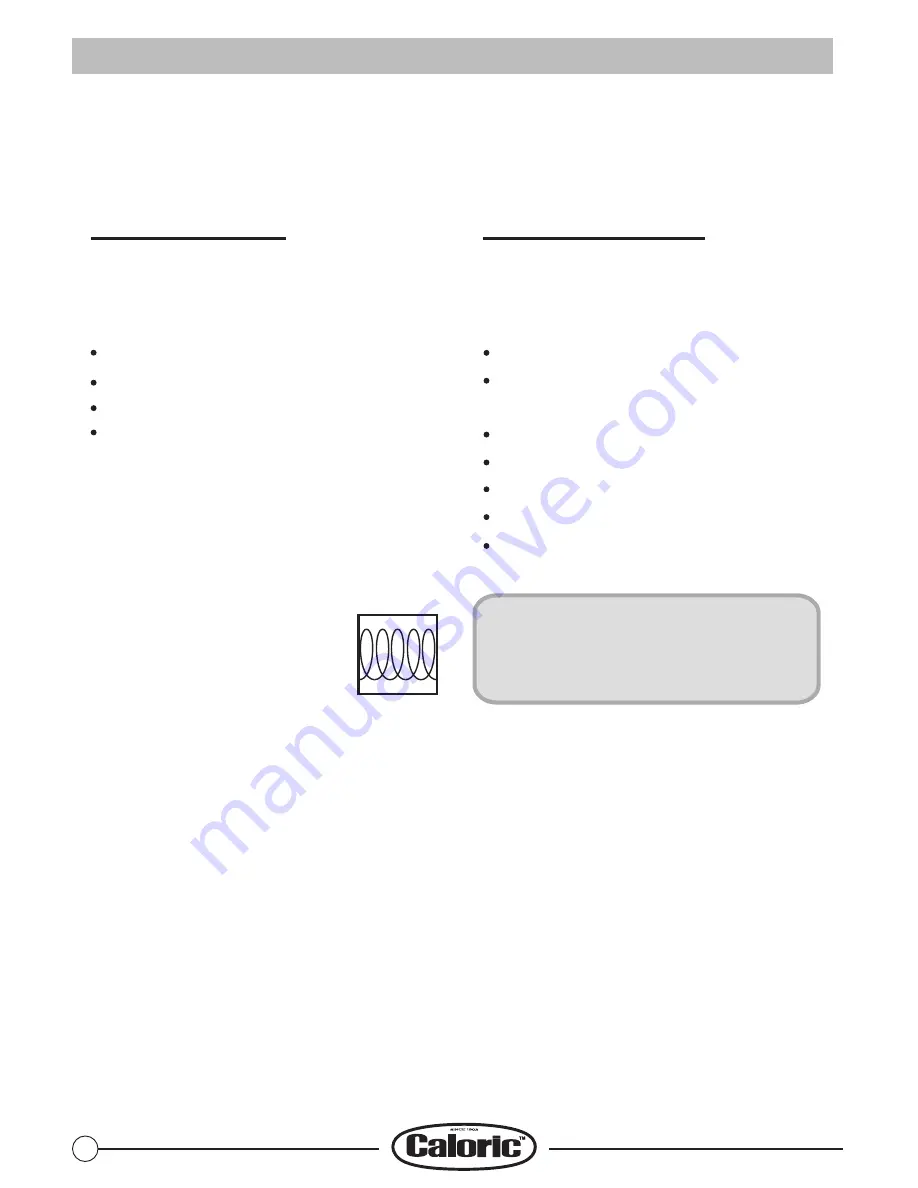
background image

        Compatible Cookware


Proper


Cookware


Improper


Cookware


Non-magnetic stainless stee


l


Pot


with


stand s


Heat resistant


glas s


Ceramic containe r


Coppe r


Aluminum


Magnetic


stainless


steel 

Cast


iron


Enameled


iron


Nickel


Bottom


measuring


less


than


12


cm(4

.

7


inches)

NOTE:

 Some cookware can produce noises when used on induction 

cooking zones. This is not a fault in the cooktop, and its function will not 
be impaired in any way as a result.

Induction


14

Flat

-

bottomed pots or pans with or  

made from the following:


Pots or pans with or made of the 
following


CANNOT


be used on your 

cooktop:


Because induction cooking requires a magnetic vessel for heating, only 
certain materials can be used on your cooktop

Optimally the cookware will 
have this induction image 
on the retail box: 

Check that the bases of your pans 
are attracted by a magnet to find out 
if they are suitable.

The quality of your cooking is dependent on the cookware you use.


Summary of Contents for CICT244

Page 1: ...info caloricappliances ca Electric Induction Cooktops Models CICT244 CICT305 CICT366 EN Before installation record the model and serial as found on the bottom of your cooktop If you require service or...

Page 2: ...d economical cooking technology It works by electromagnetic field generating instant heat directly in the cookware bottom rather than indirectly through heating the glass surface The glass becomes hot...

Page 3: ...oking zones Protective liners Do not use aluminum foil to line cooking zone drip bowls or oven bottoms except as suggested in the manual Improper use of these liners may result in a risk of electric s...

Page 4: ...cts such as knives forks or spoons on the cooktop If the cooktop is turned on these objects can heat up quickly and may cause burns Do not place rough or uneven objects on the units as they may damage...

Page 5: ...of different sizes Choose cookware with a flat bottom large enough to cover the unit heating surface The use of undersized cookware will expose a portion of the heating surface where direct contact ma...

Page 6: ...ronment and human health which could otherwise be caused by inappropriate waste handling of this product For more detailed information about recycling of this product please contact your local city of...

Page 7: ...element Model CICT366 only 6 Left rear cooking element control area 7 Left front cooking element control area 8 Center cooking element control area Model CICT366 only 9 Right front cooking element con...

Page 8: ...Increase power 19 Decrease power 20 Heat level and Residual heat display 21 Power Boost symbol and indicator light 19 18 17 20 21 22 Minute timer 23 Minute timer setting Up 24 Minute timer setting Dow...

Page 9: ...30 x 21 x 2 5 32 36 x 21 x 2 5 32 Product dimension wxdxh inch Cut out dimension wxd inch Min 21 31 32 x 18 15 16 Max 22 7 16 x 20 1 16 Min 28 3 4 x 19 21 32 Max 29 5 16 x 20 1 16 Min 34 7 16 x19 21...

Page 10: ...cooktop use Controls Lock prevents activation of any sensor key except for the ON OFF Power and Lock key pad Lock is activated when the Using The Cooktop IMPORTANT Touch the Minus key to start at low...

Page 11: ...switch from 1 to L 9 In the Boost status touch key or after 10 minutes the power boost setting will switch off automatically Power Boost indicator light will turn off Power digital will switch from P...

Page 12: ...is activated when the cooking element in the same area are activated the controls adjust the power automatically for Power Sharing This power sharing is administered by unit s microprocessors which wi...

Page 13: ...up and all opened Power digital display of the cooktop will show blinking like marching ants Any set cooking timers minute stop When deactivating Stop and Go the countdown will continue Touch Stop Go...

Page 14: ...epeat the same steps above If you want to check the remaining time for another Cooking Element touch the Timer until the Time symbol indicator for the desired Cooking Element blinks If more than one s...

Page 15: ...rface though again typically only at high power settings A Cracking noise may be heard if the cookware base is made of layer of different material A low humming noise occurs when cooking which is norm...

Page 16: ...oktop and its function will not be impaired in any way as a result Induction 14 Flat bottomed pots or pans with or made from the following Pots or pans with or made of the following CANNOT be used on...

Page 17: ...turned to OFF and let your cooktop COOL down completely and then start cleaning your cooktop When it is cool to the touch apply approximately 1 teaspoon 5ml of non abrasive cleaner to the surface of t...

Page 18: ...e cooktop features an automatic shutoff feature that turns off the entire cooktop if any cooking element has been on continuously for 2 hours The cooktop control panel may register liquids or objects...

Page 19: ...d the supplied voltage returns to normal the code will disappear 17 This is a normal occurrence See Operational Cooktop Noises Noise Noise like humming crackling and buzzing Make sure that the cookwar...

Page 20: ...sure to include the model and serial numbers and a lot number or letter from the serial plate on your cooktop 3 Cutout dimensions of the countertop 4 Make sure the wall coverings countertop and cabine...

Page 21: ...ll state municipal and local codes This appliance must be supplied with the proper voltage and frequency and amperage which is protected by a properly sized circuit breaker or time delay fuse Electric...

Page 22: ...ructions 4 1 2 114 Front Cooktop Dimensions A Width B Depth C Height 23 7 32 590 20 15 32 520 2 5 32 55 B C 2 min 51 From Edge of Cooktop to Nearnest Combustible Wall Both Sides 2 min 51 From Edge of...

Page 23: ...arnest Combustible Wall Both Sides A Installation 30 76 2cm Model CICT305 Front Cooktop Dimensions A Width B Depth C Height B C Junction box DO NOT obstruct these areas IMPORTANT For perfect ventilati...

Page 24: ...re stated in inches and mm 21 533 2 5 32 55 Installation 36 cm Model CICT366 91 5 Cooktop Dimensions A Width B Depth C Height Junction box DO NOT obstruct these areas A Front B C Vent CICT366 Cooktop...

Page 25: ...on operation properly NOTE If the cooktop does not work or you met any problem in your operation please check that the circuit breaker has not tripped or the house has not blown For more information p...

Reviews: