Calsense
10
CS3000 Quick Start Guide
2.
Navigate to
About
and press
SELECT
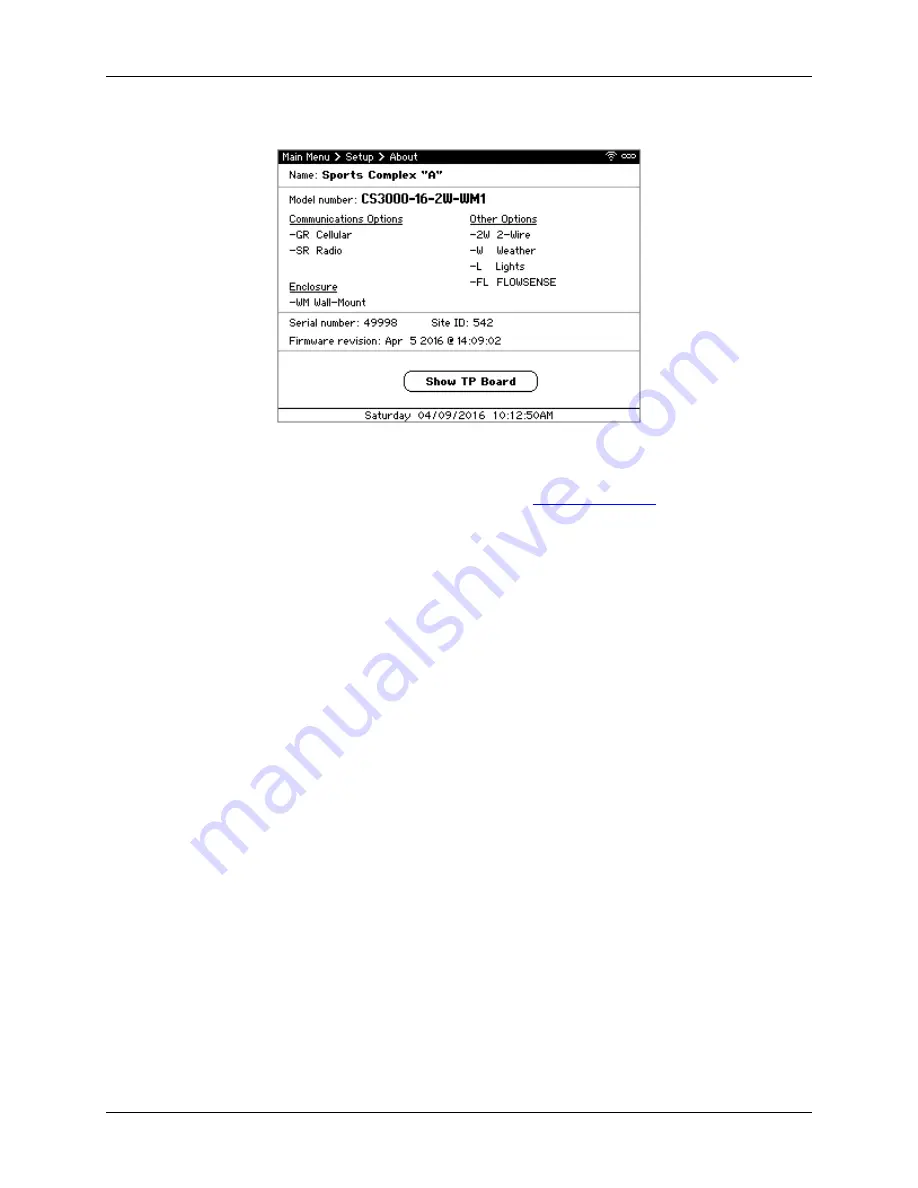
. The About screen displays (Figure 11).
Figure 11 - About screen
3.
Make note of the Site ID and Serial Number displayed on the screen.
4.
Using a computer, log in to Command Center Online at
5.
If the CS3000 already exists, skip to Step 7. Otherwise, tap or click
Settings
>
Site Controllers
.
The Site/Controllers list displays.
6.
On the CS3000 Sites heading, tap or click
[Add CS3000]
.
7.
Type the Site ID and Serial Number noted in Step 3 and tap or click
Add Site
. The controller is
added.
8.
Tap or click
Settings
>
Weather Sharing
. The Weather Sharing list displays.
9.
Locate the new site in the list and tap or click
Edit
. The Site Settings page displays.
10.
Under Sharing Settings, select your ET and Rain source. If you don’t have an on-site ET Gage
and/or Rain Bucket, select
WeatherSense
to receive data generated by Calsense.
11.
Click
Save
to save the changes. Weather Sharing will automatically occur each night shortly after
8:00 PM local time.


