This will be required if you wish to use the programme facility. Also the clock screen is
displayed.
when the radiator is in stand-by mode and without the time being set --:-- will be displayed.
•
When the radiator display is as in Fig 1 press the ON button
•
The display will now change to
--:--
•
Press and hold the ON button for approx. 7 seconds and the screen will change to Fig 2
•
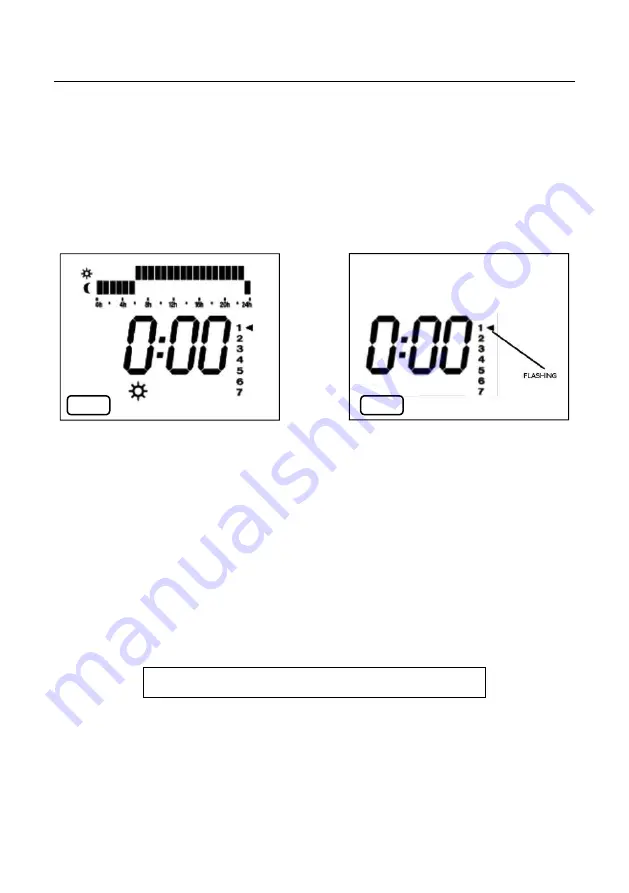
Press the ON button once more and the screen changes once more to Fig 3
• The vertical numbers, with the number one flashing, represent the days of the week
with
• Monday being 1 and Sunday being 7
• Adjust the pointer using the + and – buttons until the pointer is on the correct day.
• Once on the correct day press OK
• Now the first zero (hrs) is flashing. Set the hours using the + and – buttons
• Once on the correct hour press OK
• Now the two zeros (mins) are flashing. Set the minutes using the + and - buttons
• Once on the correct minutes press OK
• The vertical 1-7 day markers will now disappear & the radiator is in stand-by mode
The clock will now be visible every time the radiator is switched into standby mode.
Please note this is a 24 hour clock
SETTING THE TIME
Setting the Time
This will be required if you wish to use the programme facility. Also the clock screen is displayed
when the radiator is in stand‐by mode and without the time being set
will be displayed.
When the radiator display is as in Fig 1 press the ON button
The display will now change to
Press and hold the ON button for approx. 7 seconds and the screen will change to Fig 2
Press the ON button once more and the screen changes once more to Fig 3
The vertical numbers, with the number one flashing, represent the days of the week with
Monday being 1 and Sunday being 7
Adjust the pointer using the + and – buttons until the pointer is on the correct day.
Once on the correct day press OK
Now the first zero (hrs) is flashing. Set the hours using the + and – buttons
Once on the correct hour press OK
Now the two zeros (mins) are flashing. Set the minutes using the + and ‐ buttons
Once on the correct minutes press OK
The vertical 1‐7 day markers will now disappear & the radiator is in stand‐by mode
The clock will now be visible every time the radiator is switched into standby mode.
PLEASE NOTE THIS IS A 24 HOUR CLOCK
Fig 2
Fig 3
FIG 2
FIG 3


