Chapter 5: Installation
236
Note
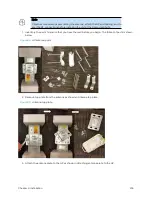
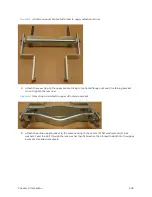
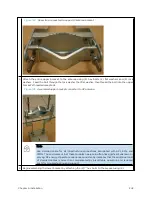
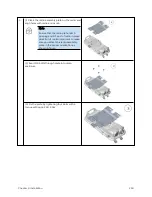
Please use the four “thin neck” M6 bolts and split washers provided with the
connectorized units rather that the ones provided in the antenna kit.
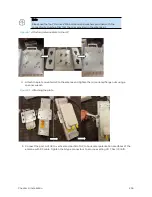
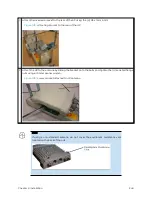
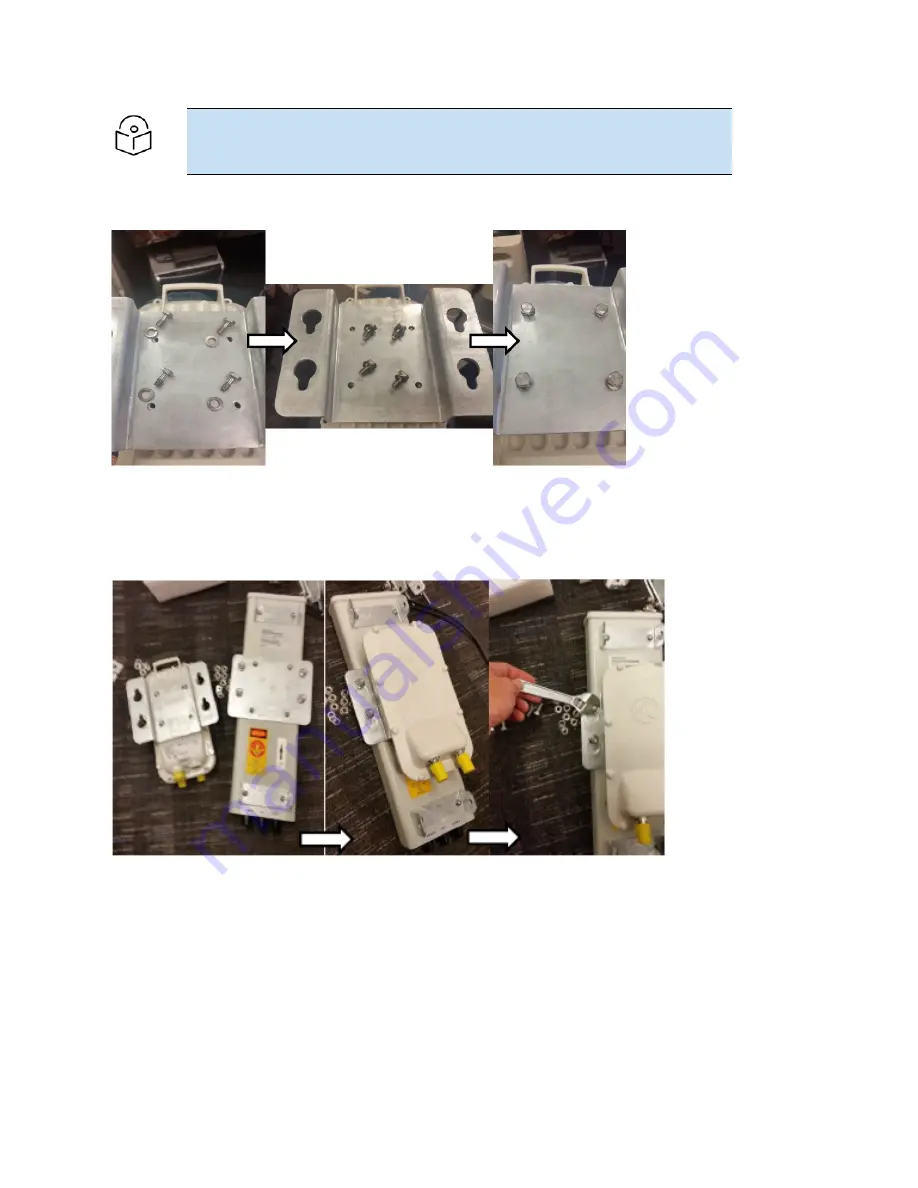
Figure 91 :
Attaching antenna plate to the AP
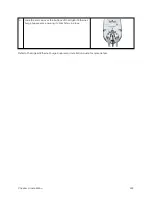
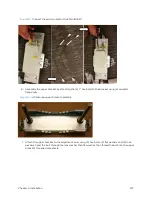
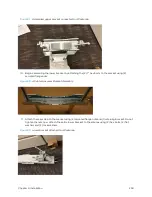
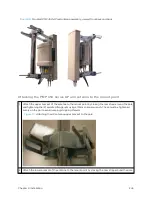
4. Attach the plate mounted AP to the antenna and tighten the (4) serrated flange nuts using a
spanner wrench
Figure 92 :
Attaching the plate
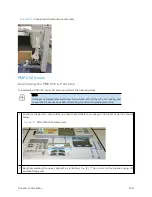
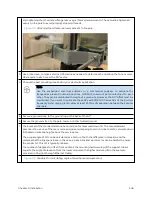
5. Connect the port A of AP to vertical and port B of AP to horizontal polarization interfaces of the
antenna with RF cable. Tighten the N type connectors to a torque setting of 1.7 Nm (1.3 lb ft).
Summary of Contents for PMP 450 Series
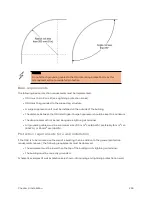
Page 92: ...Chapter 2 System hardware 92 Figure 29 MicroPoP Omni antenna implementation pattern Vertical...
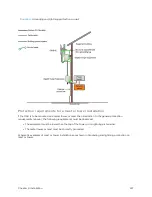
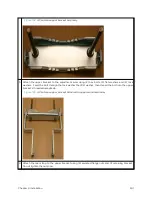
Page 134: ...Chapter 3 System planning 134 Figure 51 Mast or tower installation...
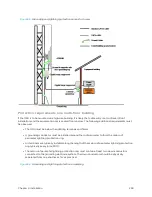
Page 135: ...Chapter 3 System planning 135 Figure 52 Wall installation...
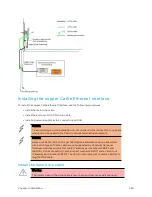
Page 136: ...Chapter 3 System planning 136 Figure 53 Roof installation...
Page 137: ...Chapter 3 System planning 137 Figure 54 GPS receiver wall installation...
Page 158: ...Chapter 3 System planning 158 Figure 61 cnMedusa Antenna...

