Chapter 5: Installation
267
7
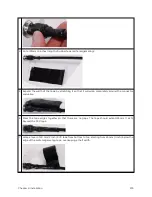
For Connectorized Models, connect the SM’s N-type antenna connectors to the external antenna,
ensuring that the polarity matches between the SM cable labeling and the antenna port labels.
Connectorized SM Antenna Cable Label
Antenna Connection
A
Vertical
B
Horizontal
8
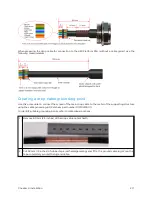
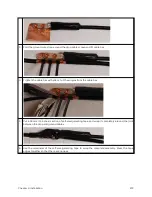
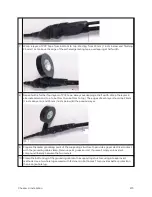
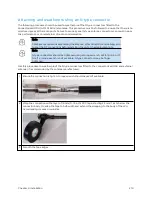
For Connectorized Models, weatherproof the N-type antenna connectors following section
Attaching and weatherproofing an N type connector.
9
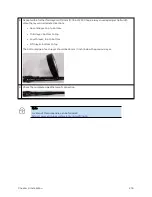
Wrap an AWG 10 (or 6mm
2
) copper wire around the Ground post of the SM
10
Securely connect the copper wire to the grounding system (Protective Earth) according to
applicable regulations.
11
Install a surge suppressor as described in the section Mount the Surge Suppressor.
12
Connect the power supply to a power source.
13
Connect the Ethernet output from the Data port of the power supply to the Ethernet port of your
laptop.
14
Connect the drop cable from ODU to the Data+power port of the power suppy.
15
Launch your web browser. In the URL address bar, enter 169.254.1.1. then press Enter.
16
If the browser in laptop fails to access the interface of the SM, follow the procedure Radio recovery
mode.
17
Log in as admin on the ODU. Configure a password for the admin account and log off.
18
Log back into the SM as admin or root, using the password that you configured.
19
For coarse alignment of the SM, use the Alignment Tool located at Tools, Alignment Tool.
Optionally, connect a headset to the AUX/SYNC port on the SM and listen to the alignment tone,
which indicates greater SM receive signal power by pitch. By adjusting the SM’s position until the
highest frequency pitch is obtained operators and installers can be confident that the SM is properly
positioned. For information on device GUI tools available for alignment, see sections Using the
Alignment Tool, Using the Link Capacity Test tool, and Using AP Evaluation tool in Configuration
Guide.
20
When the highest power is achieved, lock the SM mounting bracket in place.
21
Log off of the SM web interface.
22
Disconnect the Ethernet cable from your laptop.
23
Replace the base cover of the SM.
24
Connect the Ethernet cable to the computer that the subscriber will be using.
Inst alling a 4 50 Plat f or m Fam ily BHM
To install a 450 Platform Family BHM, perform the following steps.
Procedure 7 Installing a BHM
Summary of Contents for PMP 450 Series
Page 92: ...Chapter 2 System hardware 92 Figure 29 MicroPoP Omni antenna implementation pattern Vertical...
Page 134: ...Chapter 3 System planning 134 Figure 51 Mast or tower installation...
Page 135: ...Chapter 3 System planning 135 Figure 52 Wall installation...
Page 136: ...Chapter 3 System planning 136 Figure 53 Roof installation...
Page 137: ...Chapter 3 System planning 137 Figure 54 GPS receiver wall installation...
Page 158: ...Chapter 3 System planning 158 Figure 61 cnMedusa Antenna...

