Chapter 2: System hardware
120
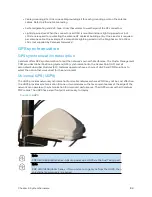
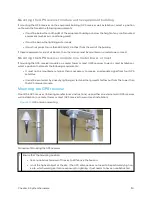
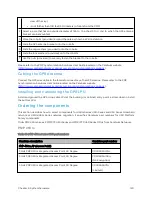
view of the sky.)
l
is not further than 100 feet (30.4 meters) of cable from the CMM.
2
Select a pole that has an outside diameter of 1.25 to 1.5 inches (3 to 4 cm) to which the GPS antenna
bracket can be mounted.
3
Place the U-bolts (provided) around the pole as shown in Wall installation
4
Slide the GPS antenna bracket onto the U-bolts.
5
Slide the ring washers (provided) onto the U-bolts.
6
Slide the lock washers (provided) onto the U-bolts.
7
Use the nuts (provided) to securely fasten the bracket to the U-bolts.
Please refer to the PMP Synchronization Solutions User Guide located on the Cambium website
(
http://www.cambiumnetworks.com/resource/pmp-synchronization-solutions
).
Cab ling t he GPS A nt enna
Connect the GPS coax cable to the female N-connector on the GPS antenna. Please refer to the PMP
Synchronization Solutions User Guide located on the Cambium website
(
http://www.cambiumnetworks.com/resource/pmp-synchronization-solutions
).
Inst alling and connect ing t he GPS LPU
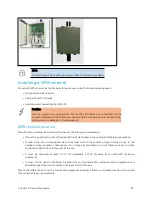
Install and ground the GPS drop cable LPU at the building (or cabinet) entry point, as described in Install
the bottom LPU.
Ord ering t he co m p o nent s
This section describes how to select components for 450m Series, 450i Series and 450 Series Greenfield
network or 450m/450i Series network migration. It specifies Cambium part numbers for 450 Platform
Family components.
Order PMP 450m Series, PMP/PTP 450i Series and PMP/PTP 450 Series ODUs from Cambium Networks.
PMP 4 50 m
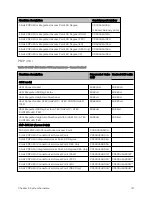
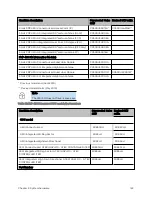
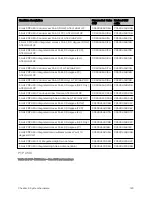
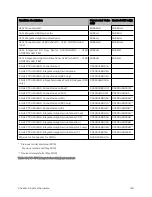
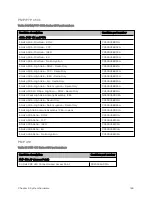
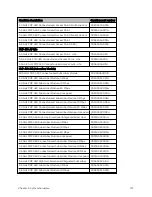
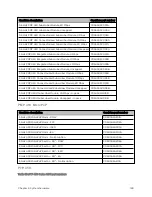
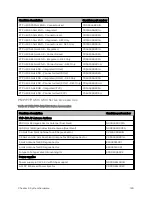
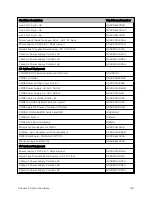
Table 89 :PMP 450m Series ODU part numbers
Cambium description
Cambium part number
PMP 450m AP (Access Point)
3 GHz PMP 450m Integrated Access Point, 90 Degree
C030045A101A
3 GHz PMP 450m Integrated Access Point, 90 Degree
C030045A104A
(No Encryption)
3 GHz PMP 450m Integrated Access Point, 90 Degree
C030045A111A
(Limited)
Summary of Contents for PMP 450 Series
Page 92: ...Chapter 2 System hardware 92 Figure 29 MicroPoP Omni antenna implementation pattern Vertical...
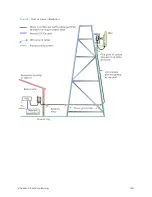
Page 134: ...Chapter 3 System planning 134 Figure 51 Mast or tower installation...
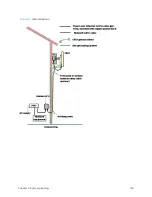
Page 135: ...Chapter 3 System planning 135 Figure 52 Wall installation...
Page 136: ...Chapter 3 System planning 136 Figure 53 Roof installation...
Page 137: ...Chapter 3 System planning 137 Figure 54 GPS receiver wall installation...
Page 158: ...Chapter 3 System planning 158 Figure 61 cnMedusa Antenna...

