Chapter 5: Installation
220
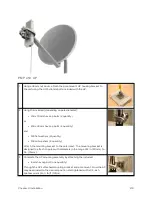
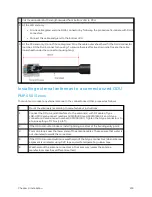
PMP 4 50 SM ( except PMP 4 50 SM - 90 0 MHz)
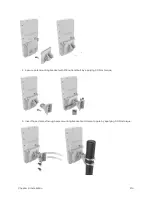
1
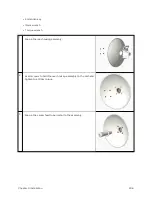
Use stainless steel hose clamps for the attachment.
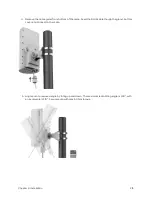
2
Attach the mounting bracket to the structure. Tighten
the locking nut.
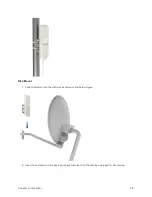
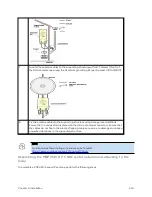
PMP 4 50 SM 90 0 MHz ( connect orized)
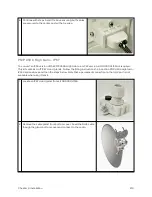
The PMP 450 900 MHz connectorized SM mounting procedure is different from other radios. It does not
get directly mounted on pole.
1
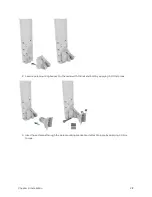
Align the 900 MHz SM to E bracket of Yagi antenna
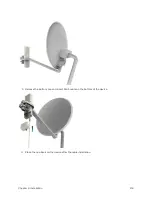
2
Slide the radio towards right to lock on the antenna
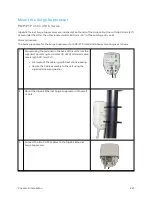
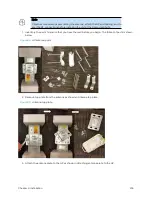
Mount t he t op LPU
1
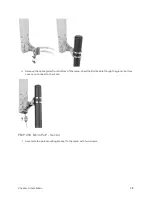
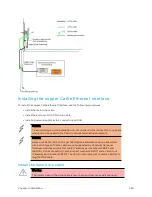
For separate LPU mounting, use the U-bolt bracket from the LPU
kit to mount the top LPU on the pole below the ODU. Tighten to a
torque setting of 7.0 Nm (5.2 lb ft).
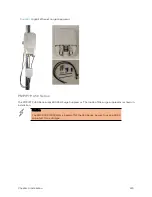
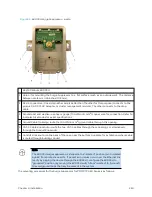
Please refer Gigabit LPU and Grounding Kit Installation Guide for
more details.
Summary of Contents for PMP 450 Series
Page 92: ...Chapter 2 System hardware 92 Figure 29 MicroPoP Omni antenna implementation pattern Vertical...
Page 134: ...Chapter 3 System planning 134 Figure 51 Mast or tower installation...
Page 135: ...Chapter 3 System planning 135 Figure 52 Wall installation...
Page 136: ...Chapter 3 System planning 136 Figure 53 Roof installation...
Page 137: ...Chapter 3 System planning 137 Figure 54 GPS receiver wall installation...
Page 158: ...Chapter 3 System planning 158 Figure 61 cnMedusa Antenna...

