3
550A/650A
azur
Important safety instructions
For your own safety please read the following important safety
instructions carefully before attempting to connect this unit to the mains
power supply. They will also enable you to get the best performance from
and prolong the life of the unit:
1. Read these instructions.
2. Keep these instructions.
3. Heed all warnings.
4. Follow all instructions.
5. Do not use this apparatus near water.
6. Clean only with a dry cloth.
7. Do not block any ventilation openings. Install in accordance with the
manufacturer's instructions.
8. Do not install near any heat sources such as radiators, heat registers,
stoves, or other apparatus (including other amplifiers) that produce
heat.
9. Do not defeat the safety purpose of the polarized or grounding-type
plug. A polarized plug has two blades with one wider than the other.
A grounding-type plug has two blades and a third grounding prong.
The wide blade or the third prong are provided for your safety. If the
provided plug does not fit into your outlet, consult an electrician for
replacement of the obsolete outlet.
10. Protect the power cord from being walked on or pinched, particularly
at plugs, convenience receptacles and the point where they exit from
the apparatus.
11. Only use attachments/accessories specified by the manufacturer.
12. Use with only the cart, stand, tripod, bracket, or table
specified by the manufacturer, or sold with the apparatus.
When a cart is used, use caution when moving the cart/
apparatus combination to avoid injury from tip-over.
13. Unplug this apparatus during lightning storms or when unused for
long periods of time.
14. Refer all servicing to qualified service personnel. Servicing is required
when the apparatus has been damaged in any way, such as the
power-supply cord or plug having been damaged, liquid has been
spilled or objects have fallen into the apparatus, the apparatus has
been exposed to rain or moisture, does not operate normally, or has
been dropped.
WARNING
– To reduce the risk of fire or electric shock, do not expose this unit to
rain or moisture.
– Batteries (battery pack or batteries installed) shall not be exposed to
excessive heat such as sunshine, fire or the like.
The unit is of Class 1 construction and must be connected to a mains
socket outlet with a protective earthing connection.
The unit must be installed in a manner that makes disconnection of the
mains plug from the mains socket outlet (or appliance connector from
the rear of the unit) possible. Where the mains plug is used as the
disconnect device, the disconnect device shall remain readily operable.
Only use the mains cord supplied with this unit.
Please ensure there is ample ventilation. We recommend that you do not
place the unit in an enclosed space; if you wish to place the unit on a
shelf, use the top shelf to allow maximum ventilation. Do not put any
objects on top of this unit. Do not situate it on a rug or other soft surface
and do not obstruct any air inlets or outlet grilles. Do not cover the
ventilation grilles with items such as newspapers, tablecloths, curtains,
etc.
This unit must not be used near water or exposed to dripping or splashing
water or other liquids. No objects filled with liquid, such as vases, shall be
placed on the unit.
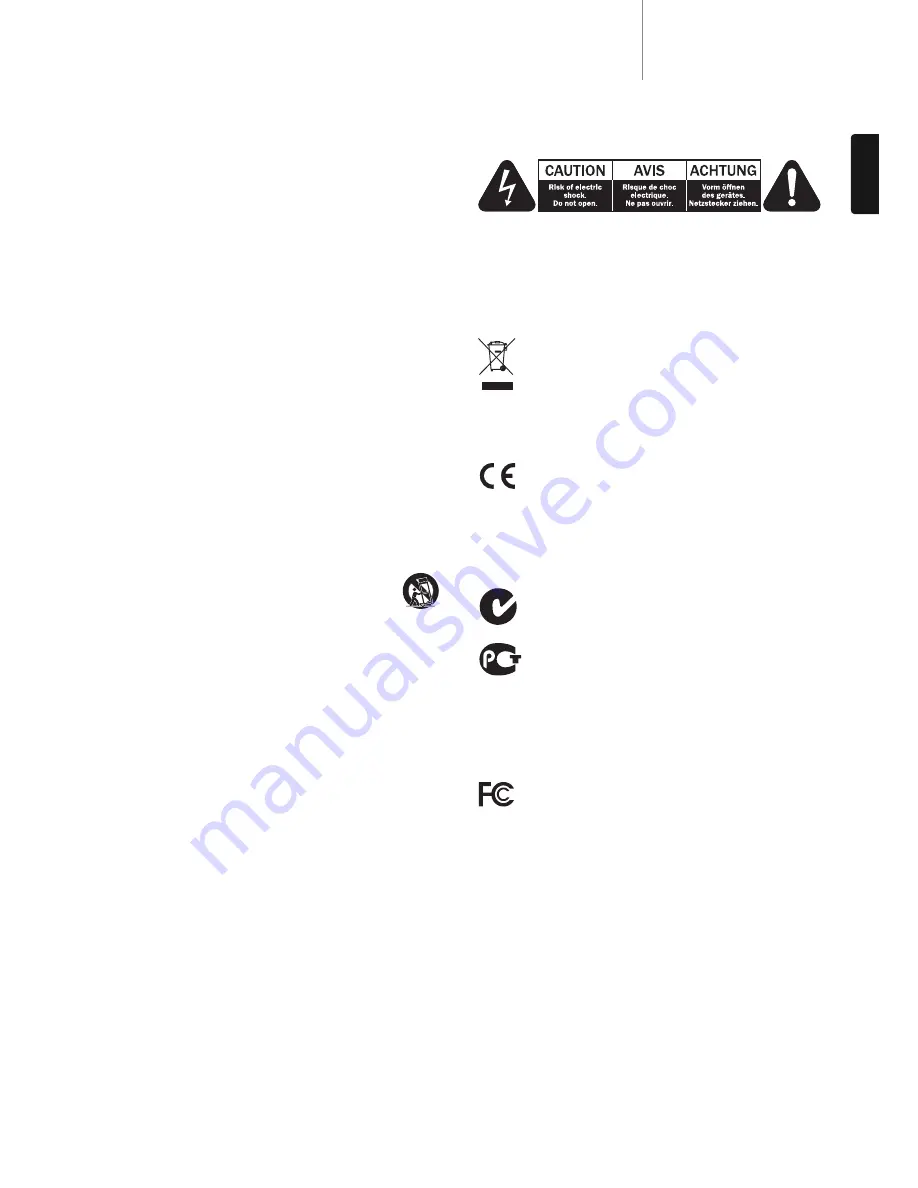
The lightning flash with the arrowhead symbol within an equilateral
triangle is intended to alert the user to the presence of un-insulated
‘dangerous voltage’ within the product’s enclosure that may be of
sufficient magnitude to constitute a risk of electric shock to persons.
The exclamation point within an equilateral triangle is intended to alert
the user to the presence of important operating and maintenance
instructions in the service literature relevant to this appliance.
WEEE symbol
The crossed-out wheeled bin is the European Union symbol for
indicating separate collection for electrical and electronic
equipment. This product contains electrical and electronic
equipment which should be reused, recycled or recovered and
should not be disposed of with unsorted regular waste. Please return the
unit or contact the authorised dealer from whom you purchased this
product for more information.
CE mark
This product complies with European Low Voltage
(2006/95/EC), Electromagnetic Compatibility (2004/108/EC)
and Environmentally-friendly design of Energy-related Products
(2009/125/EC) Directives when used and installed according to this
instruction manual. For continued compliance only Cambridge Audio
accessories should be used with this product and servicing must be
referred to qualified service personnel.
C-Tick mark
This product meets the Australian Communications Authority’s
Radio communications and EMC requirements.
Ross Test Stamp
This product meets Russian electronic safety approvals.
FCC regulations
NOTE: THE MANUFACTURER IS NOT RESPONSIBLE FOR ANY RADIO OR
TV INTERFERENCE CAUSED BY UNAUTHORIZED MODIFICATIONS TO THIS
EQUIPMENT. SUCH MODIFICATIONS COULD VOID THE USER AUTHORITY
TO OPERATE THE EQUIPMENT.
This equipment has been tested and found to comply with the
limits for a Class B digital device, pursuant to Part 15 of the
FCC Rules. These limits are designed to provide reasonable
protection against harmful interference in a residential installation. This
equipment generates, uses and can radiate radio frequency energy and,
if not installed and used in accordance with the instructions, may cause
harmful interference to radio communications. However, there is no
guarantee that interference will not occur in a particular installation.
If this equipment does cause harmful interference to radio or television
reception, which can be determined by turning the equipment off and on,
the user is encouraged to try to correct the interference by one or more
of the following measures:
– Re-orient or relocate the receiving antenna.
– Increase the separation between the equipment and receiver.
– Connect the equipment into an outlet on a circuit different from that to
which the receiver is connected.
– Consult the dealer or an experienced radio/TV technician for help.
ENGLISH


