


8
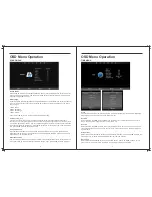
System
Connection
Remote Control
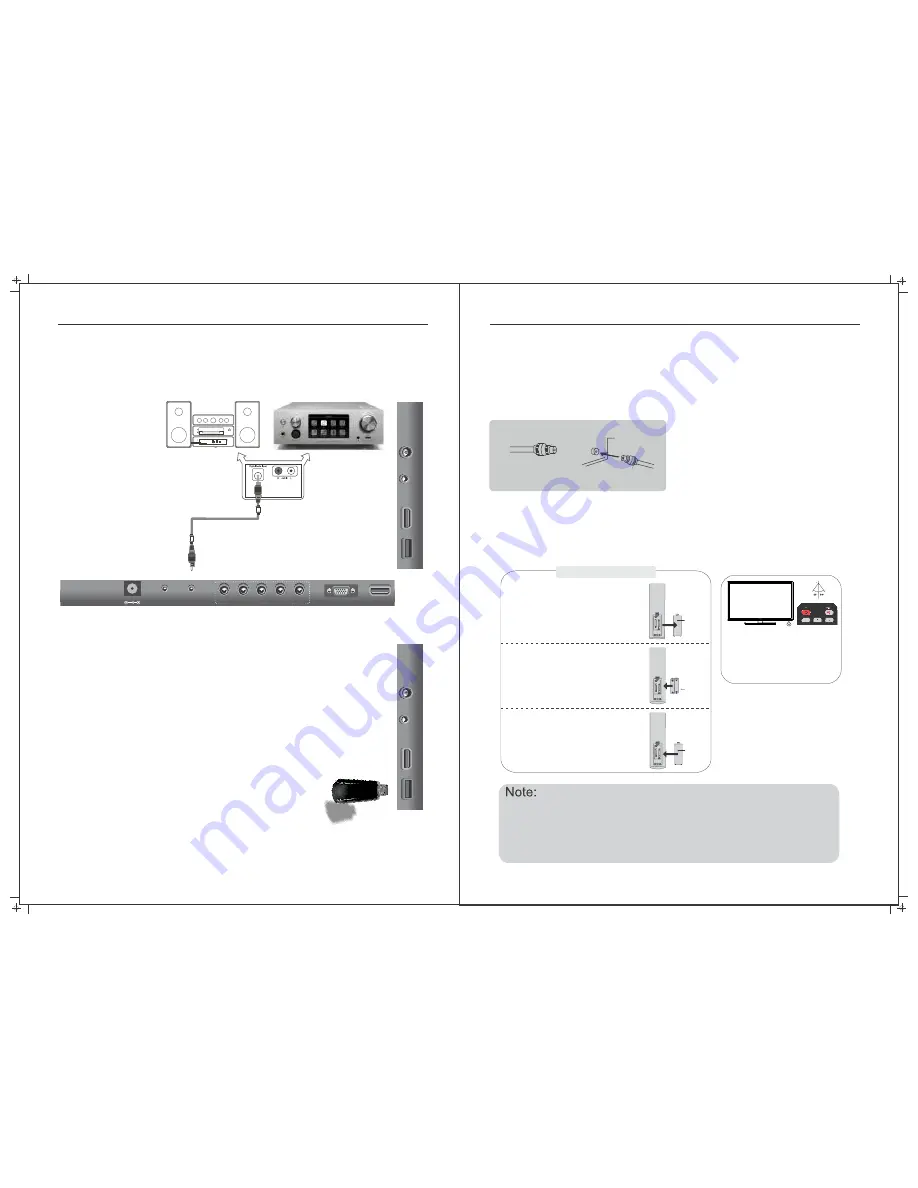
7. Antenna connection
Antenna input impedance of this unit is 75ohm. VHF/UHF 75ohm coaxial cable can be
connected to the antenna jack directly
.
75ohm coaxial cable
Antenna cable
Antenna lead with 75 ohm male PAL Connector
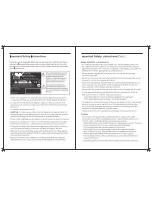
- Batteries should not be exposed to excessive heat such as direct
sunlight, fire or the like.
- If not being used for a period of time, please remove the batteries
from the remote in case of leakage.
- Do not mix old & new batteries together.
Installing Batteries
1
Open the battery compartment
cover on the back of the remote.
2
Insert two 1.5V AAA size batteries
using the correct polarity as shown.
Don’t mix old or used batteries with
.
3
Replace the cover.
Battery
Cover
2 x size
AAA
1.5
V
Battery
Cover
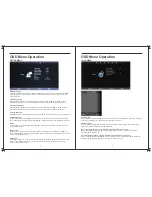
System
Connection
new ones.
.
To use the remote control, point
it towards the remote sensor at
the front of the television. The
remote control has a range of up
to approximately seven meters
from the TV at an angle of up to
60 degrees.
5. COAXIAL OUTPUT
Allows connection of Digital audio systems and Surround Sound.
6. USB INPUT
Use the
SOURCE
button on the remote controller to select Media.
USB memory
COAXIAL Cable (Not supplied)
H
D
M
I 1
P
C
A
U
D
IO
IN
R
F
IN
U
S
B
DC 12V
EARPHONE
OUT
COAXIAL
OUT
VIDEO
/
Y
R
L
Pb
Pr
VGA
HDMI 2
H
D
M
I 1
P
C
A
U
D
IO
IN
R
F
IN
U
S
B
COAXIAL
Summary of Contents for RVMedia 042702
Page 1: ...042702 32...
Page 3: ...47cm 19 Part Number 042419 INPUT DC 12V 3A 28W...
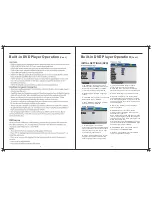
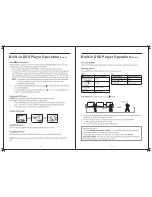
Page 16: ...21 22 USB Multimedia Playback Formats Built in DVD Player Operation...
Page 19: ...27 28 Built in DVD Player Operation Cont Cleaning and Maintenance...


