User
Guide
Page 125
Event Action
5.
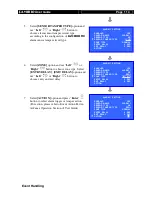
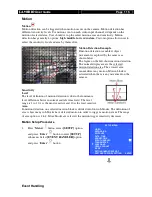
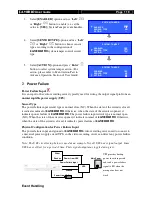
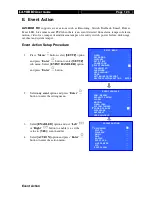
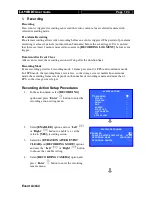
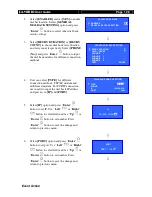
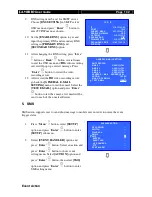
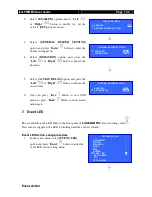
Use the “
Left
”
or
“
Right
”
button to
select camera and press the “
Up
”
or
“
Down
”
button to enable or disable recording camera.
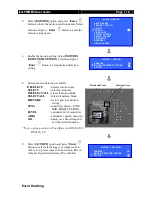
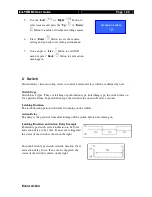
6.
Press “
Enter
”
button to save the camera
setting and go back to recording action menu.
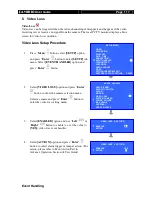
7.
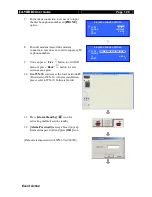
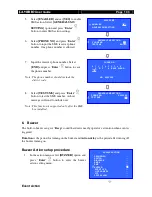
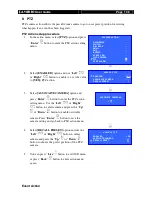
You can press “
Live
” button to exit OSD
menu or press “
Back
” button to enter action
menu again.
2. Switch
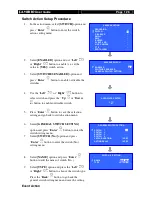
Switch allows video recording server to control 4 external relays which are defined by user.
Switch Type
Switch has 2 types. They are latching or push-button type. In latching type, the switch turns on
for a period of time. In push-button type, the switch turns on and off after 1 second.
Latching Duration
The latch duration period is the time for turning on the switch.
Action Delay
The delay is the period of time after turning off the switch before next turning on.
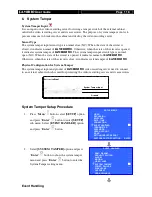
Latching Duration and Action Delay Example
For latch type switch, set latch duration to be 10sec
and action delay to be 10sec. If an event is triggered,
the status of the switch is shown on the right.
For push-button type switch, set latch duration 10sec
and action delay 10sec. If an event is triggered, the
status of the switch is shown on the right.
RECORDING CAMERA
1 -
3
-

