


User
Guide
Page 19
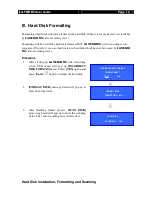
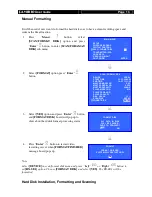
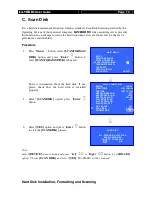
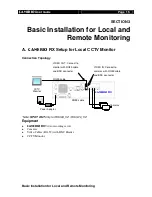
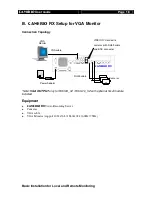
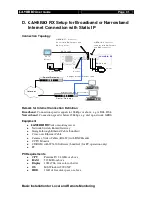
Basic Installation for Local and Remote Monitoring
Setup Procedure
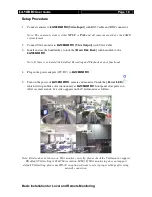
1.
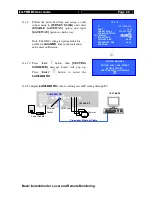
Connect cameras to
RX
{Video Input}
with RG59 cable and BNC connector.
Note: The camera system is either
NTSC
or
PAL
and all cameras must have the SAME
system format.
2.
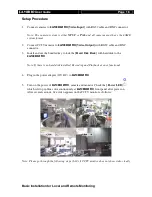
Connect VGA monitor to
RX
{VGA Output}
with VGA Cable.
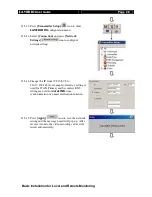
3.
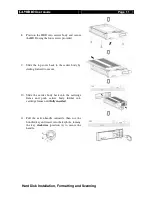
Install and use the bundled key to lock the
{Hard Disk Rack}
with hard disk to the
RX
.
Note: If there is no hard disk installed, Recording and Playback are not functional
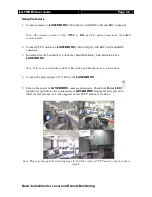
4.
Plug in the power adapter (12V DC) to
RX
.
5.
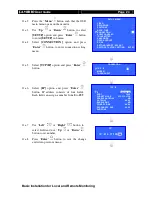
Turn on the power of
RX
, camera and monitor. Check the
{Power LED}
which is lit up in blue color continuously at
RX
front panel after power on.
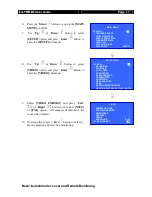
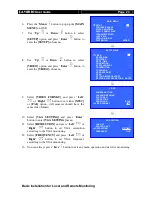
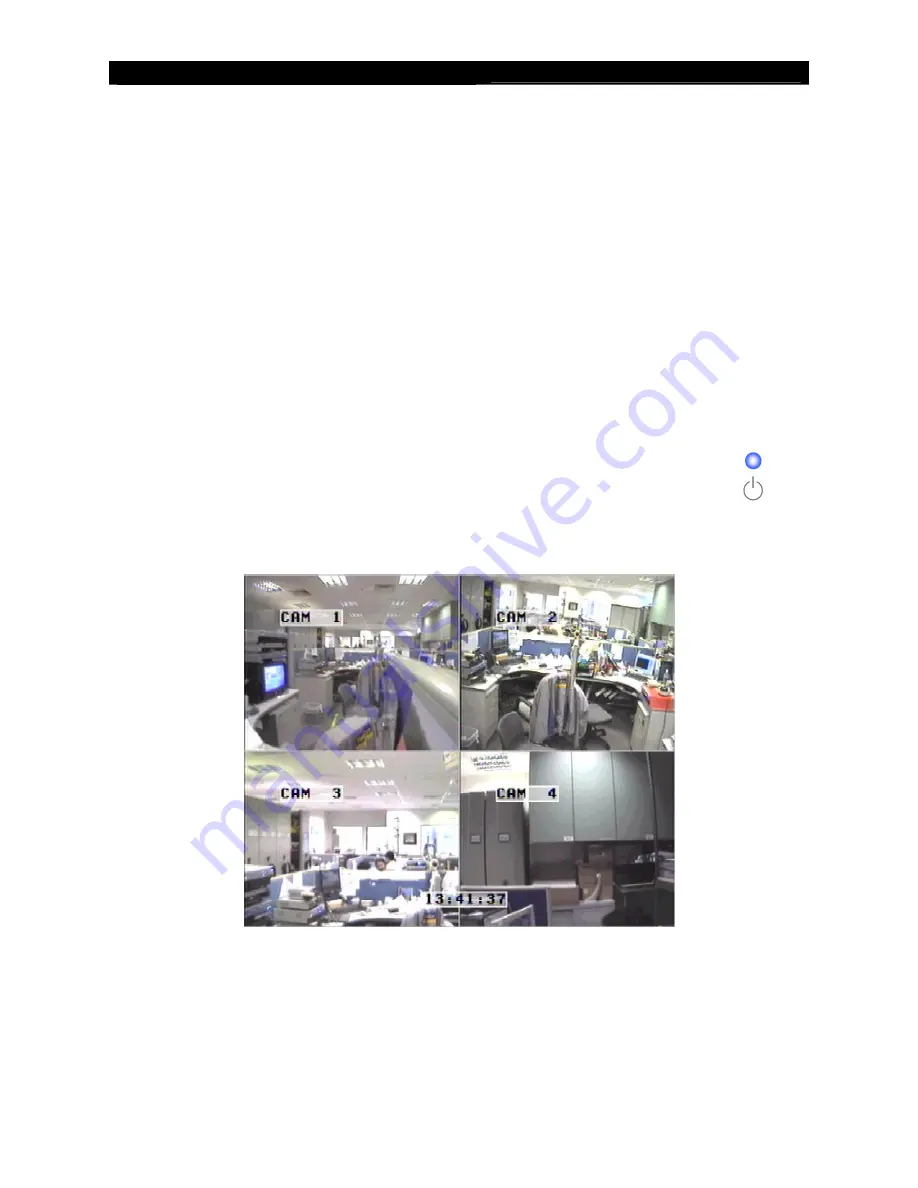
After several seconds, live video appears on the VGA monitor as follows:
Note: If video does not shown on VGA monitor correctly, please check the VGA monitor support
RX default VGA setting (1024x768 resolution, 60Hz). If VGA monitoring does not support
default VGA setting, please use WX-30 reception software to select proper settings after setup
network connection.


