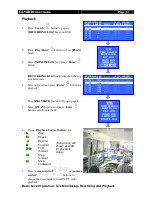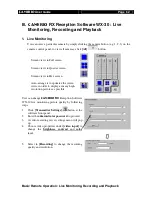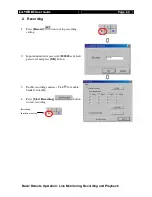
User
Guide
Page 48
Basic Installation for Local and Remote Monitoring
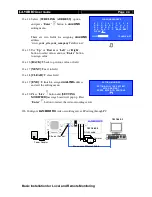
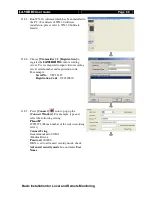
11.b.15.
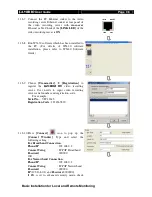
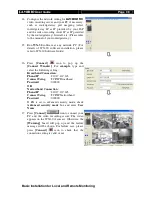
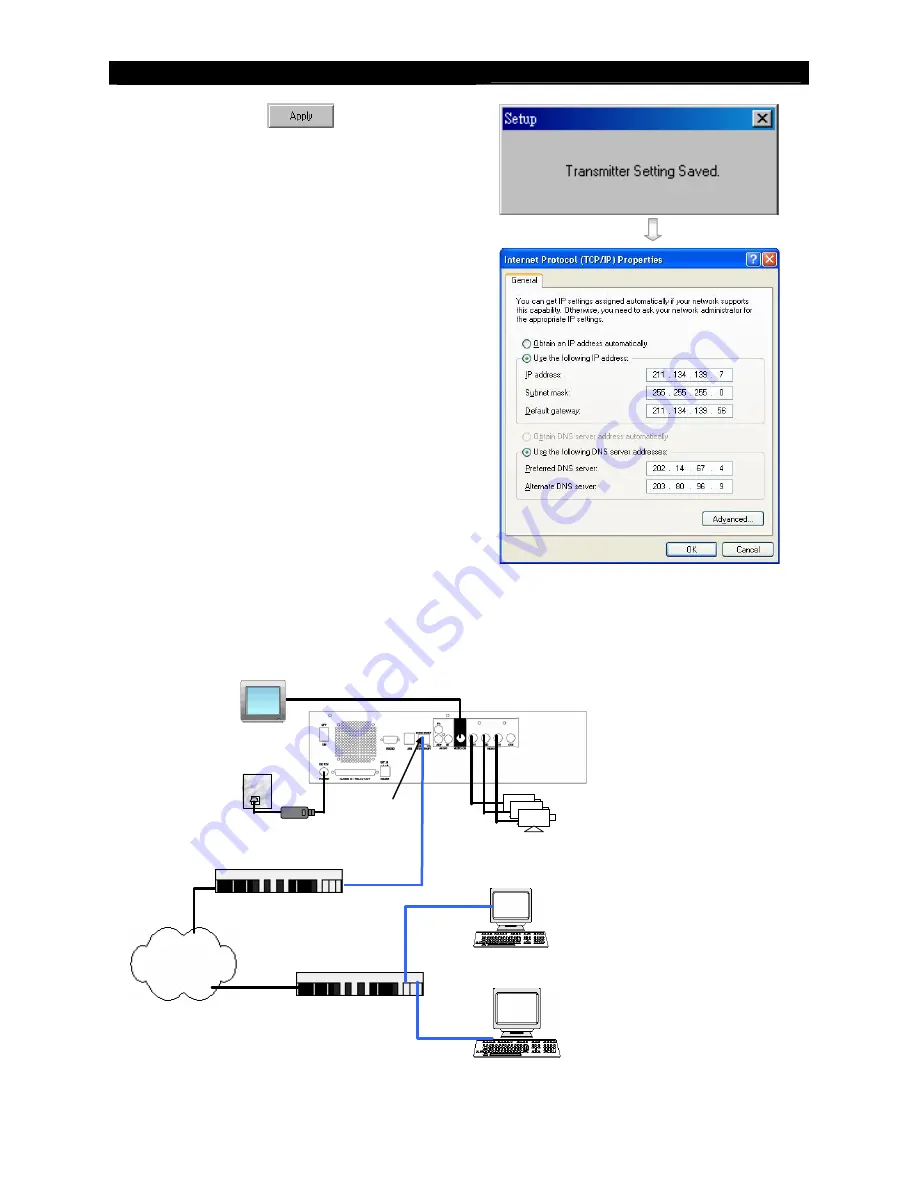
Press
[Apply]
icon to save the
network setting and pop up the message board.
After several seconds, the video recording
server will restart automatically.
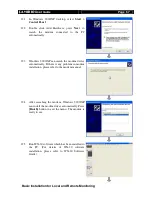
11.b.16.
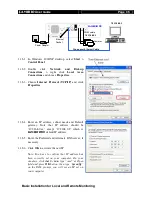
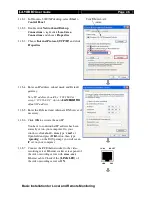
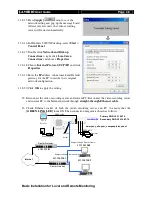
In Windows 2000/XP desktop, select
Start
>
Control Panel
11.b.17.
Double click
Network and Dial-up
Connections
> right click
Local Area
Connections
and choose
Properties
.
11.b.18.
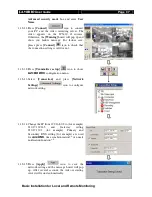
Choose
Internet Protocol (TCP/IP)
and click
Properties
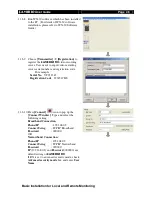
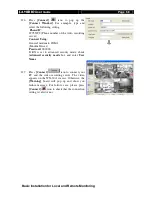
11.b.19.
Enter the
IP
address, subnet mask and Default
gateway for the PC to restore to its original
network configuration.
11.b.20.
Click
OK
to apply the setting
12.
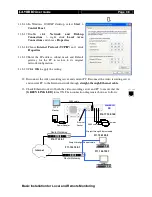
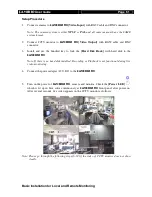
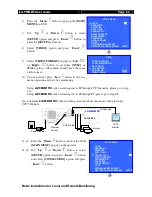
Disconnect the video recording server and current PC. Reconnect the video recording server
and current PC to the Internet network through
straight-through Ethernet cable
.
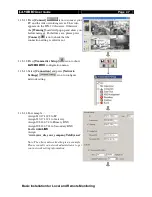
13.
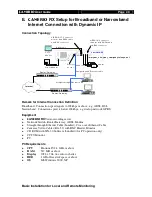
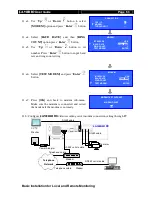
Check Ethernet socket of both the video recording server and PC to ensure that the
{GREEN LINK LED}
turns ON. Then connection diagram is shown as follows:
RG59 cable
RG59 cable
Power Adapter
Ethernet
Socket
CCTV
Monitor
RX
Cameras
www.your_site.your_company.teleeye.net
211.134.139.7
211.134.139.9
Internet
210.17.139.1
Router/Gateway
211.134.139.1
Router/Gateway
Primary DNS: 202.14.67.4
Secondary DNS: 202.14.67.14
Straight-through Ethernet cable
Straight-through Ethernet cable


