User
Guide
Page 76
OSD Menu Operation
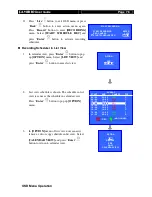
11.
Press “
Live
” button to exit OSD menu or press
“
Back
”
button to enter action menu again.
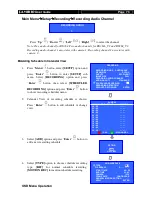
Press “
Record
”
button to enter
[RECORDING]
menu. Select
[START SCHEDULE REC]
and
press “
Enter
”
button to activate recording
scheduler
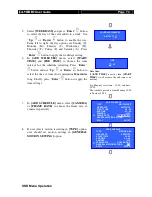
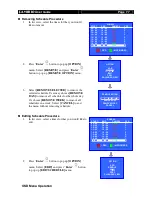
Recording Scheduler in List View
1.
In calendar view, press “
Enter
”
button to pop
up
[OPTION]
menu. Select
[LIST VIEW]
and
press “
Enter
”
button to enter list view.
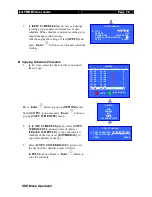
2.
List view schedule is shown. The schedule in list
view is same as the schedule in calendar view.
Press “
Enter
”
button to pop up
[OPTION]
menu.
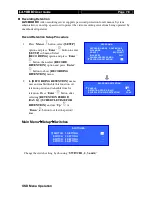
3.
In
[OPTION]
menu of list view, user can add,
remove, edit or copy schedule in list view. Select
[CALENDAR VIEW]
and press “
Enter
”
button to return to calendar view.
START RECORDING
START RECORDING
ENTER
REC. CAMERA
1234
START SCHEDULE REC
ENTER
OPTION
ADD
LIST VIEW
SUNDAY
START
END
CAMERA
FPS
00 : 00
09 : 00
1234
C
09 : 00
10 : 00
12–4
2
10 : 00
12 : 00
1–3–
1
12 : 00
14 : 00
12––
3
14 : 00
16 : 00
1–3–
4
16 : 00
18 : 00
1–34
5
18 : 00
19 : 00
1234
C
19 : 00
22 : 00
1234
1
22 : 00
00 : 00
1–34
C
:
REC
: MOTION REC
OPTION
ADD
REMOVE
EDIT
COPY
CALENDAR VIEW

