background image


©2012 NEDIS BV. Camlink is a registered trademark of NEDIS BV. Although every effort has been made 

to ensure the accuracy of the information contained in this manual specifications are subject to change 

and therefore NEDIS BV cannot guarantee its correctness and completeness at all times. 


IT – Italiano 


Introduzione 


Contenuto della confezione: 
• Telescopio 
• Treppiede da tavolo  
• Morsetto da finestrino per auto 
• Copertura antipioggia  
• Borsa  
• Manuale 

PRECAUZIONI 

NON GUARDATE DIRETTAMENTE IL SOLE CON IL TELESCOPIO PER EVITARE GRAVI DANNI AGLI OCCHI.


Specifiche tecniche 


CL-CSP60 

Tipo: 15~45 x 60 zoom 
Ottica: 15~45 x 
Diametro della lente dell'obbiettivo: 60 mm 

CL-CSP80 

Tipo: 20~60 x 80 zoom 
Ottica: 20~60 x 
Diametro della lente dell'obbiettivo: 80 mm 


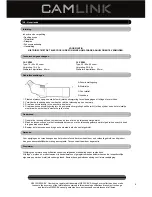
Istruzioni per l'utente 


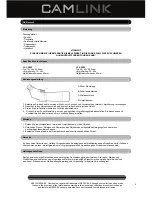
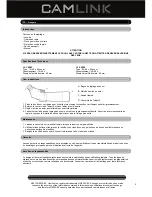
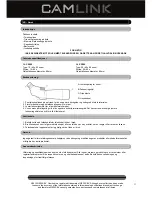
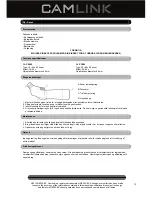
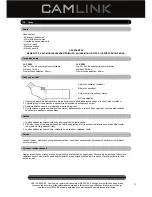
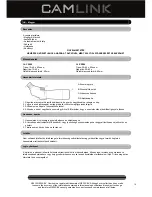
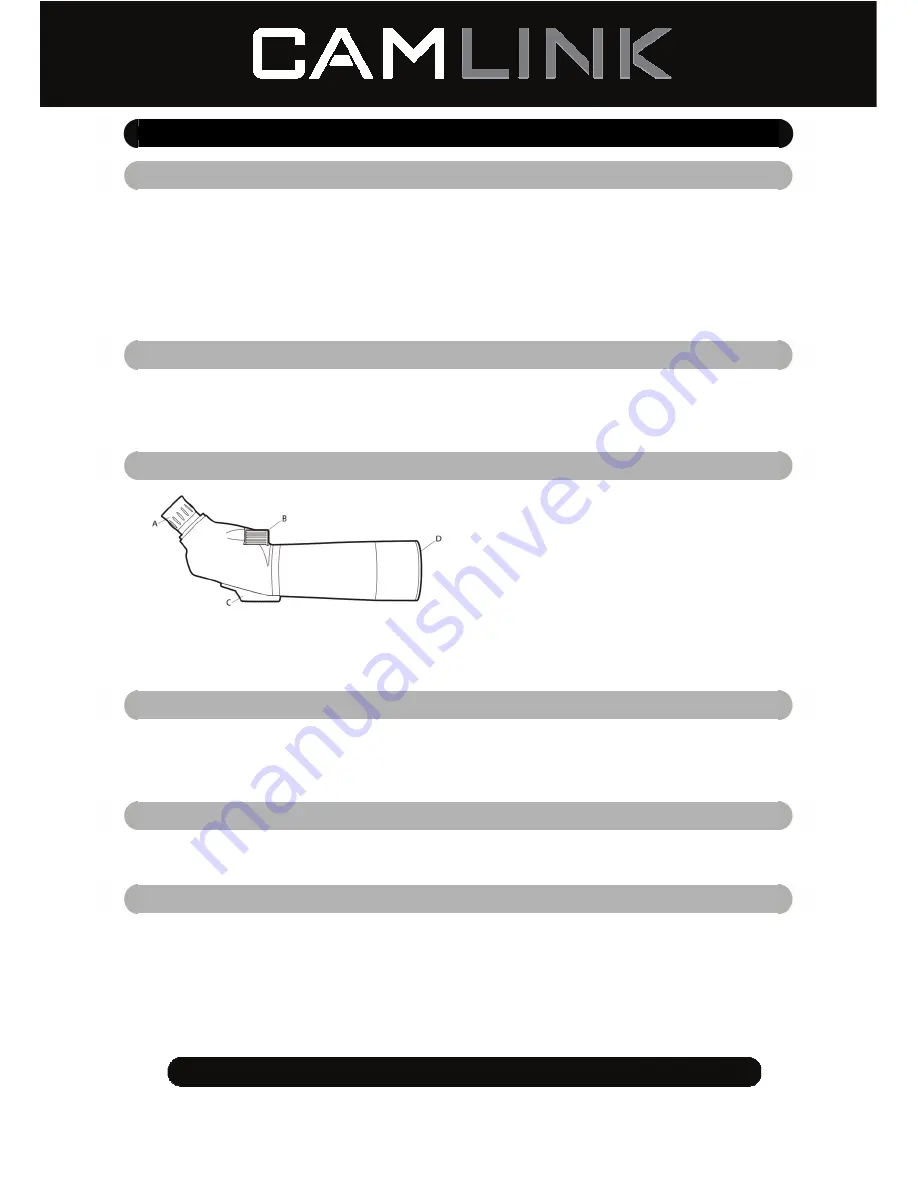
A: Anello di regolazione Zoom 
 
B: Ruota di messa a fuoco 
 
C: Sostegno treppiede 
 
D: Tappo lente


1.  Montate il telescopio su un treppiede per evitare movimento eccessivo o tremolii con i grandi ingrandimenti. 
2.  Rimuovete il tappo frontale della lente e puntate il telescopio sull'obbiettivo. 
3.  Regolate la ruota della messa a fuoco per raggiungere la nitidezza ottimale. 
4.  Girate l'anello di regolazione zoom per raggiungere l'ingrandimento desiderato. Potrebbe essere necessario regolare 

nuovamente la messa a fuoco per rendere l'immagine più nitida.


Manutenzione 


1.  Mantenete la lente frontale coperta con il tappo quando il telescopio non è in uso. 
2.  Usate il panno per lenti incluso nella confezione o un panno morbido senza solventi di buona qualità quando pulite o 

asciugate le lenti. 

3.  Conservate il telescopio in un posto fresco e asciutto quando non è in uso. 


Garanzia 


Non sarà accettata alcuna garanzia o responsabilità in relazione a cambiamenti e modifiche del prodotto o a danni 
determinati dall’uso non corretto del prodotto stesso. 


Disclaimer 


Il design e le caratteristiche tecniche sono soggetti a modifica senza necessità di preavviso. Tutti i marchi a logo e i nomi 
di prodotto sono marchi commerciali o registrati dei rispettivi titolari e sono riconosciuti come tali in questo documento. 
Tenere questo manuale e la confezione per riferimento futuro. 


Summary of Contents for CL-CSP60

Page 1: ...E Zoom Spektiv Bedienungsanleitung 4 FR Lunette avec Zoom Manuel de l utilisateur 5 NL Zoom Spotting Scope Gebruikershandleiding 6 ES Telescopio de observaci n con zoom Manual de Usuario 7 IT Telescop...

Page 2: ...mes Nedis B V part of the Nedis Group De Tweeling 28 5215 MC s Hertogenbosch The Netherlands Tel 31 73 599 1055 Fax 31 73 599 9699 Web www nedis com or www nedis nl Any unauthorised use of the informa...

Page 3: ...the scope onto a tripod to avoid excessive movement or shaking at high magnification 2 Remove the lens cap and point the scope at an object 3 Adjust the focus wheel to achieve optimum sharpness 4 Turn...

Page 4: ...Objektivdeckel ab und richten Sie das Spektiv auf das Objekt 3 Stellen Sie die Sch rfe mithilfe des Sch rfeneinstellrads ein 4 Drehen Sie am Zoom Einstellring um den gew nschten Vergr erungsgrad einz...

Page 5: ...objectif et visez l objet avec la lunette 3 R glez la mise au point pour atteindre une nettet optimale 4 Faites tourner la bague de r glage du zoom pour obtenir le grossissement d sir Il pourra s av...

Page 6: ...orkant en richt de telescoop op een voorwerp 3 Draai aan het stelwieltje tot u een scherp beeld ziet 4 Draai aan de zoominstellingsring tot u de gewenste uitvergroting heeft bereikt Het kan zijn dat u...

Page 7: ...s o excesiva inestabilidad a grandes aumentos del zoom 2 Quite la tapa frontal del objetivo y apunte con el telescopio al objeto 3 Ajuste la rueda de enfoque para lograr la nitidez ptima 4 Gire el ani...

Page 8: ...ndimenti 2 Rimuovete il tappo frontale della lente e puntate il telescopio sull obbiettivo 3 Regolate la ruota della messa a fuoco per raggiungere la nitidezza ottimale 4 Girate l anello di regolazion...

Page 9: ...na putki kolmijalalle v ltt ksesi liiallista liikkumista tai t rin suurissa suurennoksissa 2 Poista etulinssin suojus ja osoita putki kohteeseen 3 s d tarkennusrullaa saadaksesi parhaan ter vyyden 4 K...

Page 10: ...t undvika alltf r mycket r relse eller skakningar vid h g f rstoring 2 Ta bort det fr mre linsskyddet och rikta kikaren mot objektet 3 Justera fokushjulet f r att f optimal sk rpa 4 Vrid p justeringsr...

Page 11: ...nsen p en tripod for unng store bevegelser og risting ved sterk forst rrelse 2 Fjern fordekselet og pek teleskoplinsen mot motivet 3 Juster fokuserigshjulet for f maksimal skarphet 4 Vri zoomens juste...

Page 12: ...en trefod for at undg bev gelse eller rystelser ved stor forst rrelse 2 Aftag den forreste linse kappe og ret kikkerten mod genstanden 3 Indstil fokushjulet for at opn optimal skarphed 4 Drej zoom ju...

Page 13: ...1 Upevn te dalekohled na trojno kov stojan k zamezen nadm rn ho pohybu nebo ot es p i velk m zv t en 2 Vyjm te p edn v ko objektivu a nasm rujte dalekohled na po adovan objekt 3 Nastavte kole ko zaost...

Page 14: ...a t vcs vet h roml b llv nyra hogy er s nagy t sn l ne rezegjen a k p 2 Vegye le az objekt vsapk t s ir ny tsa a t vcs vet a megfigyelend t rgyra 3 ll tsa lesre a k pet a f kusz ll t ker kkel 4 ll tsa...

Page 15: ...e to ensure the accuracy of the information contained in this manual specifications are subject to change and therefore NEDIS BV cannot guarantee its correctness and completeness at all times GR a CL...

Page 16: ...tremuratul n cazul m ririi excesive 2 ndep rta i capacul lentilei i ndrepta i telescopul spre obiect 3 Regla i roata de focalizare pentru a ob ine o claritate optim 4 R suci i inelul pentru reglarea...

Page 17: ...been made to ensure the accuracy of the information contained in this manual specifications are subject to change and therefore NEDIS BV cannot guarantee its correctness and completeness at all times...

Reviews: