0109-EX60LW-PS
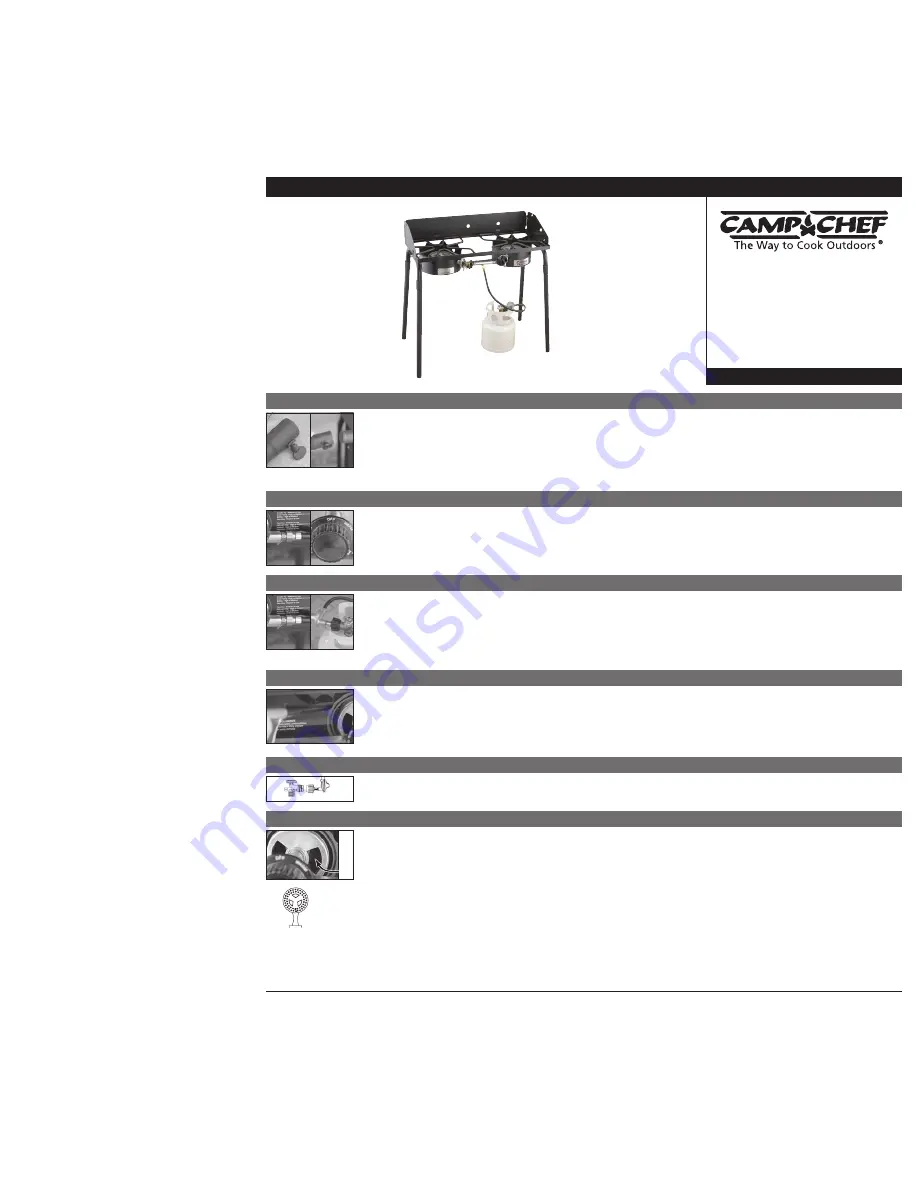
Explorer
Model: EX-60LW
• Two Universal Output (30,000 BTU/hr)
Cast Burners
• Detachable Legs
• Convenient 31” Cooking Height
• Appliance-style Temperature Controls
• 3-Sided Windscreen
• Cloverleaf Cooking Surface
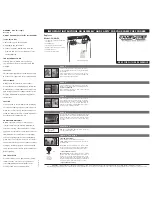
S T E P 1
Screw out thumb screws until flush with inside of
cooker leg. Apply extension to each leg. Hand tighten
thumb screws.
Stand cooker upright on solid level ground. To level:
loosen thumb screw on leg extension and adjust leg
height. Hand tighten thumb screw.
S T E P 2
Use an adjustable or 3/4” wrench to connect flare
fitting to stove fitting. Tighten securely with wrench.
DO NOT OVER-TIGHTEN
.
Before attaching regulator to tank, ensure that all
valves are in the
OFF
position.
S T E P 3
Attach regulator to tank. Check all connections to
ensure tightness. With all valves in the off position,
apply a soapy water solution to all fittings, valves and
connections. Turn gas on at the tank and check for
leaks at all connections. Small bubbles will appear if
connection leaks. Tighten as needed.
S T E P 4
Turn on tank. Place a lit long nose lighter into round
lighting hole on cooker front. Turn valve knob to
LOW
.
Burner should light. If no flame, turn tank and control
knob(s) to
OFF
. Check tank for fuel. Repeat steps
2, 3 and 4.
R E G U L A T O R
New Type 1 Connection
: Right hand turn to connect
securely to New Type 1 tank.
T R O U B L E S H O O T I N G
PROBLEM WITH FLAME?
(Flame should burn blue with a hint of yellow.)
Yellow Flame
: Adjust air shutter open until burner
shows blue flame.
Still Yellow
: Shut off valve(s) at stove and fuel tank.
Through air shutter opening, clean venturi (burner
neck) of obstructions such as cobwebs, dirt or bugs.
•Open Tank Valve Slowly
Small Flame
: Flame will not adjust any larger... (Safety
Feature: New Low Pressure Regulator will detect a
sudden use of gas and automatically go into a “low
flow” mode and needs to be reset) Turn off all valves
at stove and at tank. Assure all fittings are tight and in
good repair. Test for leaks. Repeat steps 2, 3 and 4.
•Open Tank Valve Slowly
AIR
SHUTTERS
(AIR
VENTS)
Low Pressure
Burner
Quemador De
Baja Presión
Faible Pression
Au Bruleur
venturi
Tank Sold Separately
IMPORTANT INSTRUCTIONS ON ASSEMBLY AND SAFETY FOR YOUR CAMP CHEF COOKER
WARNING: Chemicals known to the state of California to cause cancer, birth defects, or other reproductive harm are created by the combustion of propane.
Sport Utility, Big gASS Grill, Keg Roaster, Ultimate Roaster Are From the Makers of Camp Chef and Covered Under One or More of the Following Patents:
356714, 378646, 417120, 328547, 358057, 364772
KEEP FOR FUTURE REFERENCE
WARNING: Read Thoroughly
Before Use
DO NOT DISCARD THESE SAFETY INSTRUCTIONS
IF YOU SMELL GAS
1. Disconnect gas to the appliance.
2. Extinguish any open flame.
3. If odor continues, immediately leave the
premises and call your gas supplier or local
fire department.
FOR OUTDOOR USE ONLY
If stored indoors, detach hoses and leave
fuel cylinder outdoors, with valve closed and
plugged.
FUEL TYPE
This unit is designed for use with propane only.
No other fuel is approved for use with this unit.
FUEL CYLINDER
Always store fuel bottles in a safe outdoor
area with valve closed and plugged. Follow the
manufacturer’s recommendation for proper use
and storage of propane cylinders.
Do Not Place
Propane Cylinders Directly Under Any Part of
the Burners.
CAUTION
Place the tank so as to minimize the possibility
of someone tripping over the connection hoses
while the cooker is set up.
Never Lean Over or
Stand too Near the Cooker, or Allow Children or
Pets Near the Cooker During Use.
COMBUSTIBLE MATERIALS
During operation of cooker, insure proper
clearance from any combustible materials, in
relation to the top, sides and back of cooking
appliance. For outside use only. Do not use near
flammable walls or under eaves or overhangs
of homes or garages. Never leave unattended
while hot or in use. Allow cooker to cool before
take down and storage. The propane tank must
always be stored outdoors in a well ventilated
space.
Never Stand or Lean Over Cooker Burner
While Lighting.
FOR YOUR SAFETY
Follow all safety, set-up, lighting and cooking
instructions. Do not store or use gasoline or
other flammable vapors and liquids in the
vicinity of this or any other appliance.

