


The regulator/hose assembly should be
handled carefully to prevent contamination
by foreign objects and dirt. The assembly
should be inspected before use and any dirt
or contamination should be wiped off. In order
to insure proper operation, any replacement
of the regulator assembly must be with parts
authorized by manufacturer.
Valve/pressure regulators are factory set to
the correct operating pressures. No attempts
should be made to adjust these settings.
Checking for Leaks
After all connections are completed, check all
connections and fittings for leaks with a soap
solution.
-With all valves closed, apply the leak check
solution (50/50 mix of dish washing soap
detergent and water) to all gas carrying
connections and fittings.
-Open tank valve.
Presence of bubbles at areas of wet solution
indicates a gas leak. If leaks are detected or
you smell or hear gas, shut off the valve and
repair the leak or replace the defective part. Do
not use the smoker until all leaks are corrected.
OPERATING INSTRUCTIONS
Pre-Use Procedures
Before you cook food in your smoker, it is
important to “season” your smoker. Seasoning
seals the paint and interior of your smoker
to enhance flavoring, durability and overall
performance. This is also referred to as the
“break-in” process. If your smoker requires any
touch-up paint on the inside of the cabinet, the
only time you should apply paint to the inside
is before the seasoning process. Paint should
not be applied to the interior of your smoker
after your smoker has been used. Paint toxins
may contaminate your food. Use only high temp
paint.
To season your smoker, simply use it as you
normally would; only do not cook any food.
You will need to follow all of the operating
procedures in the next few sections of this
manual.
Using your desired flavoring woods and
marinades, burn your smoker at low
temperature (around 175°F) for 45-60 minutes.
Let the smoker cool, and clean out the used
water and wood.
Once seasoning is complete, your smoker’s
interior will have a durable, seasoned coating.
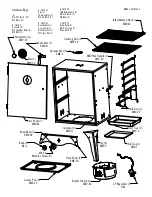
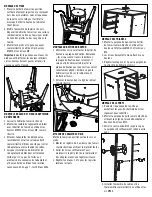
Adding Water
To add water before cooking, simply remove the
water tray and fill it with water up to 1” below
the rim. Then replace the tray to the bottom of
the rack.
To add water while the smoker is hot, DO NOT
pull the water tray out beyond the rack.
Adding Wood/Charcoal
To add wood chips before cooking, simply fill
the wood chip tray with your favorite choice
of flavoring hardwood chips. The amount and
type of wood you use is entirely up to you. One
full tray is typically enough for several hours of
smoking. Once the box is filled, set the tray in
the smoker.
To add wood chips while cooking, we
recommend using tongs or long handled
pliers to place the pieces into the wood
chip tray without removing the tray. It is not
recommended to remove the wood chip tray
while the smoker is in operation.
CAUTION:
The wood chip tray gets very hot.
Avoid handling while in use. Always wear
protective oven mitts or heat resistant gloves
when handling hot components.
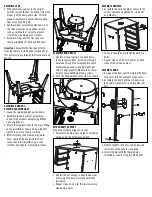
Lighting Procedures
1. Check all connections for leaks using the
“soapy water” test.
2. Open the smoker cabinet door.
3. Check for any blockage to the venturi tube or
burner. Remove any foreign objects or matter.
4. Be sure the burner control knob is in the
“OFF” position.
5. Open the LP cylinder valve ONLY 1-1/2 turns
by turning counter-clockwise.
6. Turn the burner control knob slowly counter-
clockwise to the high setting. The ignitor should
spark and ignite the burner.
7. You should see a small spark and hear the
ignitor click. If the burner doesn’t light, turn the
control knob off then repeat the above steps
again.
8. Once the burner is lit, then close the door
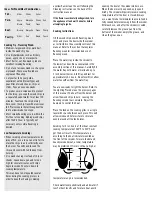
to allow heat to accumulate. The dampers
can then be adjusted to the desired setting to
allow proper air flow and combustion. Damper
adjustment tips are listed on the next page.
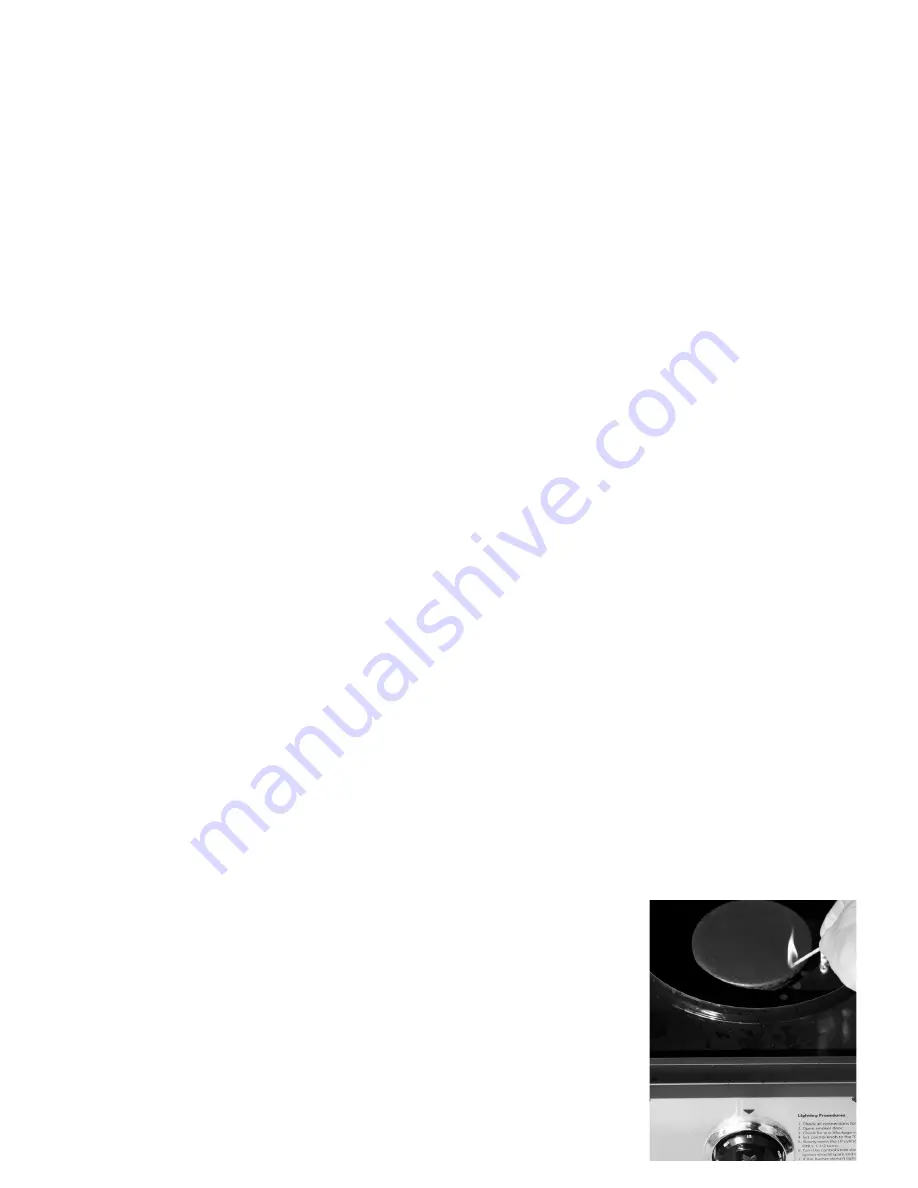
Match Lighting
1. Repeat steps 1 thru 5 of the Lighting
Procedures above.
2. Remove the Wood chip tray from inside the
smoker.
3. Light Paper Match
4. Turn the control knob to the “low” position
and immediately place lit match next to the
edge of the burner.
Long-nose Gas Match Lighting
1. Repeat steps 1 thru 5 of the Ignitor
Procedures above.
2. Remove the Wood Chip Tray from inside the
smoker. Insert a long nose gas lighter next to
the burner drum, making sure it sits over the
burner. Quickly turn the control knob to the light
position. If the burner does not light within 4
or 5 seconds, turn the control knob off, wait 5
minutes, and repeat the process.
Shutting the Smoker Off
CAUTION
: The smoker can become very hot
while in use. Do not touch any portion of the
smoker except for the door handle and burner
control knob. It may be necessary to use
protective gloves.
Turn the burner control knob off by pushing
in and rotating clockwise. The burner flame
should then go out. Turn off the LP cylinder
valve by turning the knob clockwise until it
stops.
Following all warnings and safety precautions
before removing meat from the smoker
or preparing the unit for storage. Follow
instructions in this manual for proper storage
procedures and the important warnings and
safeguards on pages.
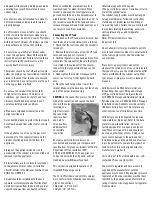
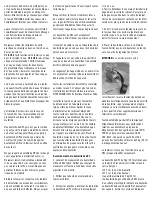
Burner Flame Check
• Light burner; rotate knob(s) from HIGH to
LOW. You should see a smaller flame in LOW
position than seen on HIGH. Always check flame
prior to each use. A blue flame with little or no
yellow flame provides the best heat. If you have


