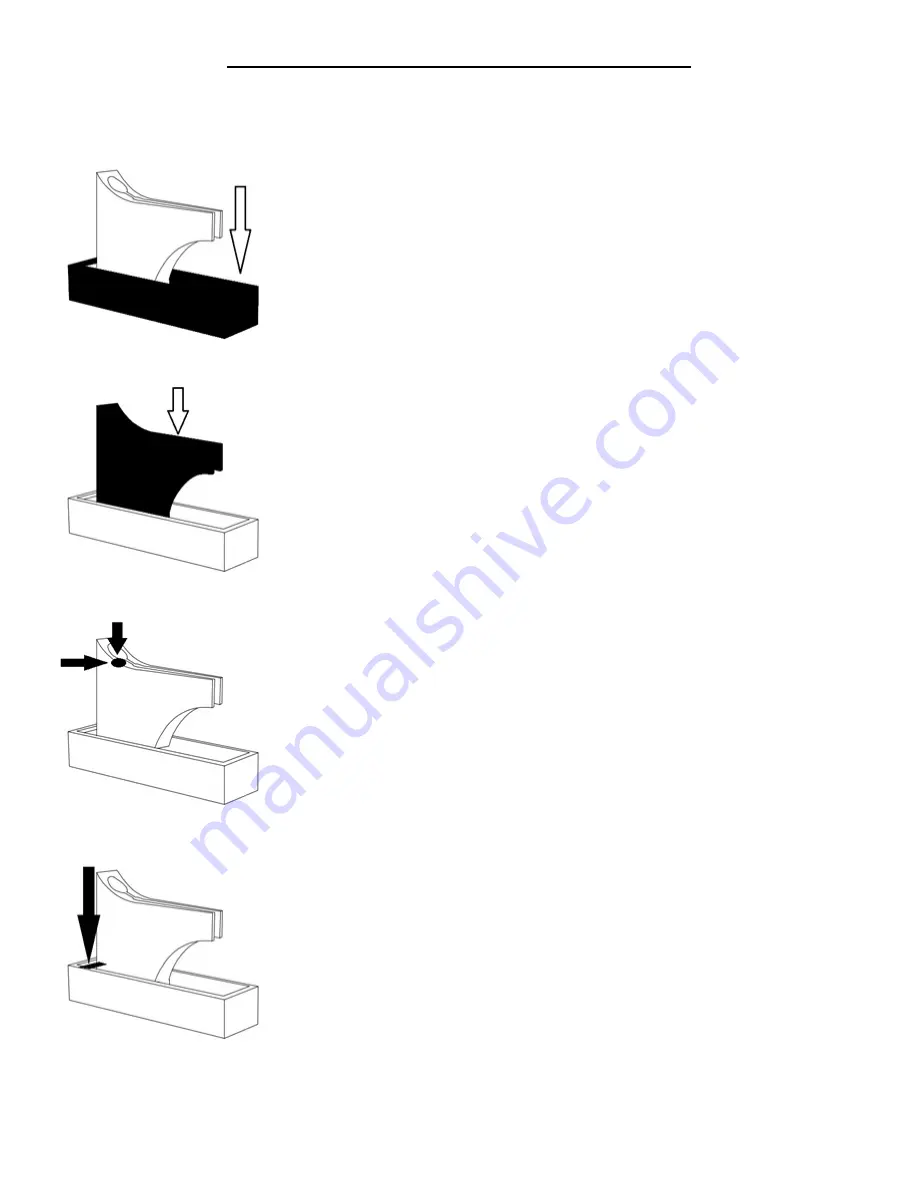
FT-126 Precipice Fountain
Two people are recommended for the installation of this fountain!
Revised March 31, 2017
Assemble your fountain on a level surface capable of holding a minimum of 700 pounds with an approximate 5.25 square
foot footprint.
FT-126D (264 lbs)
50”L x 15”W x 9”H
FT-126A (344 lbs)
35”L x 8”W x 30”H
FT-126B (2 lbs)
5.25”W x 1.5H
FT-126C (2 lbs)
6”L x 11”W x 1”H
1.
Position the basin (FT-126D) where the fountain is to be installed, ensuring
that it is level.
2.
Assemble the fountain plumbing
a.
Using a hose clamp, attach the 1/2” non-kink tubing to the pump outlet.
b.
Place the stopper around the pump cord approximately 6” from the pump.
3.
Feed the pump cord all the way through the hole in the basin and run the
cord through the channel in the bottom to ensure the fountain will be level.
4.
FIRMLY
press the stopper into the hole evenly.
a.
Note: Using the handle of a screwdriver or hammer works best to
press the stopper in place.
5.
Position the water feature (FT-126A) inside the basin with the copper pipe
pushed back against the stops in the basin (FT-126D).
6.
Use a hose clamp to secure the loose end of the non-kink tubing to the
copper pipe protruding from the water feature (FT-126A).
7.
Use the silicone provided to secure the copper spiller to the front vertical
edge of the water feature (FT-126A).
a.
Be sure to wipe away any excess silicone.
8.
Place the disc (FT-126B) over the pipe inside the top of the water feature
(FT-126A).
a.
Note: This disc is meant to prevent splashing and create an even
flow of water.
9.
Place the pump cover (FT-126C) over the pump
10.
Let the fountain sit 24 hours before filling with water.


