background image

255-100 Novalynx 

Analogue Output Evaporation Gauge

6. Installation

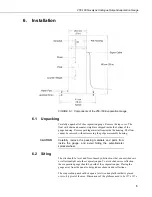
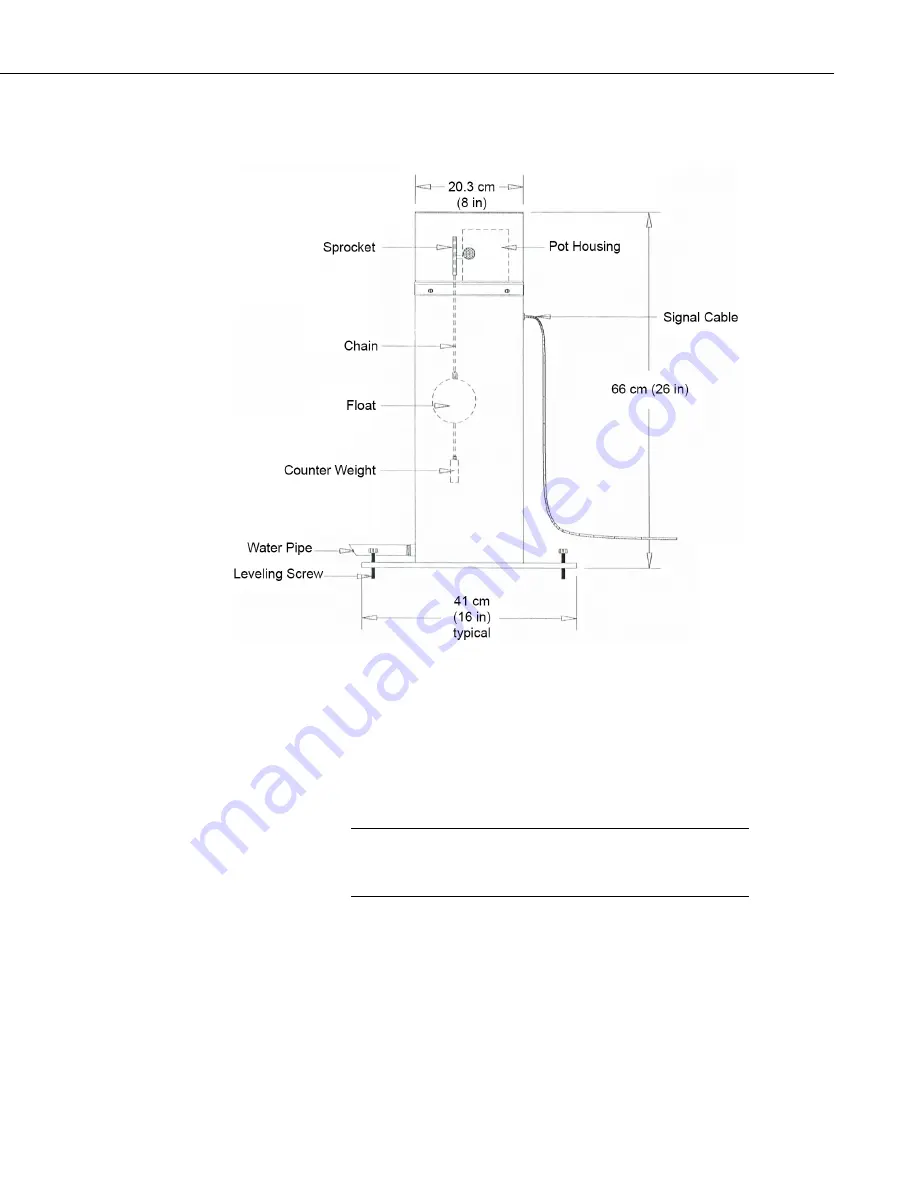
FIGURE 6-1.  Components of the 255-100 Evaporation Ga

u

ge 

6.1  Unpacking 

Carefully unpack all of the evaporation ga

u

ge. Remove the top cover. The 

float with chain and counter-weight are shipped inside the bottom of the 

ga

u

ge housing. Remove packing material from inside the housing. The float 

cannot be removed without removing the pot/gear assembly housing. 

Carefully remove the packing materials and parts from 

inside  the  ga

u

ge,  and  avoid  hitting  the  potentiometer 

sprocket wheel. 

6.2  Siting 

The site should be level and free of nearby obstructions that can cast shadows 

or reflect sunlight onto the evaporation pan. To avoid shadows or reflection, 

the evaporation ga

u

ge should be north of the evaporation pan. Placing the 

ga

u

ge away from the pan also helps reduce shadows and reflections. 

The evaporation pan should sit upon a level wooden platform that is placed 

over soil typical of the area. Dimensions of the platform need to be 127 x 127 x 

CAUTION 

Summary of Contents for 255-100

Page 1: ...255 100 Novalynx Analogue Output Evaporation Gauge Revision 8 18 Copyright 2009 2018 Campbell Scientific...

Page 2: ......

Page 3: ...under guarantee or not Please state the faults as clearly as possible and if the product is out of the guarantee period it should be accompanied by a purchase order Quotations for repairs can be give...

Page 4: ......

Page 5: ...digital cell phones and aerials may also not be applicable according to your locality Some brackets shields and enclosure options including wiring are not sold as standard items in the European marke...

Page 6: ......

Page 7: ...beginning work Wear a hardhat and eye protection and take other appropriate safety precautions while working on or around tripods and towers Do not climb tripods or towers at any time and prohibit cl...

Page 8: ......

Page 9: ...Pipe and Fittings for Evaporation Pan 4 6 Installation 5 6 1 Unpacking 5 6 2 Siting 5 6 3 Field Installation Procedure 6 6 4 Wiring 7 6 5 Programming 8 6 5 1 BrHalf Instruction 8 6 5 2 ExDelSE Instru...

Page 10: ...55 100P F 6 6 3 255 100 Schematic 7 6 4 Close up of Terminal Strip on 255 100 7 7 1 Multiplier and Offset Calculation Example 10 Tables 6 1 Wire Colour Function and Datalogger Connection 7 6 2 Excitat...

Page 11: ...m inside the gauge and avoid hitting the potentiometer sprocket wheel Install a fence or another deterrent to prevent animals from using the evaporation pan as a watering trough Keep the evaporation p...

Page 12: ...h of the evaporation pan The datalogger measures the voltage to determine water level and consequently evaporation and rainfall Novalynx Corporation manufacturers the 255 100P F Steel Pipe and Fitting...

Page 13: ...rogramming the datalogger to control a solenoid valve Programming the datalogger for partially draining the evaporation pan using a second solenoid valve may be desirable if the site regularly experie...

Page 14: ...aporation Pan Material Construction Inside depth Inside diameter Wall thickness Volume Weight Shipping weight Low carbon stainless steel type 304 18 gauge Heliarc welded 0 5 inch drain plug NPT female...

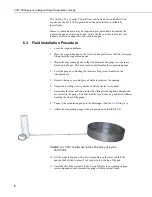
Page 15: ...embly housing Carefully remove the packing materials and parts from inside the gauge and avoid hitting the potentiometer sprocket wheel 6 2 Siting The site should be level and free of nearby obstructi...

Page 16: ...he evaporation gauge 4 Level the gauge by adjusting the three levelling screws located on the triangular base 5 Remove the top cover and place a bubble level across the opening 6 Adjust the levelling...

Page 17: ...nction Datalogger Connection Terminal Red Voltage excitation input U configured for voltage excitation1 EX VX voltage excitation White Analogue voltage output U configured for single ended analogue in...

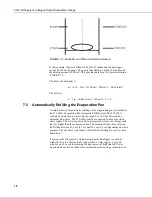
Page 18: ...ffset The multiplier and offset are unique for individual evaporation gauges TABLE 6 2 Excitation and Voltage Ranges Datalogger mV excitation Full Scale Range CR300 Series 2500 2500 mV CR6 2500 5000 m...

Page 19: ...ExDelSE instruction with a multiplier of 1 0 and an offset of 0 0 3 Add more water to the evaporation pan and measure the depth in the pan using the ruler 4 Measure the voltage at that depth using the...

Page 20: ...ion Pan Automatic Refill System The 255 620A consists of an electronic water timer powered by 2 AAA batteries and an automatic float valve The 255 620A must be connected to a user provided water suppl...

Page 21: ...ormation Campbell Scientific recommends that the solenoid valves have a power supply independent of the weather station If the fill tank runs dry the solenoid could remain open for an extended period...

Page 22: ...t dirt and debris from accumulating in the pan During the winter months when the water may freeze drain and clean the pan and then store both the pan and evaporation gauge indoors If the evaporation p...

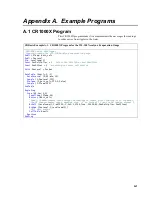
Page 23: ...lier and PanOffset Const PanOffset 0 according to sensor calibration Units PanLevel Inches DataTable Hourly 1 1 DataInterval 0 60 min 10 Sample 1 PanLevel FP2 Minimum 1 batt_volt FP2 0 False Sample 1...

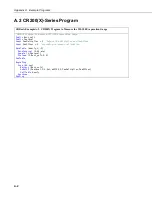
Page 24: ...ion Gauge Public Batt_volt Public PanLevel Const PanMultiplier 1 Adjust Pan Multiplier and PanOffset Const PanOffset 0 according to sensor calibration DataTable Hourly 1 1 DataInterval 0 60 min Sample...

Page 25: ......

Page 26: ...Asia Location Bangkok Thailand Email info campbellsci asia Website www campbellsci asia China Location Beijing P R China Email info campbellsci com cn Website www campbellsci com cn Spain Location Ba...

Reviews: