Section 2. Assembly of Components and Erection of Tower
2-3
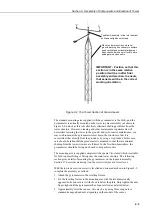
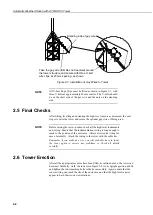
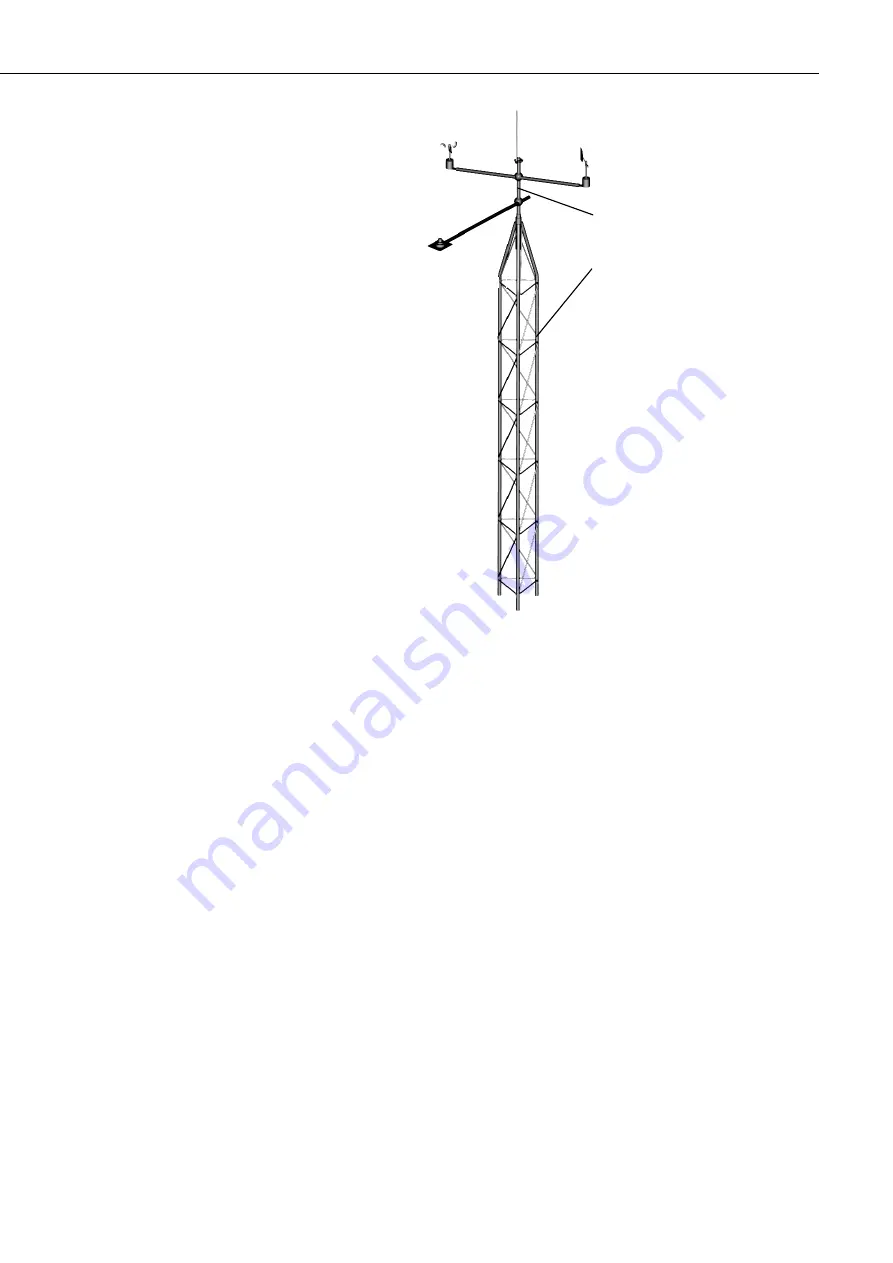
Figure 2-2 Top Tower Section at Ground Level
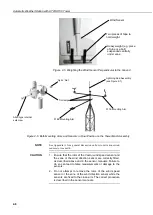
The standard mounting arm supplied with the pyranometer is the 016E, and the
pyranometer is normally mounted on the tower top mast assembly (as shown in
Figure 2-6, below) as this will effectively eliminate shading problems from the
tower structure. However, cleaning and other maintenance requirements will
necessitate lowering the tower to the ground, and so, for easier maintenance, you
may wish to mount the pyranometer lower down the structure so that it is
accessible either directly from the ground or by using a step-ladder. In this case,
care should be taken that the pyranometer is mounted so that there is minimal
shading from the tower structure at all times. In the Northern hemisphere, the
pyranometer should be facing due South to help achieve this.
The mounting arm is supplied complete with a special ‘tri-clamp' which is suitable
for both top mast fitting or fitting onto the main tower structure. The following
section gives details of mounting the pyranometer on the top mast assembly.
Section 2.7 describes mounting it on the tower structure at a lower level.
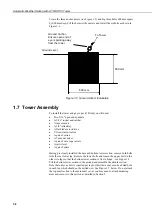
With the top tower section correctly levelled and oriented as shown in Figure 2-2,
complete the assembly as follows:
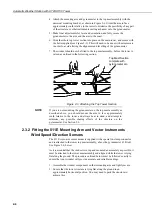
1.
Attach the pyranometer to the levelling fixture.
2.
Fix the levelling fixture to the mounting arm with the two diametrically
opposed bolts and secure it with the nuts below the plate. Only tighten the nuts
finger-tight until the pyranometer has been levelled, as detailed below.
3.
Approximately level the sensor – this may be by using three wing nuts or
standard hexagon head nuts, depending on the model of the sensor.
Place top tower section onto level
ground, packing if necessary to achieve
good vertical and horizontal alignment
when checked with a spirit level, before
adding arms and sensors.
IMPORTANT - Position so that this
section is in the same relative
position it will be in after final
assembly and erection, to ensure
that sensors will be in the correct
working orientation.
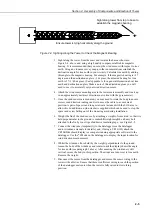
Top Mast Assembly - slide into top mast
section and tighten setscrews

