Section 7. Camera Operation Using Web Browser Interface
7-11
7.3.1 System Date and Time
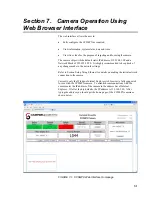
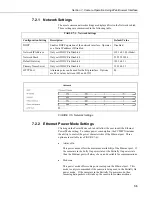
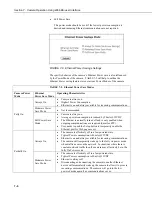
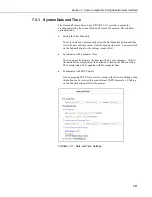
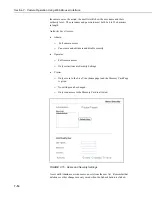
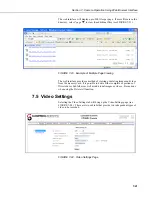
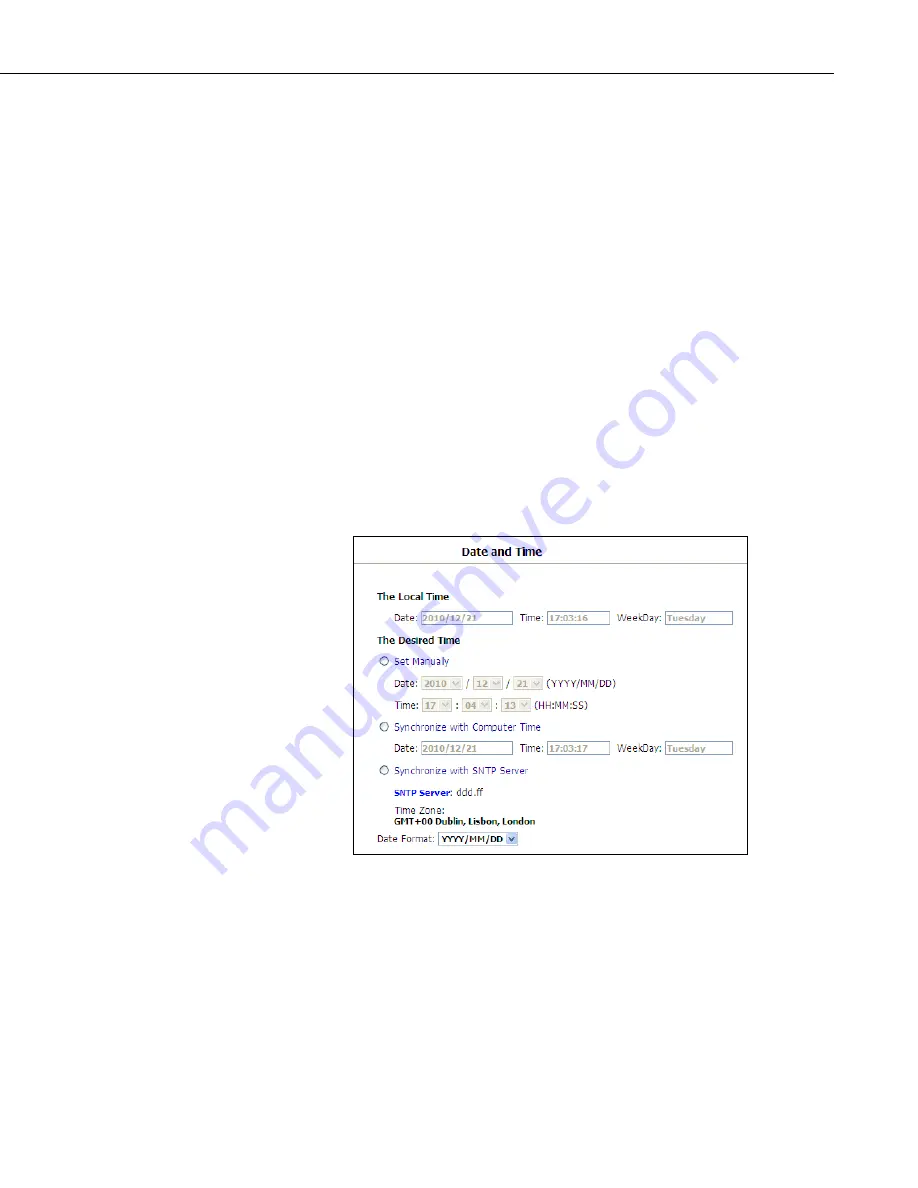
The Date and Time sub menu (see FIGURE 7-11) provides a means for
viewing and setting the current Date and Time of the camera. The available
options include:
•
Setting the Time Manually
To set the date and time manually select the Set Manually button and then
select the date and time values from the drop down boxes. You must click
on the Submit button for the settings to take effect.
•
Synchronize with Computer Time
The web page also displays the time reported by your computer. If this is
the desired time, simply select the button and click on the Submit button.
The camera time will be updated with the computer time.
•
Synchronize with SNTP Server
If an appropriate SNTP Time server is set up in the Network Settings, then
this button can be selected to use an Internet SNTP time server. Clicking
on the Submit button will start the process.
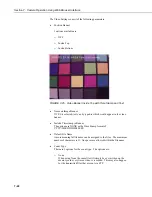
FIGURE 7-11. Date and Time Settings
Summary of Contents for CC5MPX 6HULHV
Page 2: ......
Page 10: ...CC5MPX Table of Contents vi ...
Page 12: ...Section 1 Introduction 1 2 ...
Page 22: ...Section 3 Getting Started 3 8 FIGURE 3 7 CC5MPX Device Configuration Utility Settings Editor ...
Page 28: ...Section 4 Cables Wiring 4 6 ...
Page 36: ...Section 6 Camera Configuration 6 2 ...
Page 72: ...Section 7 Camera Operation Using Web Browser Interface 7 36 FIGURE 7 31 Motion Detection Page ...
Page 84: ...Section 10 RS 485 Communications 10 2 ...
Page 86: ...Section 11 PakBus Communications 11 2 ...
Page 88: ...Section 12 Device Configuration Utility 12 2 FIGURE 12 2 Device Configuration Utility Screen ...
Page 90: ...Section 13 Image Quality 13 2 ...
Page 98: ...Section 15 Power Calculations and Timings 15 4 ...
Page 104: ...Section 17 Remote Image Retrieval 17 4 ...
Page 110: ...Section 19 Maintenance 19 4 FIGURE 19 5 Desiccant Location Location of Desiccant ...
Page 116: ...Section 21 System Limitations 21 2 ...
Page 122: ...Section 23 Quick Notes 23 4 ...
Page 129: ......

