16-1
Section 16. CR1000 Interface Guide
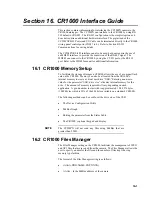
This section contains information for interfacing the CC5MPX camera to the
CR1000 datalogger. The CC5MPX can interface to the CR1000 by using RS-
232 default or RS-485. The RS-232 configuration is the simplest option as it
does not require an additional hardware interface. The pigtail end of the
CC5MPXCBL1 Power and I/O Cable can be terminated directly to the CR1000
wiring panel control ports (COM 1 to 4). Refer to Section RS-232
Communications for wiring details.
The CC5MPX RS-485 interface can also be used, but does require the use of
an MD485 interface to provide the conversion of the RS-485 signal. The
MD485 can connect to the CR1000 by using the CS I/O port or the RS-232
port. Refer to the MD485 manual for additional information.
16.1 CR1000 Memory Setup
To facilitate the storage of images a CFM100 allows the use of a compact flash
card on the CR1000. Memory can also be allocated from the CR1000’s
internal memory to create a virtual user drive “USR:” Entering a non-zero
value for the parameter “USR: drive size” allocates internal memory for the
drive. The amount of memory required will vary depending on each
application. A good number to start with is approximately 1 048 576 bytes
(1048 kbytes which is 25% of the 4 Mbytes available on a standard CR1000).
The following methods can be used to set the drive size of the USR:
•
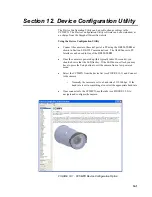
The Device Configuration Utility
•
PakBus Graph
•
Editing the parameter from the Status Table
•
The CR1000’s optional keypad and display.
The CC5MPX will not send any files using PakBus that are
greater than 2 MB.
16.2 CR1000 Files Manager
The Files Manager setting on the CR1000 facilitates the management of JPEG
and AVI files that are received from the camera. The Files Manager allows the
user to specify a name for the files and the number of files kept in a ring
memory type fashion.
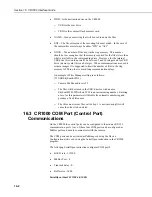
The format of the Files Manager setting is as follows:
•
(AAAA,DDD:NAME.EXT,NNNN)
•
AAAA – Is the PakBus address of the camera
NOTE
Summary of Contents for CC5MPX 6HULHV
Page 2: ......
Page 10: ...CC5MPX Table of Contents vi ...
Page 12: ...Section 1 Introduction 1 2 ...
Page 22: ...Section 3 Getting Started 3 8 FIGURE 3 7 CC5MPX Device Configuration Utility Settings Editor ...
Page 28: ...Section 4 Cables Wiring 4 6 ...
Page 36: ...Section 6 Camera Configuration 6 2 ...
Page 72: ...Section 7 Camera Operation Using Web Browser Interface 7 36 FIGURE 7 31 Motion Detection Page ...
Page 84: ...Section 10 RS 485 Communications 10 2 ...
Page 86: ...Section 11 PakBus Communications 11 2 ...
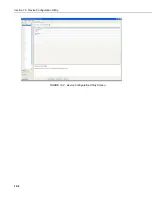
Page 88: ...Section 12 Device Configuration Utility 12 2 FIGURE 12 2 Device Configuration Utility Screen ...
Page 90: ...Section 13 Image Quality 13 2 ...
Page 98: ...Section 15 Power Calculations and Timings 15 4 ...
Page 104: ...Section 17 Remote Image Retrieval 17 4 ...
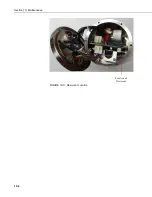
Page 110: ...Section 19 Maintenance 19 4 FIGURE 19 5 Desiccant Location Location of Desiccant ...
Page 116: ...Section 21 System Limitations 21 2 ...
Page 122: ...Section 23 Quick Notes 23 4 ...
Page 129: ......

