HydroSense II Soil Moisture Measurement System
13
5.3.3
Storage
The HydroSense II does not store relative water content or deficit measurements
to flash. Only Water Content measurements are stored.
6
User Interface
The following section contains a detailed description of the HydroSense II user
interface.
For the most part, the screenshots included in this section have been captured
using factory default settings (except where noted), however they may not reflect
the exact image seen on your screen because of configuration settings chosen or
operating system updates. These differences should be minor and are likely to be
cosmetic.
Throughout this section, we have used red highlights to mark areas of interest on
the screenshots. These red highlights are added in this manual for illustrative
purposes only and will not actually be visible on the screen of the device.
6.1
Buttons
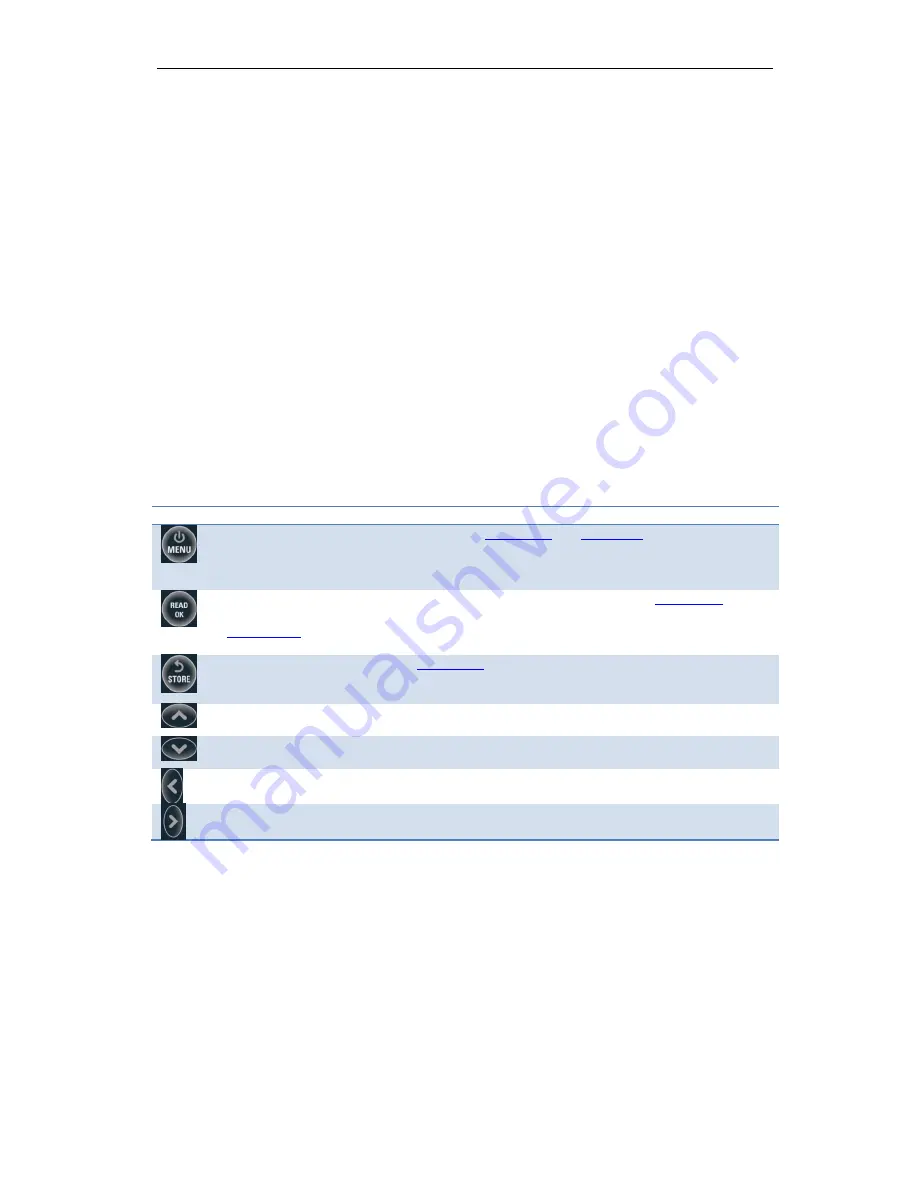
Below are a list of the buttons on the HydroSense II and their functions.
User Interface Buttons
The Menu/PWR button. When pressed in the
main screen
, the
main menu
will be displayed.
This key also doubles as the Power button. To turn the HydroSense II on or off, press and hold
this button for 3 seconds.
The Read/OK button. This key is used to initiate a new measurement in the
main screen
, and is
also used to select an item in a list or to answer “OK” to prompts throughout the HydroSense II
menu system
.
The Store/Back button. From the
main screen
, this button is used to store the current reading to
disk. In the menu system it is used to move “Back” to the previous menu.
The Up button. This and the other direction keys are used to navigate lists.
The Down button. This button moves the cursor downward.
The Left Button. This button moves the cursor to the left.
The Right button. This button moves the cursor to the right.


