HydroSense II Soil Moisture Measurement System
19
position. This is to maximise the received signal and thereby shorten the time
required to achieve synchronisation.
To synchronise the GPS, take the HydroSense II outside, away from any tall
buildings or large obstructions and turn it on. GPS synchronization will normally
be achieved in approximately 30 seconds, but can take up to a minute or so. The
HydroSense II indicates that valid GPS synchronisation has been achieved by
displaying the GPS sync icon on the
main screen
. When the GPS is
synchronized, the internal clock of the HydroSense II is adjusted to match the
GPS time to within a millisecond. This is the default behavior, however this
feature can be disabled if desired using the
configuration menus
.
8.2
Geo-tagging & Zones
When the GPS module is enabled, the HydroSense II is able to store water
content data that is tagged with position information (latitude & longitude).
Using this position information, data can be grouped by geographical location.
These geographical areas are referred to as “zones” and are characterised by a
centre coordinate and radius. Volumetric water content values are then grouped,
filtered and charted by the computer software based on the zone in which the
data was collected.
The HydroSense II keeps a table of up to 100 GPS zones in memory and
searches through this table every few seconds to determine if it is within the
boundary of a zone. When it has determined that the user is within a zone, it
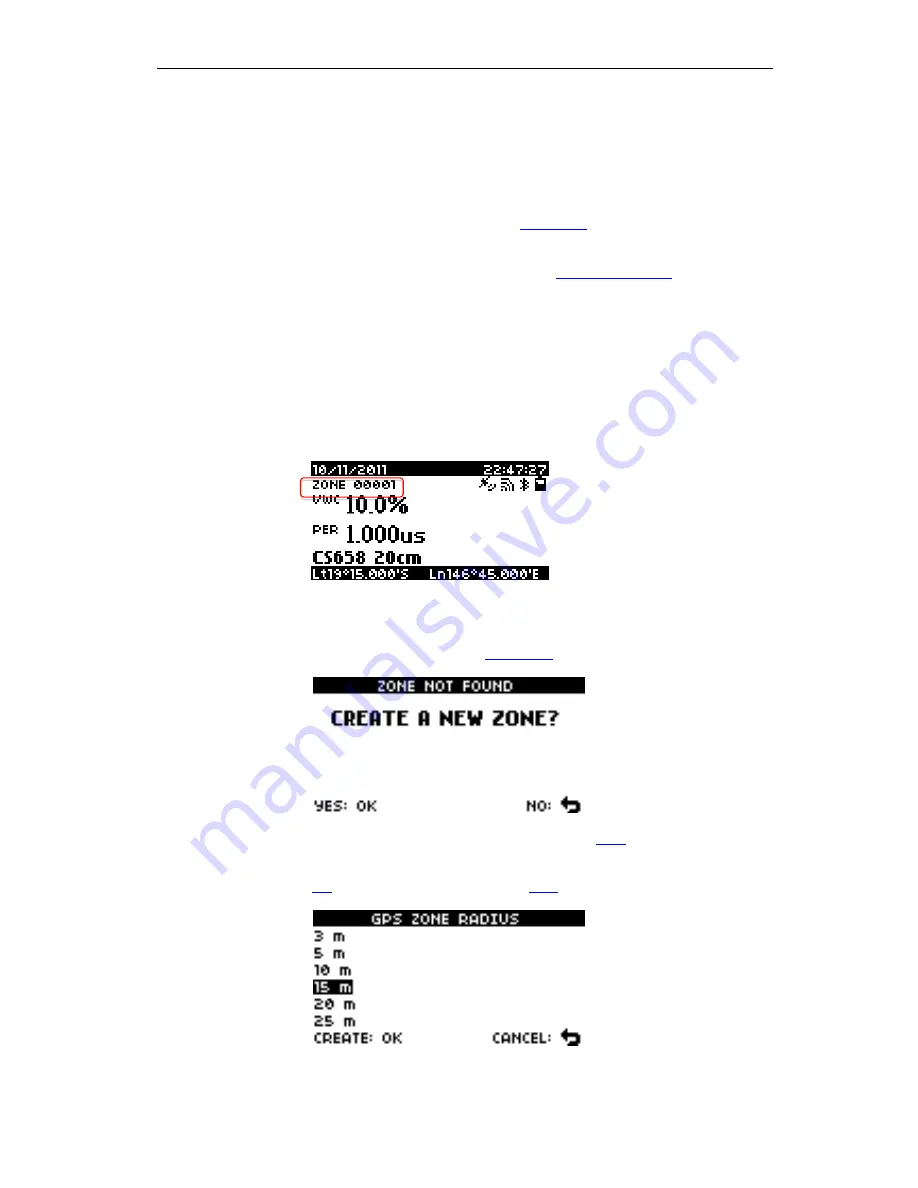
displays the zone name on the
main screen
(shown above).
Zones are created when data are stored. When the
Store
key is pressed, and the
HydroSense II determines that the current location is not in an existing zone, this
message is shown on the screen. To create a new zone, select YES and press
OK
. To exit without storing, press the
Back
button.


