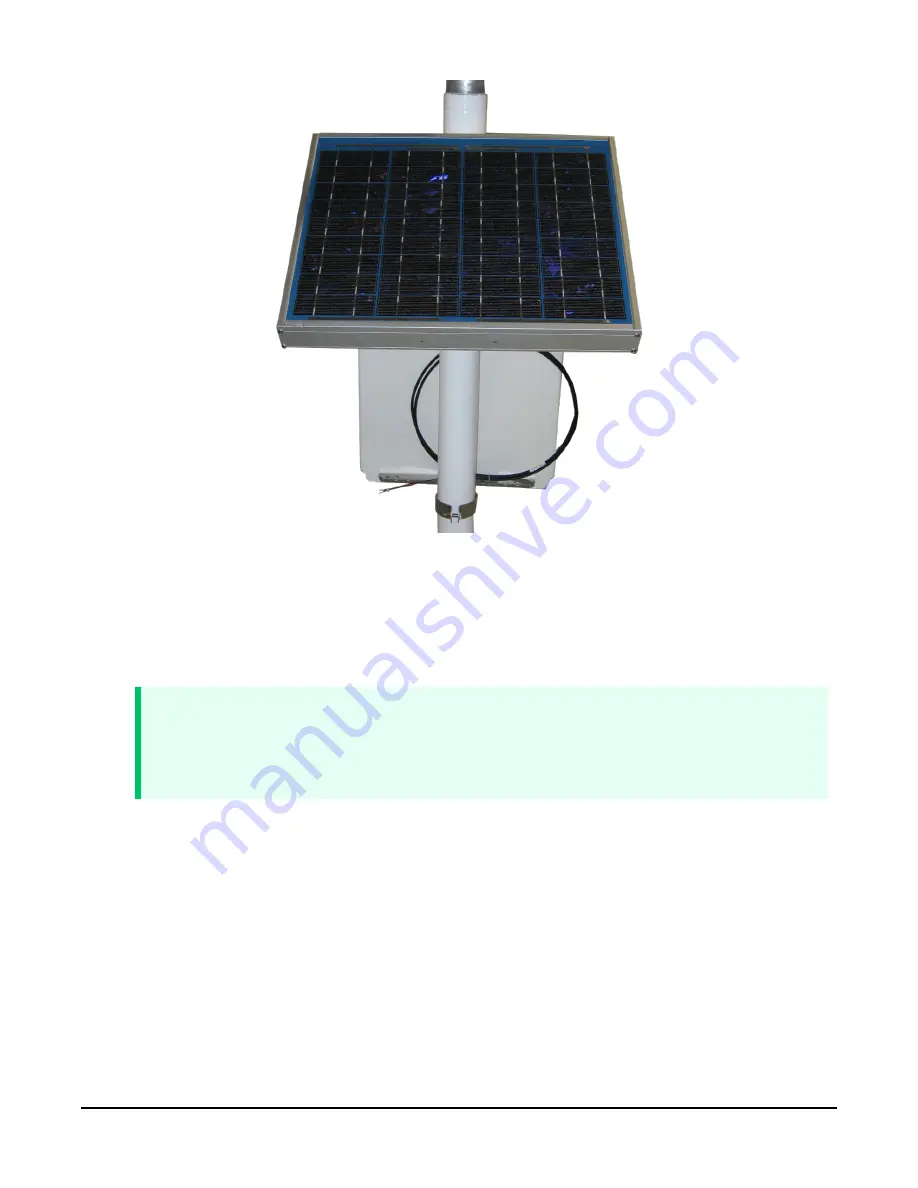
FIGURE C-9. Fully mounted solar panel
8. Throw a blanket or box over the solar panel to prevent any voltage output.
9. Route the solar panel cable and power cable coming from the main T107 enclosure into the
conduit at the bottom of the PS24 enclosure.
TIP:
Leave a loop of all cables under the PS24 enclosure to act as a drip line. Cut both
cables to whatever length you need. It doesn’t hurt to leave a loop of cable inside the
enclosure.
10. If this is a station retrofit, remove the PS100 or PS150 from the weather station enclosure
and install it into the PS24 enclosure. Unplug the 7 Ah battery from the PS100 or PS150 and
remove the battery from the battery compartment. The 7 Ah battery will not be used in the
configuration.
11. Wire the charging source (solar panel or AC source) into the two CHG terminals on the
CH150 or CHARGE terminals on the PS100 and PS150 (
Appendix C. PS24 24 Ah power supply with 10 x 12 inch enclosure
90


