2. Installation
05
ENGLISH
1. Connect the supplied antenna cable (10 m) to the antenna and the control unit.
2. Connect the supplied power cable to a power source (12 V, min. 5 A) and the control
unit.
3. Switch on the control unit using the standby button.
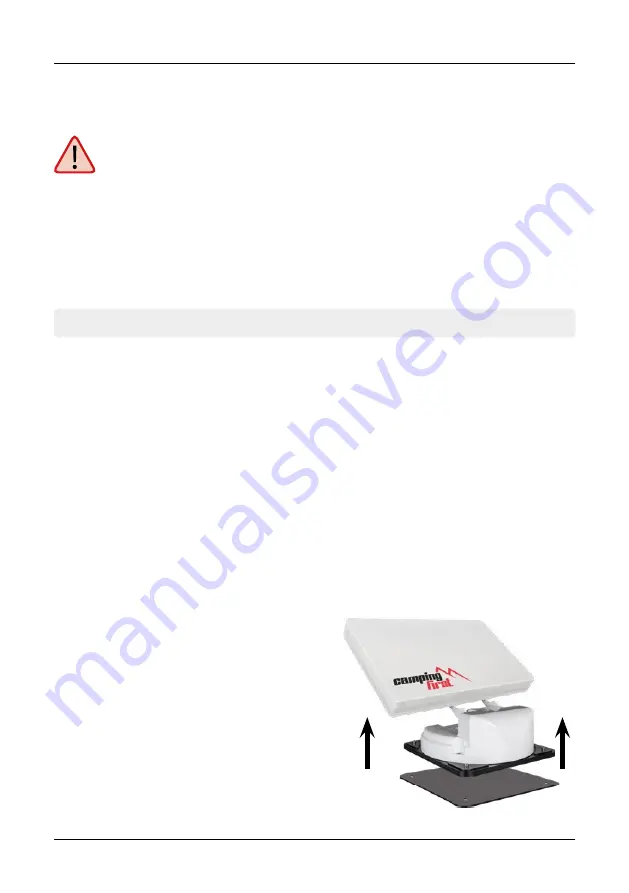
4. The receiving unit of the antenna now straightens up. As soon as the antenna has re-
ached the position (see picture), disconnect the power supply from the control unit.
5. Loosen the four Allen screws to lift the antenna unit from the mounting plate.
6. Now remove all connection cables to start the installation.
2.1 Set the antenna to installation mode
Warning:
Please also note that the antenna changes the vehicle height accor-
dingly! Please be sure to follow the individual points of the installation instruc-
tions!
General:
Make sure you have a suitable place to work, a garage/hall is better than an outdoor place.
outdoors. The ambient temperature for installation should be b15° C and max.
+25° C. Do not work directly in the sun. Observe the work regulations when handling
chemical products. Ensure the necessary working hygiene.
We generally recommend having the installation carried out by your specialist dealer or
a specialist workshop!
To remove the mounting plate from the antenna, we recommend putting the antenna
in installation mode to better loosen the four Allen screws. To do this, you must first
connect the antenna and the control unit provisionally.
Summary of Contents for Satmex Flat 2
Page 1: ...Satmex Flat 2 Bedienungsanleitung...
Page 21: ...21 DEUTSCH Notizen...
Page 23: ...Satmex Flat 2 user manual...
Page 43: ...21 ENGLISH Notes...


