Instructions
1.
Place
the
unit
in
a
secure
loca on
where
it
will
not
be
bumped
or
fall.
Provide
room
around
the
unit
to
avoid
interference.
Ensure
the
fi
ber
op
‐
c
cable
does
not
bend
sharply
in
a
ght
radius,
which
can
severely
a
ff
ect
the
signal
transfer.
A
non
‐
slip,
an sta c
surface
mat
is
recommended
on
which
to
conduct
the
tes ng.
2.
Disconnect
cables
from
all
equipment
prior
to
tes ng.
3.
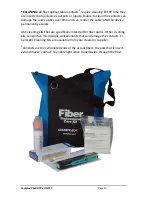
CLEAN
(see
page
10
for
cleaning
instruc ons)
all
op cal
cable
contacts
that
will
be
connected
to
the
CMX
‐
OPT
‐
CON
‐
TST;
this
includes
the
op calCON
cable
to
be
tested
and
the
ST
to
ST
jumper
cables.
Inspect
with
a
video
inspec on
unit
–
Lightel
or
similar
if
available.
ST
connec ons
are
securely
made
in
the
same
manner
you
would
connect
a
bayonet
BNC:
while
pressing
lightly
in
on
the
con
‐
nector,
twist
it
in
a
clockwise
direc on
about
1/8
to
1/4
of
a
turn
and
then
release.
The
connector
should
stay
inserted
and
have
backwards
spring
pressure
holding
the
bayonet
in
place.
The
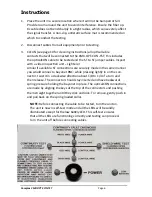
op calCON
connec ons
are
made
by
aligning
the
keys
at
the
top
of
the
connectors
and
pushing
them
straight
together
un l
they
click
and
lock.
To
remove,
gently
push
in
and
pull
back
on
the
spring
loaded
collar.
NOTE:
Before
connec ng
the
cable
to
be
tested,
turn
the
unit
on.
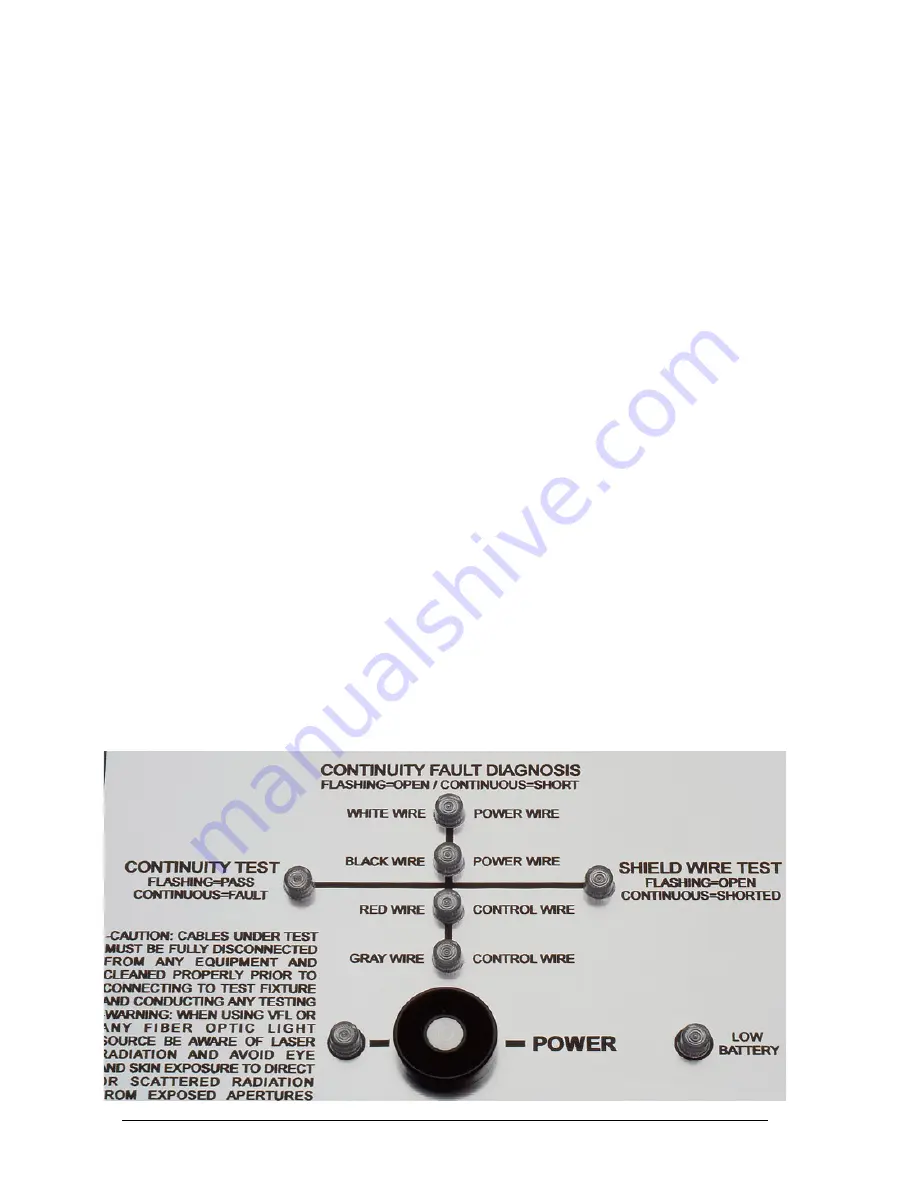
The
unit
is
now
in
self
‐
test
mode
and
all
the
LEDs
will
be
solidly
illuminated
except
for
the
low
ba ery
LED.
This
self
‐
test
ensures
that
all
the
LEDs
are
func oning
correctly
and
tes ng
can
proceed.
Turn
the
unit
o
ff
before
connec ng
cables.
Camplex CMX
‐
OPT
‐
CON
‐
TST
Page
6


