background image

- 1 - 

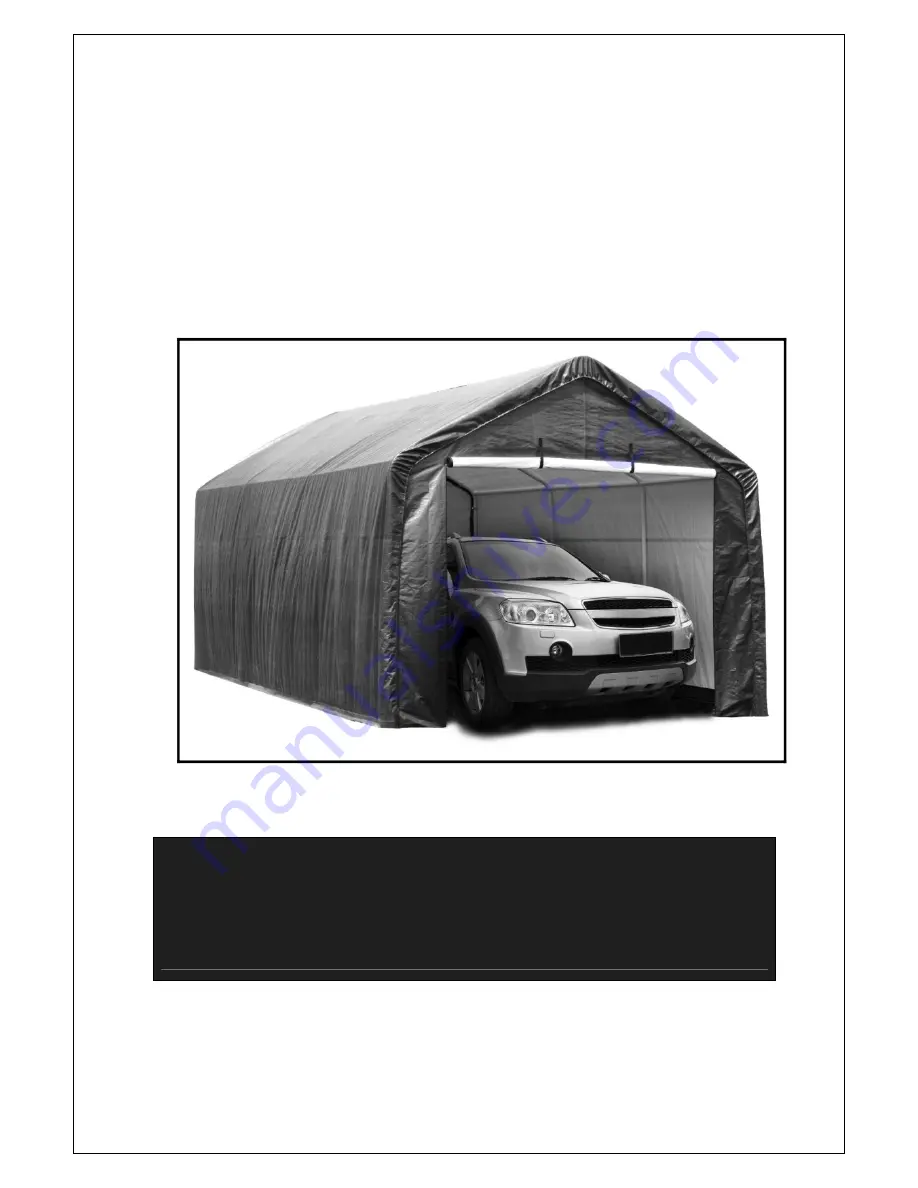
AUTO STORAGE SHELTER 

INSTRUCTION MANUAL


37-1398-2 

10' x 17' x 9' 6" (3 x 5.2 x 2.9 m) 8-Leg 


Questions

If you have a question or if there are missing parts

please call

1

-

866

-

567

-

4089 

Monday

-

Saturday 7

:

00 a.m.

-

8

:

00 p.m.


EST


Please read instructions fully before beginning assembly

.


V.4. 

Summary of Contents for 37-1398-2

Page 1: ...UAL 37 1398 2 10 x 17 x 9 6 3 x 5 2 x 2 9 m 8 Leg Questions If you have a question or if there are missing parts please call 1 866 567 4089 Monday Saturday 7 00 a m 8 00 p m EST Please read instructio...

Page 2: ...2 TABLE OF CONTENTS SAFETY INSTRUCTIONS 3 PARTS LIST 4 ASSEMBLY 4 12 LIMITED WARRANTY 13...

Page 3: ...uations Any work with paints cleaning products etc may require additional ventilation 9 Do NOT use barbeque grills smokers or other flammable equipment under or inside any shelters 10 Do not cook smok...

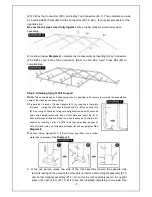
Page 4: ...u have at least one person help you during assembly as some of the steps require heavy lifting Step 1 Unpack and check the contents of the box Make sure that you have all the parts described in the be...

Page 5: ...5 FRAME ASSEMBLY OVERVIEW Tools not included with the shelter required to assemble shelter 1 Slot screwdriver 1 Rubber mallet to be used to ensure all pipes are fully inserted...

Page 6: ...ng installed the welded socket for cross rail must be below the bend Step 3 Roof Peak Assembly Note It is suggested that you have at least one person help you from this point forward during assembly a...

Page 7: ...ting a foot plate into each Upright To affix each foot plate use Pin 15 and Cotter Pin 16 per upright Place foot plate onto upright bottom end with punched holes Align upright holes with those of foot...

Page 8: ...re See Diagram H Step 5 Anchor Shelter Note Make sure the 8 legs are square before anchoring Base Fastening Stakes 23 must be used to anchor the shelter Four fastening stakes are provided with the she...

Page 9: ...URE DOWN DURING TIMES OF HIGH WINDS THE USER OF THE SHELTER MUST ENSURE TO TAKE ADEQUATE PRECAUTIONS TO ANCHOR THE SHELTER SECURELY Note Do not proceed on to the panel and covering steps until the fra...

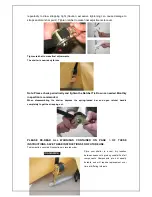
Page 10: ...ASSEMBLY INSTRUCTION TIGHTENING Open the Ratchet as shown in the picture below and pass the end of the strapping through the slot of the ratchet spool pull excess strapping through spool Then pump rat...

Page 11: ...d Monthly inspection recommended When disassembling the shelter depress the spring loaded bar and open ratchet handle completely to get the strapping out PLEASE RE READ ALL WARNINGS CONTAINED ON PAGE...

Page 12: ...en empty pockets running perpendicular to the strap pockets and near two edges of the roof tarp When the roof tarp is in position these empty pockets should be aligned facing the interior of the shelt...

Page 13: ...Cover Rail Clamp 8 for the end frame along with 1 piece each of M6X45 Bolt 11 M6 Nut 12 and M6 Washer 13 See Detail F Repeat securing the opposite end of the cross rail using a 4 Way Rail Clamp 11 an...

Page 14: ...ids tune ups or adjustments e This warranty will not apply where damage is caused by repairs made or attempted by others i e persons not authorized by the manufacturer f This warranty will not apply t...

Reviews: