Assembling
the
Aimer
ASSEMBLY IS COMPLETE
The Panther is factory calibrated for accuracy, to verify calibration of aimer, see section
on aimer calibration.
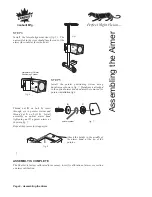
Attach the holder to the middle of
the aimer head, at the tip of the
pointer.
Fig. 5
STEP 4
Install the lateral alignment visor (fig. 5). The
narrow slot in the visor should face the rear of the
aimer (the wide slot faces the front).
STEP 5
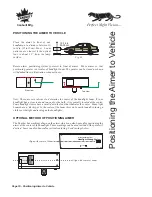
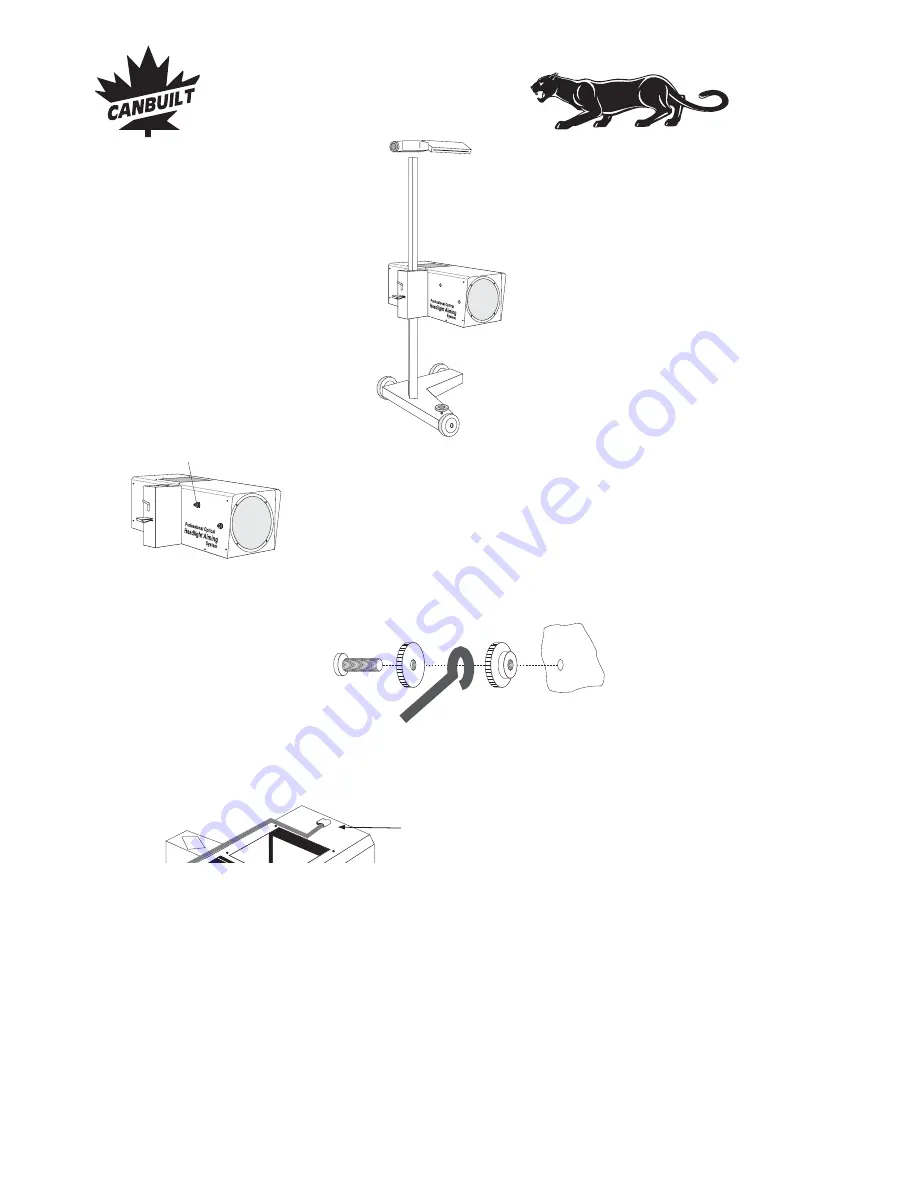
Install the pointer positioning system using
hardware as shown in fig. 7. Hardware is attached
to the optical aimer head and must be removed for
pointer installation fig.6.
fig. 6
Hardware for Pointer
Positioning System
Thread nut
on bolt
, insert
through eye in pointer system and
thread nut
on bolt
.
Install
assembly on optical aimer head
tightening nut
against aimer as
shown in fig. 7.
Repeat the process for stopper pin.
B
A
C
A
C
fig. 8
Page 6 - Assembling the Aimer
fig. 7
C
B
A
pointer system
Canbuilt Mfg.
Perfect Night Vision.....
Summary of Contents for OPT-5405
Page 2: ......
Page 4: ......
Page 28: ......


