background image

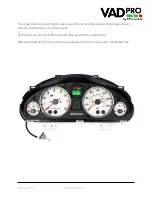
The screw holes are really tight so take care of the correct placement of the display. Now is

the time to have minor corrections done.

At the end you can install the frame and the glass with the original clips.

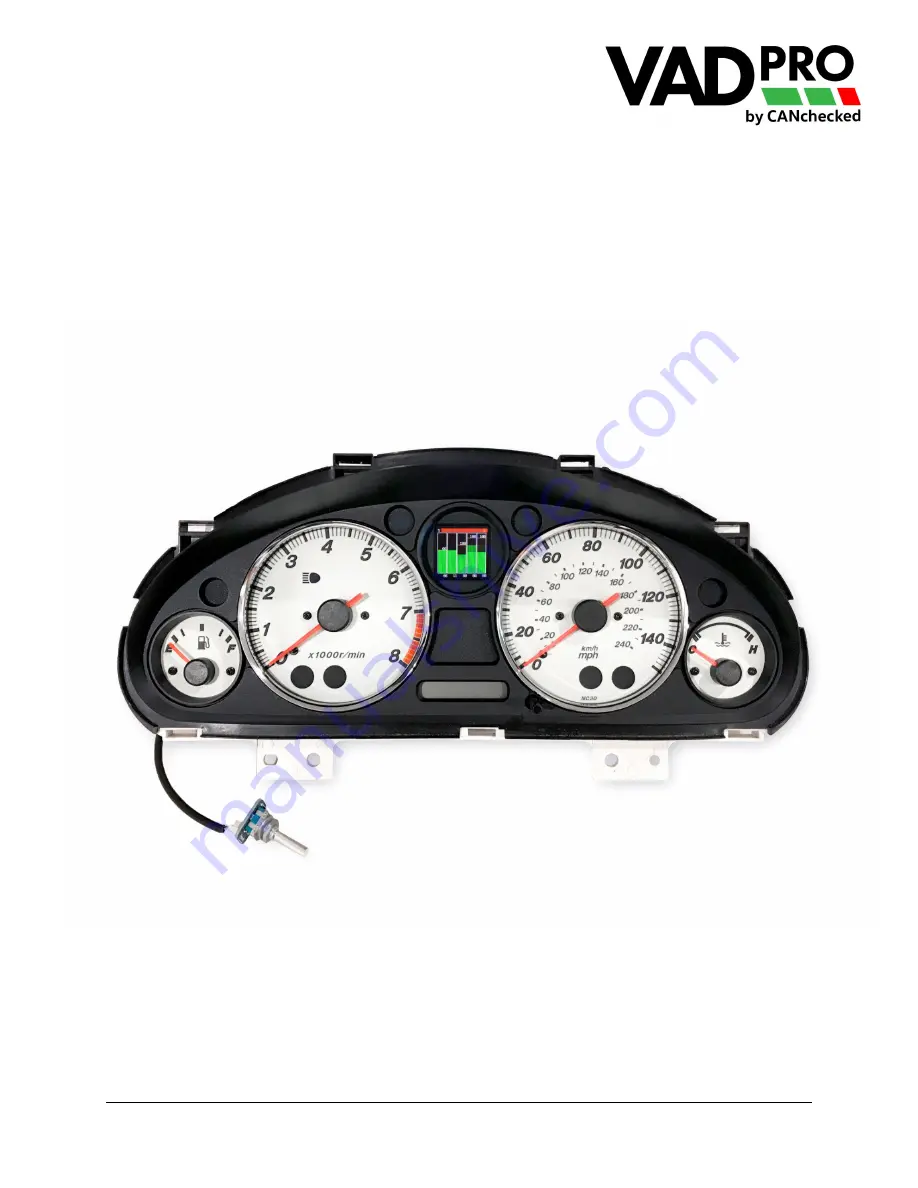
Afterwards the electrical connection can take place in the car. You cluster should like this:

Version v0.2

www.vadpro.com

Summary of Contents for VADpro VAD15

Page 1: ...ulties or problems may occur This may occur due to many different versions of instrument panels which cannot be considered upfront If you have any feedback criticism or change request do not hesitate...

Page 2: ...Installation Preparation red press to remove clips of the screen and frame remove both screen and frame from the instrument cluster Version v0 2 www vadpro com...

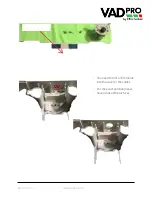
Page 3: ...The oil pressure gauge in the middle at the top needs to be removed For that purpose remove the three Philips screws Remove oil pressure gauge Version v0 2 www vadpro com...

Page 4: ...You need to drill a 15mm hole into the case for the cables For the exact position please have a look at the pictures Version v0 2 www vadpro com...

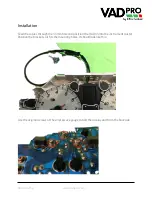
Page 5: ...e and position the VAD15 into the instrument cluster Position the bracket so it fits the mounting holes It should look like this Use the original screws of the oil pressure gauge to bolt the display u...

Page 6: ...cement of the display Now is the time to have minor corrections done At the end you can install the frame and the glass with the original clips Afterwards the electrical connection can take place in t...

Page 7: ...o to the display menu under settings and activate Can term Most of the time there are no other devices in the CAN Bus available so the terminator needs to be set Analogue Inputs Orange cable 5V output...

Page 8: ...an change all minimum and maximum values When exceeding these limits an alarm can be generated either by popup or just a small yellow triangle at the top right of the screen Update is for firmware upd...

Page 9: ...f your PC laptop 4 Make sure a COM port is found see screenshot 5 Start Update software choose the COM port and leave baud rate at 115200 6 Use the encoder to go to menu update and choose it 7 Click S...

Reviews: