11
BULB REPLACEMENT
Important :
The bulb must be replaced by the manufacturer,
its service agent or similarly qualified persons.
Always switch off the electricity supply before
carrying out any operations on the appliance.
When handling bulb, make sure it has completely
cooled down before any direct contact with hands.
When handling bulbs hold with a cloth or gloves to
ensure perspiration does not come in contact with
the bulb as this can reduce the life of the bulb.
Note:
⚫
Before replacing light that the cooker hood can be isolated from the supply
mains by means of a plug or an all-pole switch.
⚫
Protect against danger when changing lights, such as wearing gloves.
Changing the light
➢
Remove the grease filter.
➢
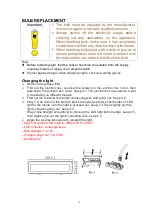
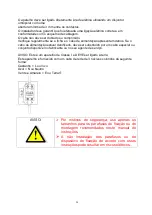
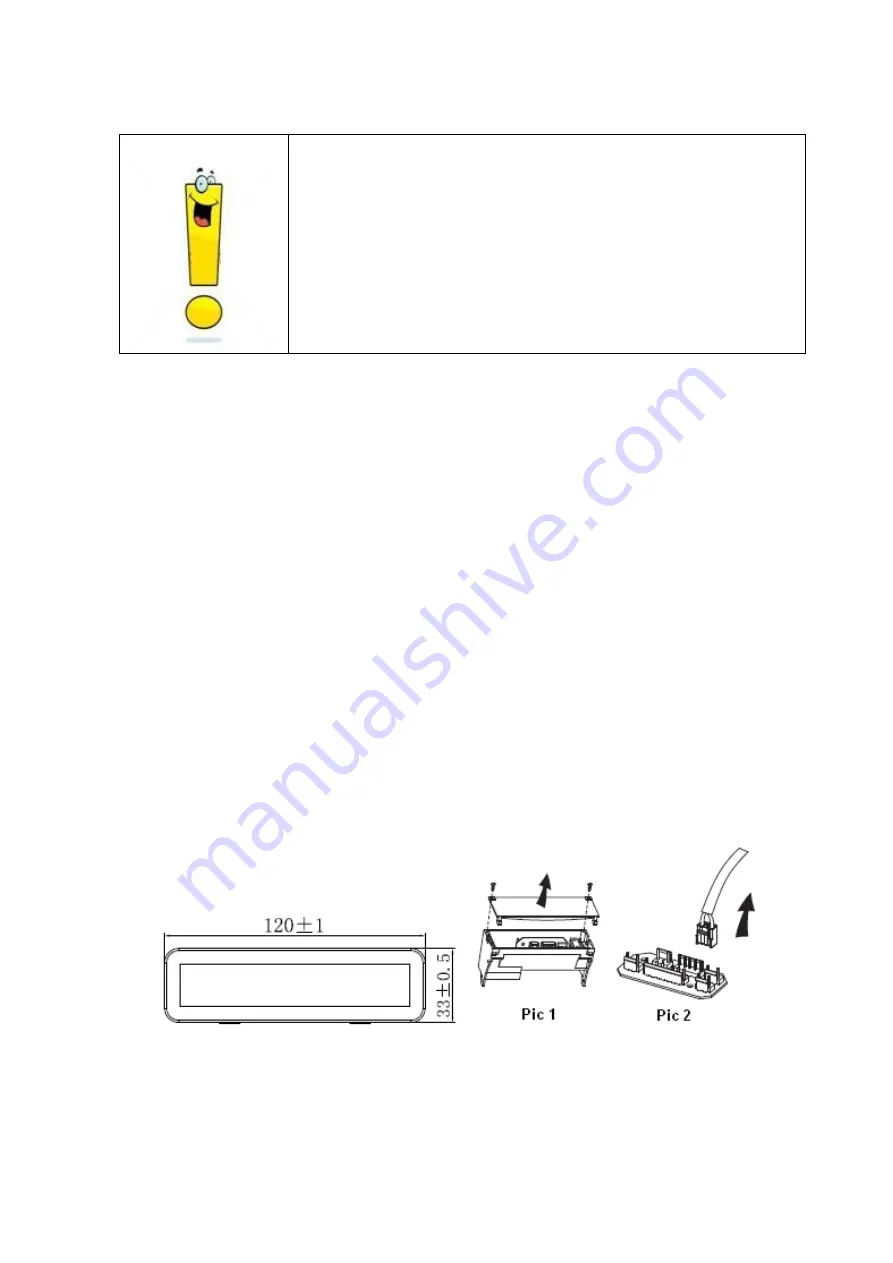
Find out the junction box, unscrew the screws on the junction box cover, then
take down the junction box cover. See pic 1.The junction box has version a and
b, depending on different models.
➢
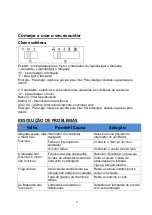
Find out the terminal of the light connecting wire and pull it out. See pic 2.
➢
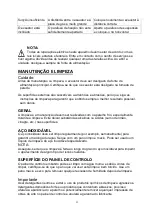
Way 1. Use a tool or the hand to press the spring splinter of both sides of LED
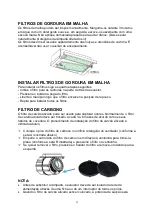
light to the inside, until the light is pressed out, see pic 3.Then slightly pull the
light connecting wire out, see pic 4.
Way 2.Use straight screwdriver to prize up the LED light bottom edge, see pic 5,
then slightly pull out the light connecting wire, see pic 4.
➢
Apply the reverse procedure to reinstall the light.
•
ILCOS D code for this lamp is: DBS-2/65-H-120/33
– LED modules –rectangle lamp
– Max wattage: 1
×
2 W
– Voltage range: AC 110-240V
– Dimensions:
Summary of Contents for CBT6RGX
Page 1: ...1 CBT6RGX Cooker Hood Instruction Manual ...
Page 13: ...13 CBT6RGX Exaustor Manual de instruções ...
Page 24: ...24 inferior ...


