background image

5

6

A

B

B

A

C

7

8

9

Summary of Contents for CMD 97 X

Page 1: ...SE MONTAGE UND GEBRAUCHSANWEISUNG INSTRUCTIONS POUR L INSTALLATION ET L UTILISATION ISTRUZIONI PER L INSTALLAZIONE E L USO INSTRUCCIONES PARA INSTALACIÓN Y USO INSTRUÇÕES DE INSTALAÇÃO Y UTILIZAÇÃO AANWIJZING VOOR GEBRUIK EN INSTALLATIE ...

Page 2: ...drastic changes in pipe cross section recommended diameter 150 mm For air evacuation to the outside follow all the other instructions given on the Warnings sheet Prepare the power supply within the telescopic flue for the electrical connection follow all the other instructions on the Warnings sheet 2 Fixing to the wall Fig 5 Using the special drilling template drill the required holes in the wall ...

Page 3: ...or air evacuation to the outside follow all the other instructions given on the Warnings sheet Prepare the power supply within the telescopic flue for the electrical connection follow all the other instructions on the Warnings sheet For fixing to the wall refer to the instructions for the ducting version see point 2 3 then continue with the instructions below Fixing the telescopic flues Using the ...

Page 4: ...müssen sie regelmäßig ausgetauscht werden Die Kohlefilter werden nicht mitgeliefert Abluftversion Abb 2 die Haube saugt die mit Rauch und Gerüchen gesättigte Luft an leitet sie durch die Fettfilter und gibt sie über ein Abführungsrohr nach außen ab Diese Version benötigt keinen Kohlefilter Version mit externem Motor Abb 3 die Dunstabzugshaube muss an eine Ansaugzentrale angeschlossen werden die si...

Page 5: ...en und Dübel an der Wand und oder an der Zimmerdecke befestigen dabei muss er in der Mitte der Dunstabzugshaube sein Abb 7 Die Teleskoprohre vorbereiten dabei ist zu beachten dass deren endgültige Position die in Abb 12 dargestellte sein muss die Gitter zum Ableiten der Abluft müssen sich oben befinden Mit Hilfe einer Metallklemme einen Schlauch von 150 mm Durchmesser an der Umluftweiche befestige...

Page 6: ...5 kommt der Motor zum Stillstand die Anzeige blinkt Taste D Schaltet den Motor mit der Geschwindigkeit 3 ein die zutreffende Anzeige leuchtet auf wird die Taste ein zweites Mal betätigt während die Anzeige leuchtet erfolgt die Aktivierung des TIMERS und nach 5 kommt der Motor zum Stillstand die Anzeige blinkt Taste E Schaltet den Motor mit der Geschwindigkeit 4 ein die zutreffende Anzeige leuchtet...

Page 7: ...mme indiqué au chapitre Attention n oubliez pas que la distance entre le bord inférieur de la hotte et le plan de cuisson doit être au moins de 650 mm Avant d accrocher la hotte assurez vous que les vis de fixation des étriers A sont dévissés de manière à ce qu il soit possible d accrocher la hotte Fixez les supports métalliques A au mur à l aide des vis et des chevilles supports vis et chevilles ...

Page 8: ...la connexion électrique suivez toutes les autres indications se trouvant à la page Attention Pour la fixation au mur voir les instructions pour la version aspirante voir points 2 3 puis continuer avec les instructions indiquées ci après Fixation des tuyaux télescopiques Au moyen des chevilles et des vis en dotation fixez l étrier supérieur du tuyau télescopique au plafond et ou au mur de manière à...

Page 9: ...o in versione filtrante è necessario utilizzare i filtri al carbone ed un deflettore aria che posto nella parte superiore del tubo permetta il riciclo dell aria nell ambiente Fig 1A Per una costante efficienza è necessario sostituire periodicamente i filtri al carbone I filtri al carbone non sono in dotazione Versione aspirante Fig 2 la cappa aspira l aria della cucina impregnata di fumi e di odor...

Page 10: ...ubi telescopici tenendo presente che la loro posizione finale dovrà essere quella illustrata in Fig 12 le griglie di evacuazione aria devono essere posizionate nella parte superiore Prendere il deflettore aria e fissateci un tubo flessibile di diametro 150 mm bloccandolo con una fascetta metallica tubo e fascette non sono in dotazione fissare il deflettore aria al tubo superiore Fig 13 con 4 viti ...

Page 11: ... Se il modello da voi acquistato ha i comandi rappresentati in Fig 19 i filtri antigrasso devono essere puliti periodicamente in rapporto all uso almeno ogni due mesi Per togliere il filtro in corrispondenza della maniglia spingere il fermo verso l interno e tirare il filtro verso il basso Lavate i filtri con detersivo neutro Se il modello da voi acquistato ha i comandi rappresentati in Fig 20 i f...

Page 12: ...mpana extractora definitivamente con otros 2 tornillos C indiquen en la pared los 2 agujeros que hay que hacer desenganchen la campana extractora y hagan los agujeros indicados previamente diámetro 8 mm utilicen luego los tacos y los tornillos que se entregan para fijarla definitivamente 3 Fijación con un panel posterior si se solicita Fig 6 El panel posterior metálico será colocado contra la pare...

Page 13: ...nducto de evacuación del aire con la salida del aire de la campana Utilizar un tubo flexible trabándolo en la boca de salida del aire de la campana mediante una abrazadera metálica Fig 9 el tubo y la abrazadera no están incluidos en el equipamiento Conecten la campana extractora a la centralita aspirante exterior utilizando los tableros de bornes a tal efecto Fig 18 quiten el sujetacable A y la ta...

Page 14: ... para o exterior através de uma conduta de descarga Nesta versão não é necessário utilizar os filtros de carvão Versão com motor exterior Fig 3 a capa deve ser ligada com uma pequena central aspirante colocada fora da cozinha ou no exterior do edifício a pequena central aspira o ar da cozinha impregnado de fumos e de cheiros deixando passar o ar através dos filtros anti gordura da capa em seguida ...

Page 15: ...telescópicos levando em consideração que a posição final dos mesmos deverá ser aquela ilustrada na Fig 12 as grelhas de evacuação do ar devem ser posicionadas na parte superior Agarrar no deflector de ar e fixar nele um tubo flexível com 150 mm de diâmetro imobilizando o com uma braçadeira metálica o tubo e as braçadeiras não são fornecidos com o exaustor fixar o deflector de ar no tubo superior F...

Page 16: ... lâmpada piloto correspondente premindo segunda vez o botão enquanto a lâmpada piloto estiver acesa o TIMER activa se e portanto ao fim de 5 o motor pára a lâmpada piloto pisca Botão E acciona o motor com a 4ª velocidade acende se a lâmpada piloto correspondente premindo segunda vez o botão enquanto a lâmpada piloto estiver acesa o TIMER activa se e portanto ao fim de 5 o motor pára a lâmpada pilo...

Page 17: ...k van de speciale boormal en boor de gaten die op de boormal aangegeven zijn in de muur Zoals reeds vermeld in het hoofdstuk Gebruiksaanwijzing moet u er rekening mee houden dat de afstand tussen de onderste rand van de afzuigkap en de kookplaat minimaal 650 mm moet bedragen Alvorens de kap te hangen zorg ervoor dat de bevestigingsschroeven van de klampen los zijn A om de kap te kunnen hangen Beve...

Page 18: ...rd om drastische veranderingen van de doorsnede van de pijp te vermijden geadviseerde diameter 150 mm Om de lucht naar buiten af te voeren moet u alle andere aanwijzingen die op het blad Opgelet staan opvolgen Bereid de elektrische voeding voor binnen het ruimtebeslag van de telescopische pijp volg voor de elektrische aansluiting alle andere aanwijzingen op die vermeld worden in het hoofdstuk Opge...

Page 19: ...tfilters moeten na elke circa 30 werkingsuren schoongemaakt worden als het lampje van de verlichtingtoets gaat branden Afb 20A Om de filters te verwijderen duw ter hoogte van de handgreep de pal naar binnen en trek het filter naar beneden Reinig de filters met een neutraal afwasmiddel Als de schone filters zijn teruggeplaatst moet de verlichtingtoets ongeveer 1 ingedrukt worden om de telling opnie...

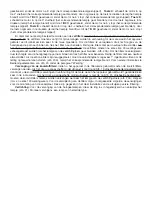
Page 20: ...1 2 A 3 4 ...

Page 21: ...5 6 A B B A C 7 8 9 ...

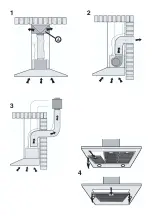
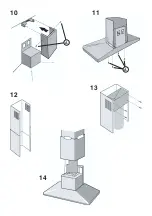
Page 22: ...10 A 11 A 12 13 14 ...

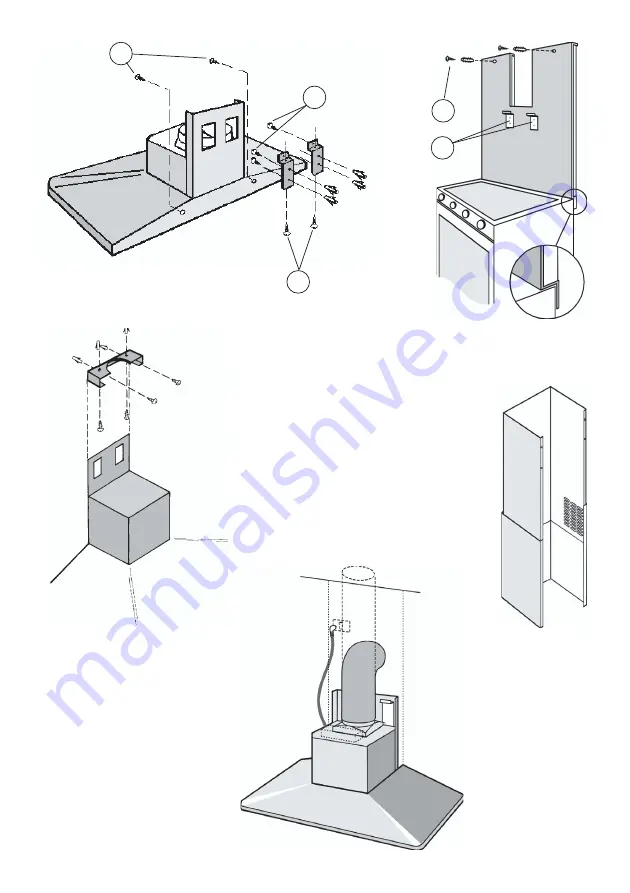
Page 23: ...15 C A B 16 A 18 19 20 21 A B C D E A B C D E A B C 17 ...

Page 24: ...04306663 2 K34el K34ce s n ...

Reviews: