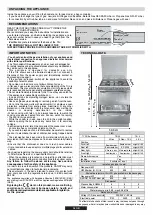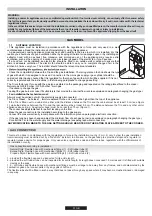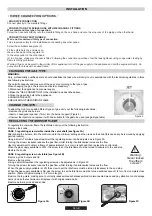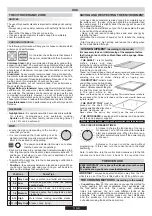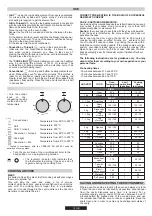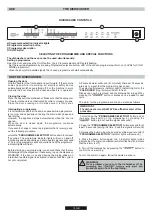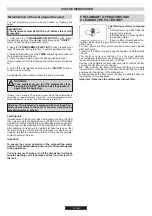
ELECTRICAL CONNECTION
x 3 bars shunts
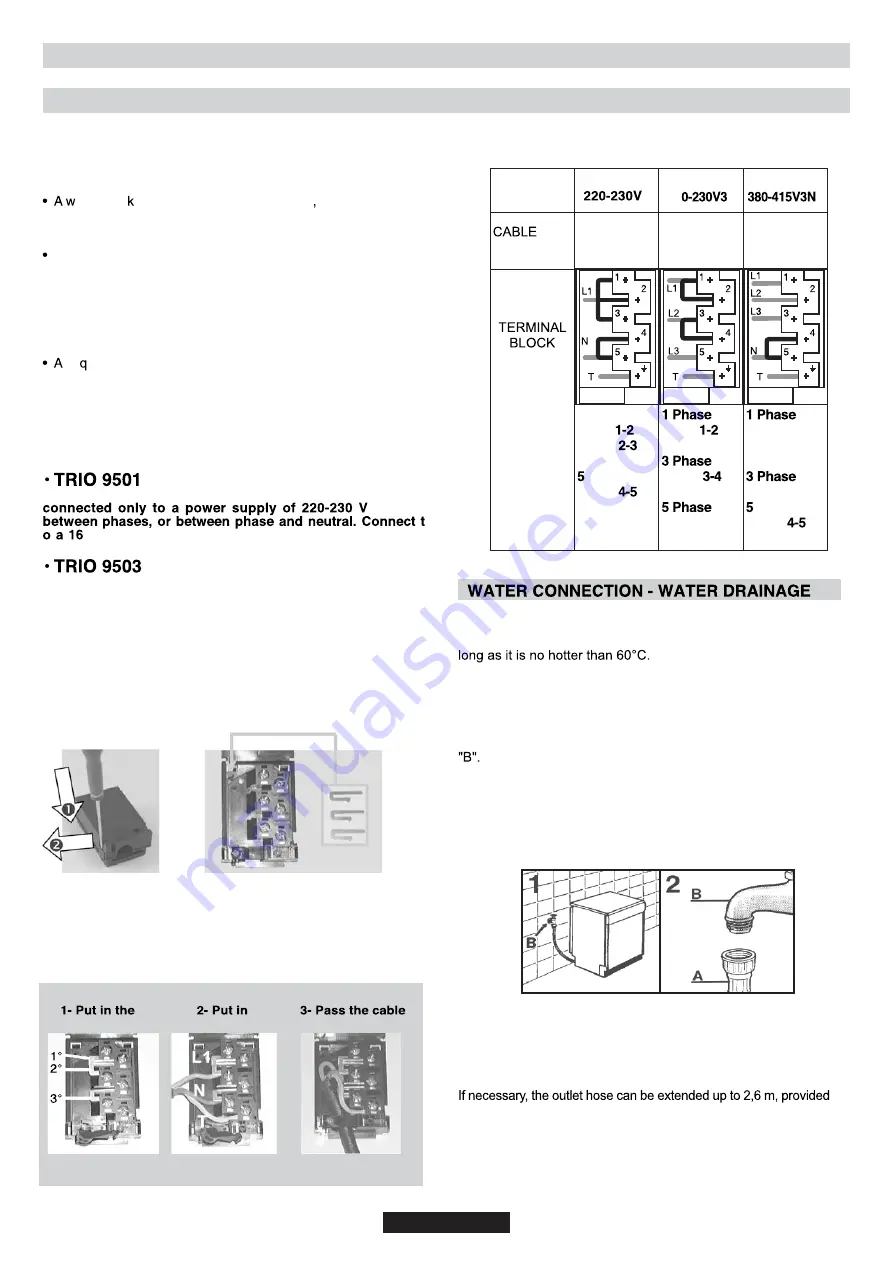
To connect :
. unscrew the cable grip,
. pass the cable through the cable grip,
. strip the insulation off the end of the each wire and connect them
to the according to the numbers shown in the table as well as the
"bars shunts".
INSTALLATION
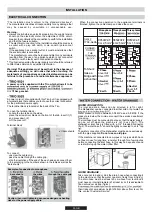
Example of connection in monophase
bars shunts
the wires
through the cable grip
Caution: incorrect tightening can cause dangerous heating
risks for the power supply cable.
H05V2V2-F
3 G 2,5 mm
2
Monophase
~
TYPE-AERA
2 Phase
Shunt
Shunt
Neutral
Shunt
T Earth
CONNEC-
TION TO
THE
To Shunt:
make a
bridge with
a shunt bar
H05V2V2-F
4 G 2,5 mm
2
H05V2V2-F
5 G 1,5 mm
2
Three phases
22
~
Three phases
~
Shunt
Shunt
T Earth
2 Phase
Neutral
Shunt
T Earth
When the connection operation to the appliance terminals is
finished, tighten the cable clamp and close the cover.
09 GB
"The installation must conform to the standard directives".
The manufacturer declines all responsibility for any damage that
may be caused by unsuitable or unreasonable use.
Warning :
l ays chec before any electrical operation the supply tension
shown on the electricity meter, the adjustment of the circuit-
breaker, the continuity of the connection to earth to the installation
and that the fuse is suitable.
The electrical connection to the installation should be made via
a socket with a plug with earth, or via an omni pole cut-out
switch .
If the appliance has a socket outlet, it must be installed so that
the socket outlet is accessible.
The manufacturer cannot be held responsible for any accidents
resulting from the use of an appliance which is not connected
to earth, or with a faulty earth connection continuity.
ny ueries regarding the power supply cord should be referred
to After Sales Service or a qualified technician.
Warning! This appliance must be earthed. In the absence of
adequate earthing you will notice that when touching the
metal parts of your appliance an electrical dispersion can be
felt due to the presence of a radio interference suppressor.
A power cord is supplied with the Trio which allows it to be
Amp socket.
A power cord is not supplied with this Trio, but it is equipped with
a terminal block that enables you to choose the correct connection
for the particular power supply.
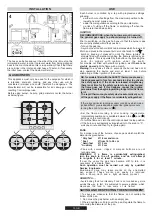
The terminal block is located at the back of the Trio.
To open the terminal block :
. Locate the two tabs on the sides,
. place the screwdriver blade on the front of the tab, insert it (1)
and press down (2)
. Lift the cover off.
Terminal block
WATER CONNECTION
:
The inlet and drain hoses can be directed to left or right.
The dishwasher can be connected to either cold or hot water, as
Water pressure mut be between 0,08 MPa and 0,8 MPa. If the
pressure is below the minimum consult the service department
for advice.
The inlet hose must be connected to a tap so that the water supply
can be cut off when the machine is not in use (fig.1). The
dishwasher inlet hose is fitted with a 3/4" threaded connector
(fig.2). The inlet hose "A" should be tightly connected to a 3/4" tap
The water connection of the dishwasher must be done exclusively
with the pipe supplied.
Do not use an old pipe.
If the machine is connected to new pipes or to pipes which have
not been in use for long time, run water through for a few minutes
before connecting the inlet hose. In this way no deposits of sand
or rust will clog up the water inflow filter.
WATER DRAINAGE :
Take care not to bend or kink the drain hose when connecting it
to the machine so that the water can drain freely from it (fig.4y).
The drain hose must be at least 40 cm above floor level and it
must have an internal diameter af at least 4 cm. It is advisable to
fit an anti-odour air trap (fig.4x).
that it is kept at a maximum height of 85 cm above floor level. For
this, contact Customer Service.
Summary of Contents for TRIO
Page 2: ......


