C. UNPACKING THE DEHUMIDIFIER
Please disassemble the crate carefully insuring
there is no damage to the dehumidifier:
Included in the carton:
• Dehumidifier
• Drain Tube
• Filter
• Instruction Manual
• Power Cord
D. INSTALLATION GUIDE
i. BEFORE INSTALLATION
————————————————————————————————————————————————————————————————
You will need:
a screwdriver, 3/8 threaded rod, and spanner wrench
(Items not included).
1. Unpack the outer wooden case and remove the protective film. Then
remove the dehumidifier for installation.
2. Securely attach the threaded rod to the ceiling in line with the
mounting holes on the dehumidifier. Then install the bolt to fix the
threaded rod.
3. Install the dehumidifier through the four-threaded rods and adjust
the height according to the space to ensure the dehumidifier is
horizontal.
4. Connect the drain tube to make sure there is no leakage, no block for
the drainage.
5. Connect the power, please make sure the power supply is
208~240v/60hz (single phase) and has overload protection.
CAUTION: PLEASE MAKE SURE TO TURN THE UNIT ELECTRICITY OFF
DURING THE INSTALLATION TO AVOID ACCIDENT AND/OR HARM.
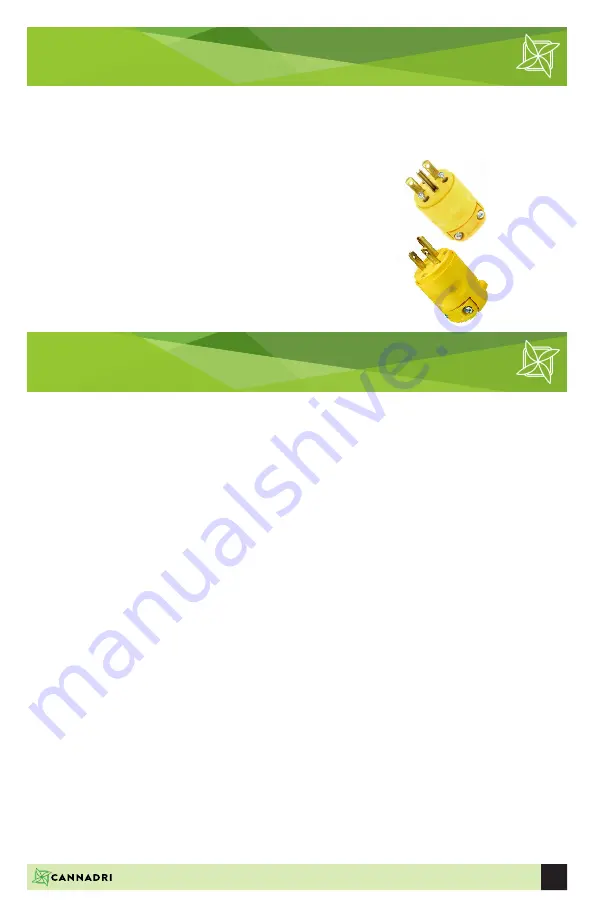
• CAN-210: 250 Volt,
15 Amp Plug
• CAN-380: 250 Volt,
20 Amp Plug
I N S T R U C T I O N M A N U A L 1 . 0
|
D E H U M I D I F I E R
|
C A N - 2 1 0 / C A N - 3 8 0
4
Fig. 1.4
Fig. 1.5


