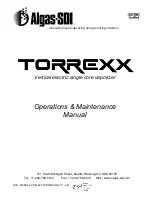
WAIT! BEFORE YOU WISP...
When you are ready to enjoy your Wisp vapor,
we recommend using small, sip-like inhales... we call them “wisps!”
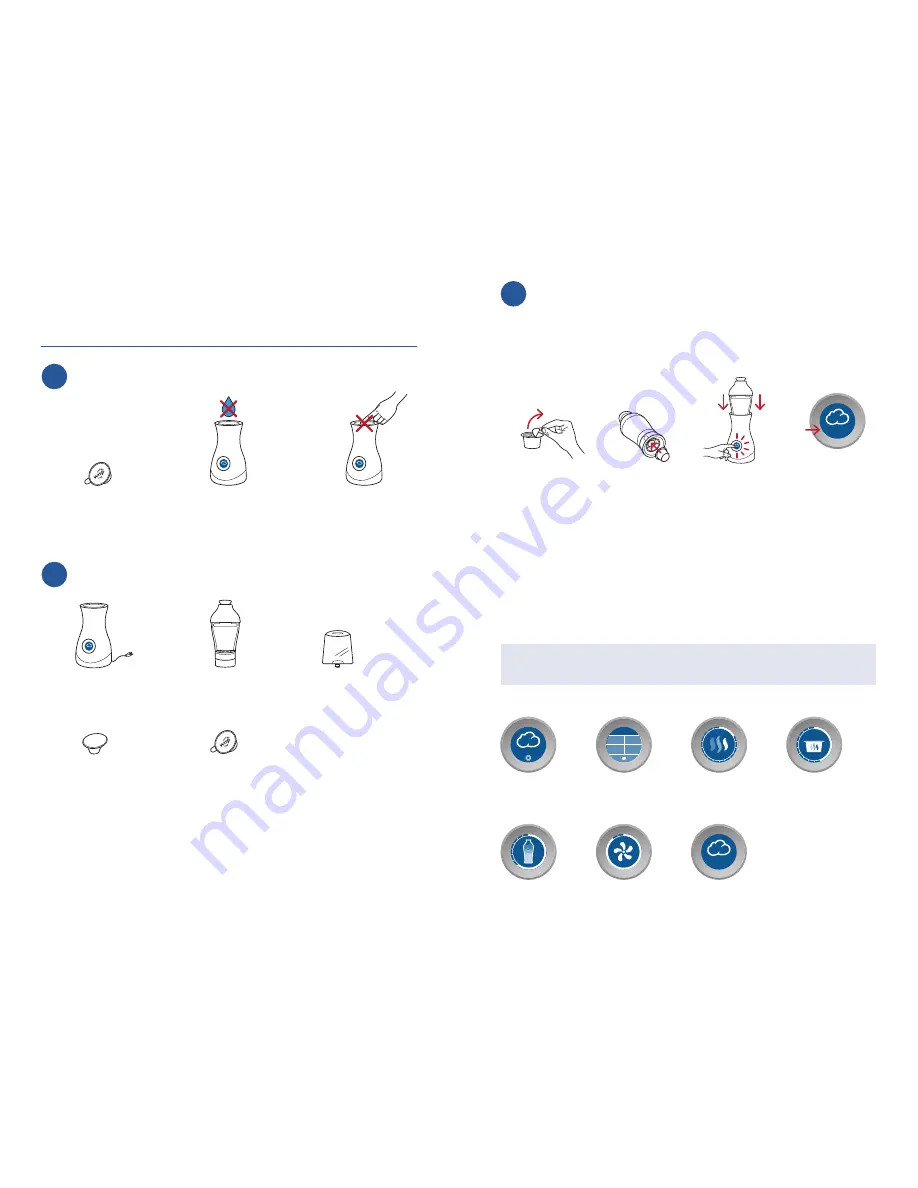
Always begin your
session with an
authorized, unused
Wisp pod.
1.
Peel Wisp pod lid, using pull tab to remove completely.
2.
Insert Wisp pod, open side up, into bottom of vapor bottle until
it catches evenly.
3.
Lower vapor bottle into base, pod end first, pressing firmly to
puncture the pod.
4.
Press the cloud icon to begin.
5.
Wait for your Wisp to complete the vaporization process. It is likely
that a small amount of vapor may escape from the vapor bottle or
the Wisp device during the vaporization process.
Important:
Pod heated during use: Wait until device says
“READY” before removing vapor bottle from base.
Keep the Wisp away
from water. Water is
not required for use.
Do not put your hand
inside the open base.
Welcome!
Thank you for purchasing the Wisp. Don’t forget to register your
device at:
www.wispvapor.com/registermywisp
HOW TO USE YOUR WISP
Your Wisp is operated with a single touchscreen.
No other buttons or switches are required.
You will need authorized Wisp pods to use your Wisp.
IMPORTANT:
Before you begin, please:
1
Using your Wisp
3
Getting to know your Wisp
2
SETUP
1.
Unpack box and remove all parts from protective packaging.
2.
Register your Wisp online at: www.wispvapor.com/register
3.
Plug unit into fully grounded outlet.
4.
You are ready to Wisp!
Wisp Base
& Powercord
Extra Vapor
Bottle Sleeves
(x2)
Extra Mouthpieces
(x1)
Wisp Pod
(Sold separately. Sample
pack may be included.)
Wisp Bottle
(With pre-installed sleeve
& mouthpiece)
VAPORIZING PROCESS
1
2
3
4
_ _ _ _
READY
1.
Startup
Screen
5.
Vaporizing
2.
Enter
Passcode
(Optional)
6.
Pod Cooling
3.
Begin
Heating
7.
Vapor is “
READY
”
4.
Pod Heating
to Temperature
We highly recommend our quick setup video at
www.wispvapor.com/wispsetup
We highly recommend our quick setup video at
www.wispvapor.com/wispsetup
1.
5.
4.
2.
3.
READY


