82
Troubleshooting
Colors Are Uneven or Streaked
Printing Problems When Copying
Printing Does Not Start
Media Type
setting in the Operation
Panel does not match the actual type of
paper.
Check that the
Media Type
set in the Operation Panel matches the type of the
loaded printing paper.
If you notice abrasion even with the media type set correctly to match the
loaded paper, set
Prevent paper abrasion
to
ON
in
Print settings
.
Refer to “Changing the Machine Settings” in the
User’s Guide
on-screen
manual.
Printing graphics with
Intensity
setting
set too high.
Especially if you are using plain paper to print images with high intensity, the
paper may absorb too much ink and become wavy, causing paper abrasion. In
this case, reduce the
Intensity
setting in the Operation Panel and try printing
again.
Printing beyond the recommended
printing area.
If you are printing beyond the recommended printing area of your printing paper,
the lower edge of the paper may become stained with ink.
Resize your original document in your application software.
For details on recommended printing area, refer to “Printing Area” in the
User’s
Guide
on-screen manual.
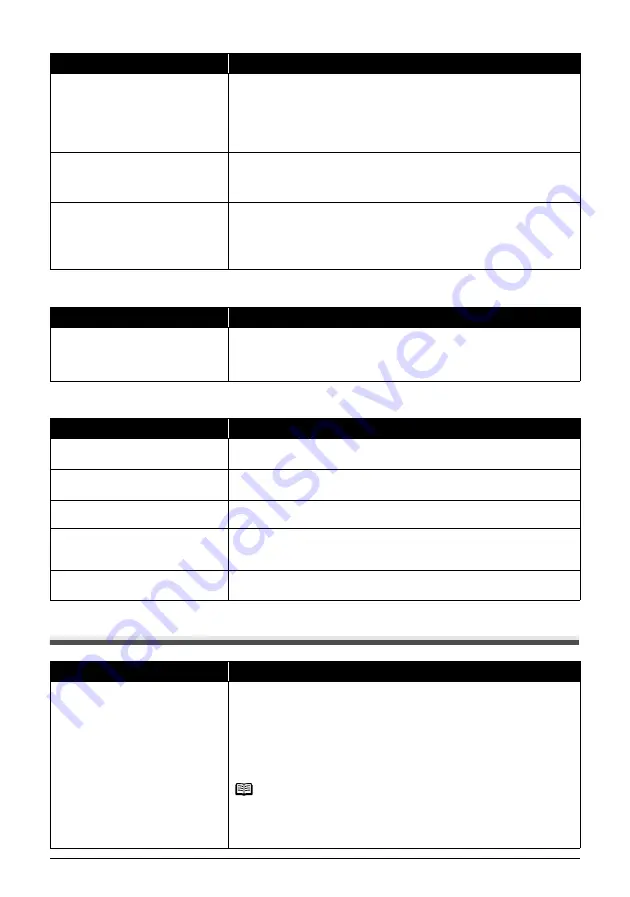
Cause
Action
Print quality is not set appropriately.
In the Operation Panel, set
Print quality
in each mode to
High(quality-
priority)
.
Especially when printing a document that requires a lot of ink, increasing the
Print quality
setting is effective in reducing uneven colors.
Cause
Action
The original document is not loaded
correctly.
Check that the original is loaded correctly on the Platen Glass.
See “Loading Original Documents” on page 6.
The print quality setting is not suitable
for the original.
Set the print quality to suit the type of your document.
See “Setting Items in Each Mode” on page 22.
The original document is not loaded
with the side to be copied faced down.
When loading the original on the Platen Glass, the side to be copied should be
faced down.
The original document is a printout
from this machine.
Print quality may be reduced if you copy a printout.
Instead of copying a printout, print the original directly either from the digital
camera, memory card, or your computer.
The Platen Glass or the inner side of
the Document Cover is dirty.
Clean the Platen Glass and the inner side of the Document Cover.
See “Cleaning the Platen Glass and Document Cover” on page 68.
Cause
Action
Ink tank is empty.
Open the Scanning Unit (Printer Cover) and check the ink lamps.
If an ink lamp is flashing red at about 1-second intervals, the tank is empty.
Replace the ink tank, and close the Scanning Unit (Printer Cover). See
“Replacing an Ink Tank” on page 50.
If you want to continue printing, confirm the message displayed on the LCD and
take the appropriate action. See “Error Message Is Displayed on the LCD” on
page 72.
Note
If multiple ink lamps are flashing, check how fast they are flashing.
Fast flashing (at about 1-second intervals) indicates the tank is empty. Slow
flashing (at about 3-second intervals) indicates ink is low. For details on different
flashing speeds, see “Getting the Ink Level Information” on page 50.
Cause
Action
Summary of Contents for 1454B002
Page 3: ...Photo All in One Quick Start Guide ...
Page 111: ...107 Index ...
Page 112: ...108 Index ...
Page 113: ...109 Index ...


