1
2
3
4
5
6
7
8
9
10
11
Back
Next
Previous
TOP
6-33
Before Using the
Machine
Document and Paper
Copying
Sending and
Receiving
Printing and
Scanning
Network
Remote UI
System Manager
Settings
Maintenance
Troubleshooting
Appendix
Index
Table of Contents
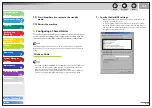
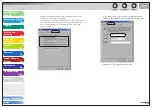
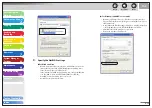
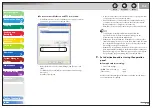
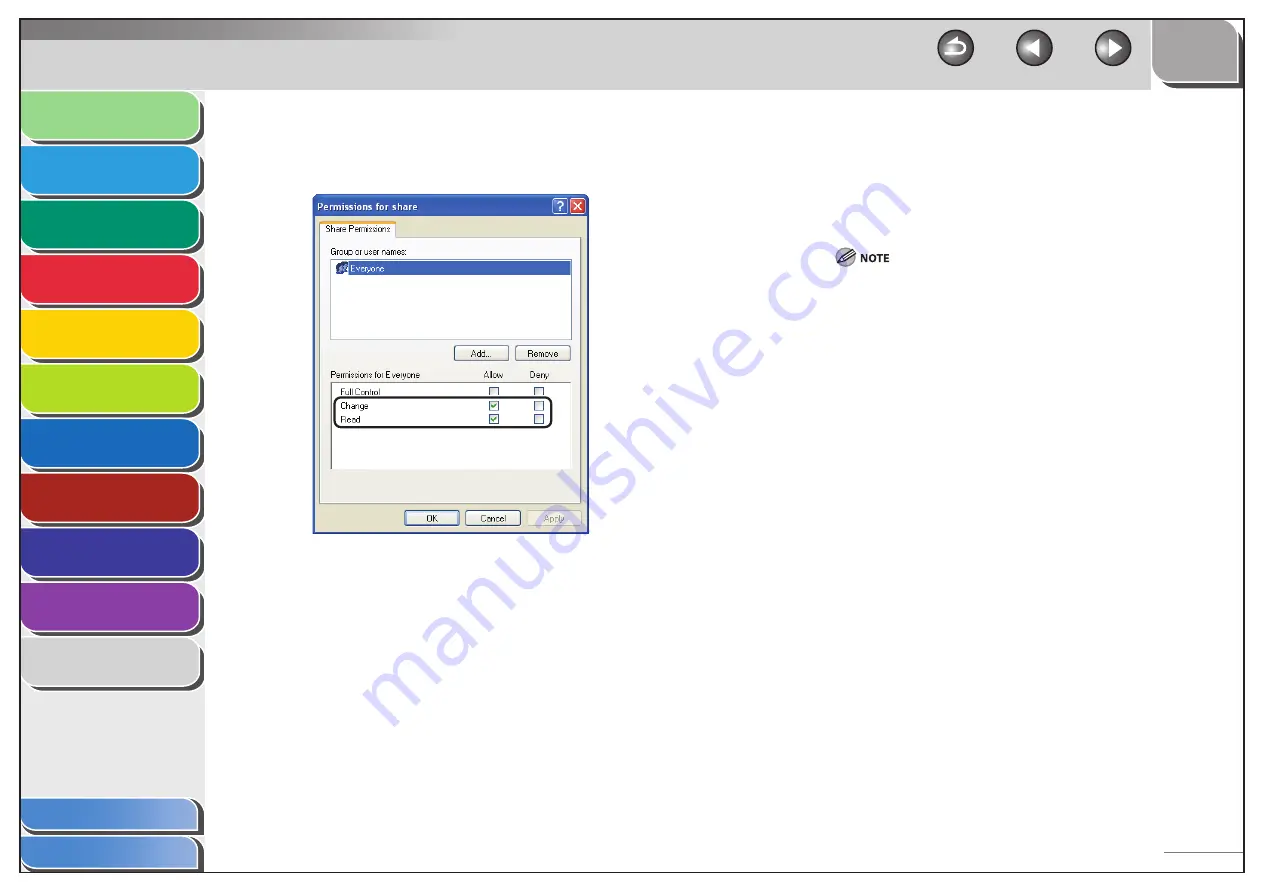
To create a shared folder on an NTFS format disk:
Click [Permissions]
→
select or add the users or groups to whom
you want to give access to the shared folder.
Under [Permissions], select both [Change] and [Read]
→
click
[OK].
For Windows Vista, click [OK] to close the [Advanced Sharing]
dialog box
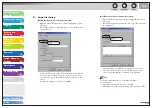
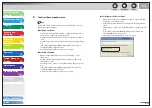
Click the [Security] tab.
●
–
–
–
–
In the [Security] sheet, select or add the users or groups to whom
you want give access to the shared folder.
Under [Permissions], select both [Write] and [Read & Execute],
or a higher access authority. For data in the folder, check both
[Write] and [Read], or a higher access authority.
Click [OK]
→
close the properties dialog box of the shared folder.
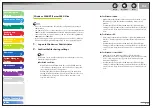
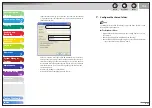
To display the [Security] tab in Windows XP, follow the
procedures below. For details about the settings, see the
documentation provided with Windows XP.
Windows XP Professional: Open Folder Options
→
deselect [Use
simple file sharing]. However, you can share folders and files with
[Use simple file sharing] selected. Select or deselect [Use simple
file sharing] to suit your environment.
Windows XP Home Edition: Start Windows in safe mode
→
select
[Safe Mode with Networking] in the Windows Advanced Options
Menu. After logging on to Windows, you can find a [Security] tab
by opening the properties dialog box of the shared folder.
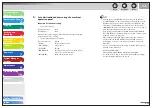
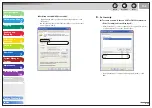
9.
Set a destination address using the operation
panel.
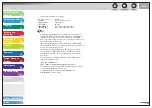
Sample destination setting:
Server side settings:
[NetBIOS computer name]:
swan
[Share name]:
share
Create a folder called Images within share, and then specify Images
as the destination for sending.
–
–
–
–
–
–
●
–

