1
2
3
4
5
6
7
8
9
10
11
Back
Next
Previous
TOP
4-22
Before Using the
Machine
Document and Paper
Copying
Sending and
Receiving
Printing and
Scanning
Network
Remote UI
System Manager
Settings
Maintenance
Troubleshooting
Appendix
Index
Table of Contents
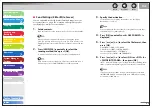
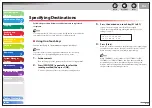
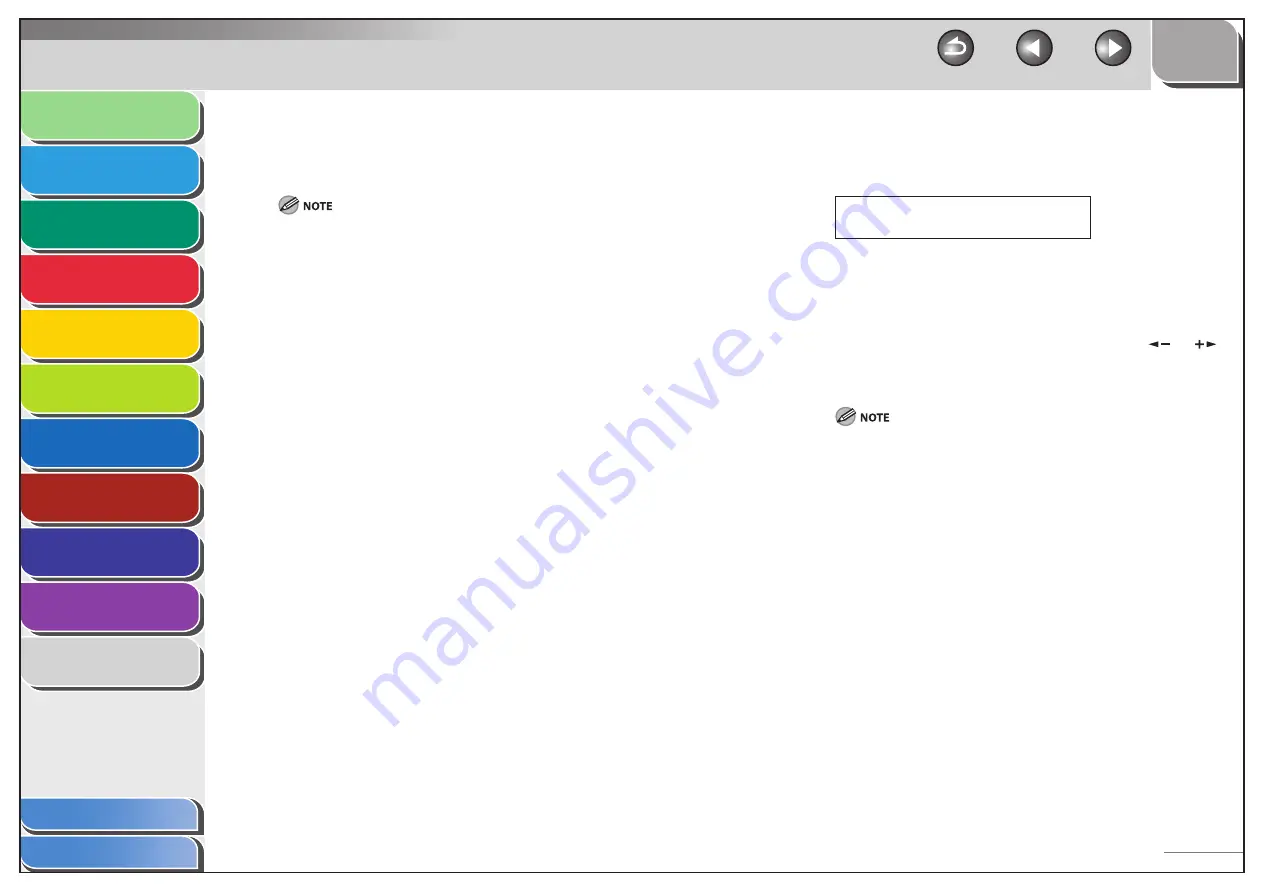
Using Coded Dial Codes
You can specify up to 192 destinations using coded dial codes.
To use this feature, you must register destinations in coded dial code
beforehand. (See “Storing/Editing Address Book,” on p. 4-10.)
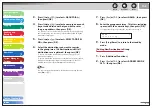
1.
Set
documents.
Place the first page on the platen glass if you are not using the ADF.
2.
Press [SEND/FAX] repeatedly to select the
sending method, then press [OK].
To send documents to a file server, select any sending method.
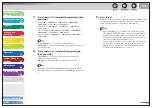
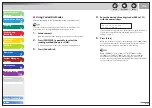
3.
Press [ Coded Dial].
■
4.
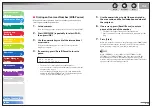
Enter the desired three-digit code (000 to 191)
with the numeric keys.
T E L = 0 1 2 3 X X X X X X
[ * 0 0 1 ] C A N O N
Ex.
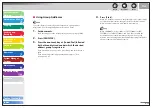
If you entered a wrong code, press [Clear], then try again from step 3.
If you want to adjust the image quality and density, see “Scan
Settings,” on p. 4-7.
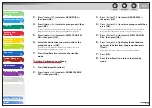
5.
Press
[Start].
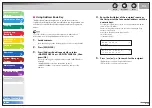
When you set the documents on the platen glass, press [
] or [
]
to select the document size, then press [Start] for each document.
When scanning is complete, press [OK] to start sending.
When <TIME OUT> is set to <ON> in <TX SETTINGS> in <FAX
SETTINGS> in <TX/RX SETTINGS>, and if you have specified the
destination by any other method than using numeric keys, the
machine starts scanning automatically without pressing [Start], after
the preset time for this setting is elapsed.

