


43
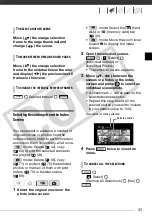
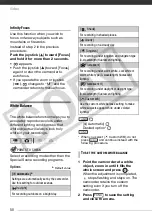
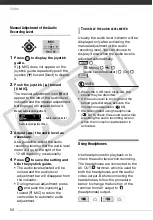
Move (
) the orange selection
frame to the large thumbnail and
change (
) the scene.
Move (
) the orange selection
frame to the slidebar below the ruler
and display (
) the previous/next 5
frames in the scene.
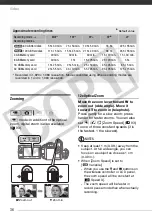
Desired
interval
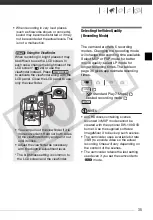
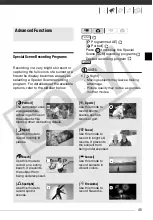
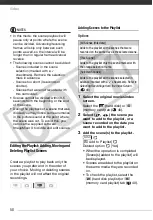
Selecting Recordings from the Index
Screen
You can select in advance a number of
original movies or photos from the
index screen in order to perform certain
actions on them collectively, all at once.
mode: Delete (
44), copy
(
60) or add the selected scenes to
the playlist (
mode: Delete (
65), copy
(
71) or protect (
70) the selected
photos or mark all of them with print
orders (
76) or transfer orders
(
89).
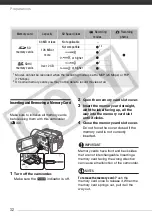
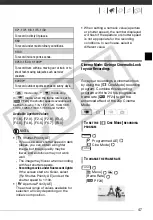
1
Select the original movies or the
photo index screen.
•
mode: Select the
(hard
disk) or
(memory card) tab
(
40).
•
mode: Move the zoom lever
toward
W
to display the index
screen.
2
Open the selection screen.
[
Select]
[Individual Scenes] or
[Individual Photos]
• The selection screen appears.
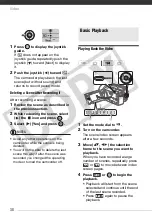
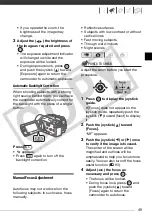
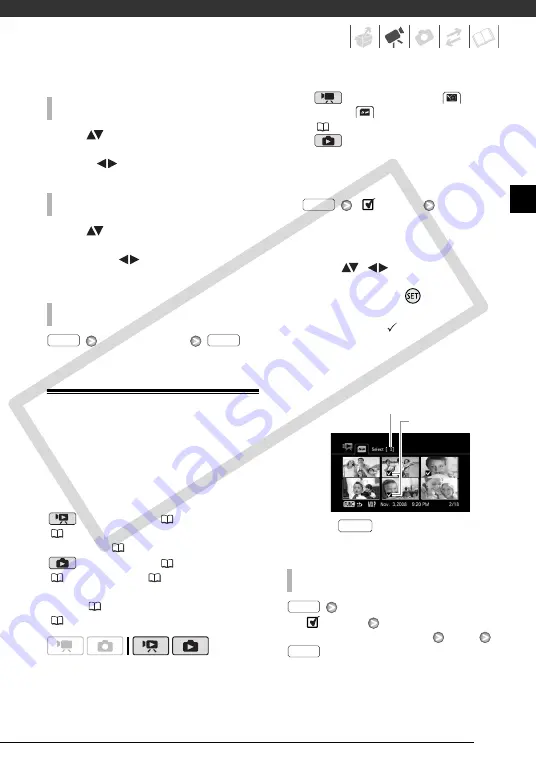
3
Move (
,
) between the
scenes or photos in the index
screen and press
to select an
individual scene/photo.
• A checkmark will appear on the
selected scenes/photos.
• Repeat this step to add all the
scenes/photos you want to include
in your selection (up to 100).
4
Press
twice to close the
menu.
[
Select]
[Remove All Selections]
[Yes]
T
O
SELECT
ANOTHER
SCENE
T
O
MOVE
BETWEEN
TIMELINE
RULER
PAGES
T
O
CHANGE
THE
INTERVAL
BETWEEN
FRAMES
FUNC.
FUNC.
T
O
CANCEL
ALL
THE
SELECTIONS
FUNC.
Selected scenes
Total number of scenes selected
FUNC.
FUNC.
FUNC.
CO
PY


