
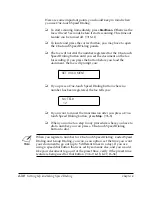


Chapter 4
Setting Up and Using Speed Dialing
4-35
Setting Up and
Using Speed
Dialing
LASER CLASS 3170 Series.
CFYA/YAH/YAN 120v US V1.0
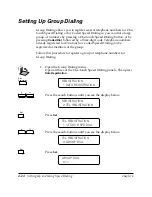
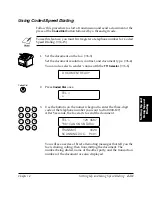
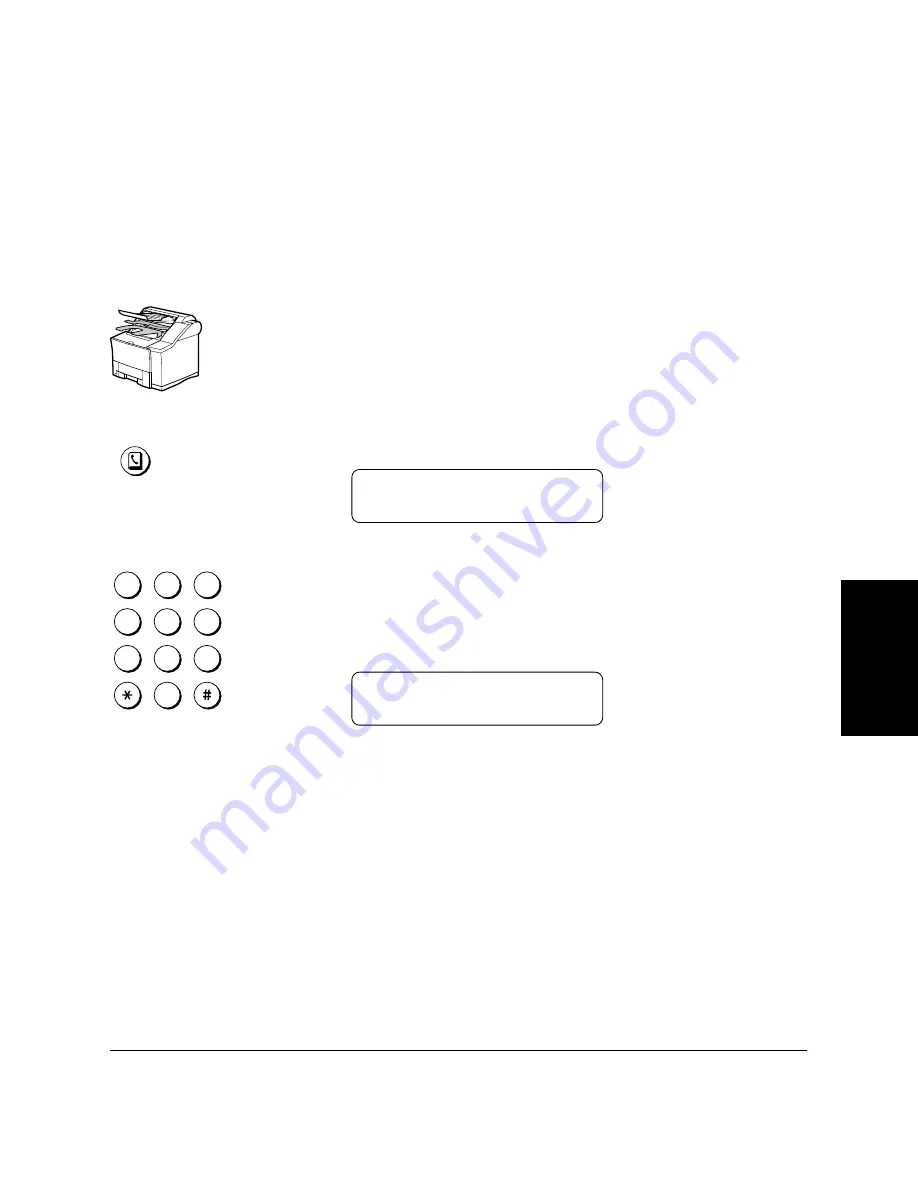
Using Directory Dialing
Follow this procedure to look up the other party’s name and retrieve the
number for dialing. This feature is convenient when you know the other
party’s name but cannot recall the One-touch Speed Dialing button ,the
code for Coded Speed Dialing, or Group Dialing where the number is
registered.
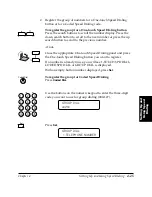
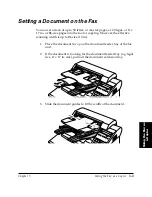
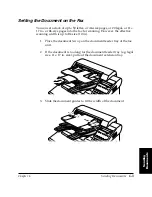
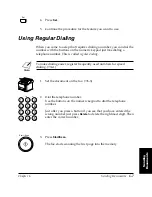
1.
Set the document on the fax. (
➞
6-3)
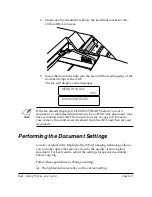
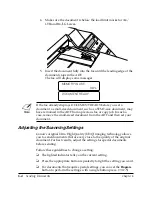
Set the document resolution, contrast, and document type. (
➞
6-4)
You can also select a sender’s name with the
TTI Selector
. (
➞
6-6)
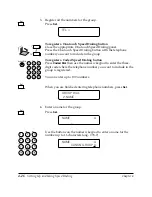
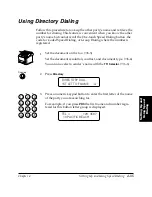
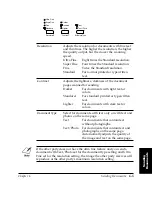
2.
Directory
Press
Directory
.
DIRECTORY DIAL
1ST LETT OF NAME
:A
1
4
7
2
5
8
0
3
6
9
ABC
GHI
PRS
JKL
TUV
OPER
M NO
WXY
DEF
Tone
SYMBOLS
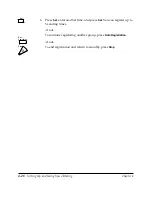
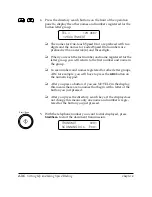
3.
Press a numeric keypad button to enter the first letter of the name
of the party you are searching for.
For example, if you press
PRS
the first name and number regis-
tered for this button letter group is displayed.
TEL =
123 4567
10 PACIFIC BEACH
Summary of Contents for 3175 Series
Page 1: ......
Page 2: ...Preface i FACSIMILE USER S GUIDE ...
Page 91: ...2 60 Setting Up Chapter 2 ...
Page 263: ...10 14 Using Confidential Mailboxes Chapter 10 ...
Page 287: ...11 24 Setting Up and Using Polling Chapter 11 6 Stop Press Stop to return to standby ...
Page 303: ...12 16 Other Special Features Chapter 12 ...
Page 403: ...15 52 Maintenance Frequently Asked Questions Chapter 15 ...
Page 447: ...B 4 Documents You Can Scan Appendix B ...
Page 474: ......


