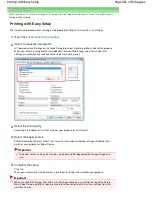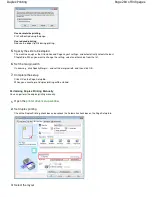
Check the Page Size list. When you want to change, select another page size from the list. The list
displays only sizes that can be used for borderless printing.
4.
Adjust the amount of extension from the paper
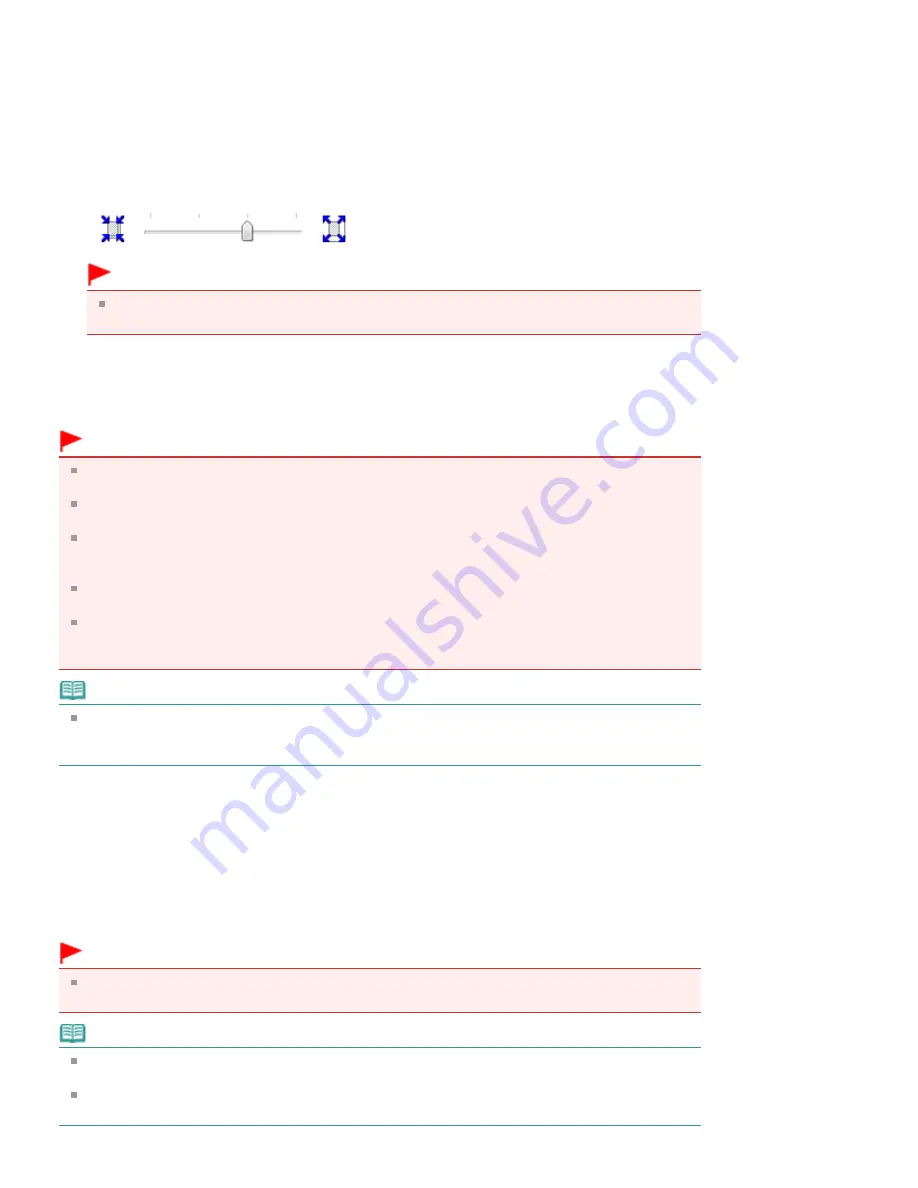
If necessary, adjust the amount of extension using the Amount of Extension slider.
Moving the slider to the right makes the amount larger and moving the slider to the left makes the
amount smaller.
It is recommended to set the slider at the second position from the right for most cases.
Important
When you set the slider at the rightmost position, the back side of the paper may become
smudged.
5.
Complete the setup
Click OK.
The data will be printed without any margins on the paper.
Important
When a page size that cannot be used for borderless printing is selected, the size is automatically
changed to the valid page sizes for borderless printing.
When High Resolution Paper, T-Shirt Transfers, or Envelope is selected from the Media Type list on
the Main tab, you cannot perform borderless printing.
When Borderless is selected, the Printer Paper Size, Staple Side (when Duplex Printing is not
selected) settings, and the Stamp/Background... button on the Page Setup tab appear grayed out
and are unavailable.
Print quality may deteriorate or the sheet may be stained at the top and bottom depending on the
type of the media used.
When the ratio of the height to the width differs from the image data, a portion of the image may not
be printed depending on the size of the media used.
In this case, crop the image data with an application software according to the paper size.
Note
When Plain Paper is selected for Media Type on the Main tab, borderless printing is not
recommended, and therefore the dialog box for media selection appears.
When you are using plain paper for test printing, select Plain Paper, and click OK.
Expanding the Range of the Document to Print
Specifying a large amount of extension allows you to perform borderless printing with no problems.
However, the portion of the document that extends off the paper range will not be printed. Subjects
around the perimeter of a photo may not be printed.
Try borderless printing once. When you are not satisfied with the result of borderless printing, reduce the
amount of extension. The extension amount becomes shorter as the Amount of Extension slider is
moved to the left.
Important
When the amount of extension is shortened, an unexpected margin may be produced on the print,
depending on the size of the paper.
Note
When the Amount of Extension slider is set to the leftmost position, image data will be printed in the
full size.
When Preview before printing is checked on the Main tab, you can confirm before printing whether
there will be no border.
Page 269 of 949 pages
Borderless Printing
Summary of Contents for 3747B003
Page 19: ...Page top Page 19 of 949 pages Printing Photos Saved on the Memory Card USB Flash Drive ...
Page 22: ...Page top Page 22 of 949 pages Using Various Functions ...
Page 28: ...Page top Page 28 of 949 pages Inserting the USB Flash Drive ...
Page 73: ...Page top Page 73 of 949 pages Loading Paper ...
Page 81: ...Page top Page 81 of 949 pages Loading Paper in the Rear Tray ...
Page 87: ...2 Close the Document Cover gently Page top Page 87 of 949 pages Loading Originals ...
Page 101: ...Page top Page 101 of 949 pages Printing the Nozzle Check Pattern ...
Page 105: ...See Cleaning the Print Head Deeply Page top Page 105 of 949 pages Cleaning the Print Head ...
Page 148: ...Page top Page 148 of 949 pages Printing Photos ...
Page 173: ...See Help for details on the Edit screen Page top Page 173 of 949 pages Editing ...
Page 182: ...Page top Page 182 of 949 pages Printing ...
Page 191: ...Adjusting Images Page top Page 191 of 949 pages Correcting and Enhancing Photos ...
Page 228: ...Page top Page 228 of 949 pages Printing an Index ...
Page 230: ...Page top Page 230 of 949 pages Printing ID Photos ID Photo Print ...
Page 249: ...Page top Page 249 of 949 pages Printing Dates on Photos ...
Page 270: ...Page top Page 270 of 949 pages Borderless Printing ...
Page 329: ...Page top Page 329 of 949 pages Smoothing Jagged Outlines ...
Page 525: ...Page top Page 525 of 949 pages Memory Card Screen Scan Import Window ...
Page 606: ...Page top Page 606 of 949 pages Scanning in Advanced Mode ...
Page 608: ...Page top Page 608 of 949 pages Scanning in Auto Scan Mode ...
Page 637: ...Scanning in Basic Mode Page top Page 637 of 949 pages Basic Mode Tab ...
Page 660: ...Page top Page 660 of 949 pages Scanner Tab ...
Page 747: ...Page top Page 747 of 949 pages Printer Cannot be Registered ...
Page 761: ...Page top Page 761 of 949 pages Advanced settings ...
Page 780: ...Page top Page 780 of 949 pages If an Error Occurs ...
Page 823: ...Page top Page 823 of 949 pages Jammed Paper Is Not Removed out When Automatic Duplex Printing ...
Page 889: ...Page top Page 889 of 949 pages Using Easy PhotoPrint EX ...
Page 898: ...Page top Page 898 of 949 pages Canon IJ Network Tool Dialog Box ...
Page 917: ...Page top Page 917 of 949 pages How to Set a Network Key Network Password ...


