80
O
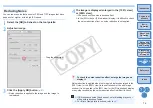
Checking the dust erased spots
After step 3, you can display and check in detail the erased dust spots
one by one by pressing the <F> key. (Press the <B> key to return to
the previous dust spot.)
O
Canceling a specified erased dust spot only
After step 3, you can press the <F> key or the <B> key to display the
erased dust spot, and then press the <delete> key to cancel only the
erased dust spot displayed.
O
Switch between full screen display/normal screen display using
shortcut keys
You can also switch between full screen display/normal screen
display by pressing the <
> + <F11> keys.
O
Applying the dust erasure result to another image
You can apply dust erasure to the same place in another image by
clicking the [Copy] button to copy the dust erasure results and then
displaying the other image to which you want to apply the results and
clicking the [Paste] button.
Useful functions of the copy stamp window
For a list of the copy stamp window functions, refer to
.
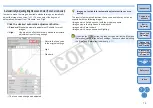
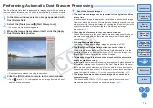
In the main window, you can also automatically erase dust spots in
multiple images appended with Dust Delete Data.
Select multiple images appended with Dust Delete
Data, and then select the [Adjustment] menu
[Apply Dust Delete Data].
¿
Dust spots in all the selected images are erased in a single
operation.
Automatic Dust Erasure Processing in the Main Window

