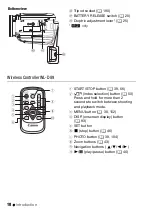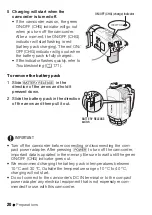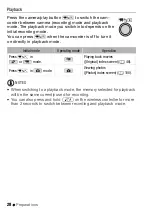
Preparations
31
First Time Settings
Setting the Date and Time
You will need to set the date and time of
the camcorder before you can start
using it. The [Date/Time] screen will
appear automatically when the cam-
corder’s clock is not set.
When the [Date/Time] screen appears,
the year will be selected.
1 Touch a field you want to change (year, month, day, hours or
minutes).
2 Touch [
Z
] or [
O
] to change the field as necessary.
3 Set the correct date and time by changing all the fields in the
same way.
4 Touch [Y.M.D], [M.D,Y] or [D.M.Y] to select the date format you
prefer.
5 Touch [24H] to use 24-hour clock or leave this control unchecked
to use 12-hour clock (AM/PM).
6 Touch [OK] to start the clock and close the setup screen.
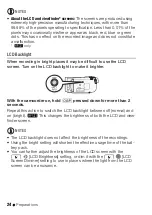
NOTES
• When you do not use the camcorder for about 3 months, the built-in
rechargeable lithium battery may discharge completely and the date
and time setting may be lost. In such case, recharge the built-in lithium
battery (
0
192) and set the time zone, date and time again.
• To change the date and time later on (not during the initial setup), open
the [Date/Time] screen from the setup menus:
* Only when performing the procedure in a recording mode.
[FUNC.]*
8
[MENU]
8
6
8
[Date/Time]
Summary of Contents for 4316B001
Page 1: ...PUB DIE 0346 001 HD Camcorder Instruction Manual Y ...
Page 7: ...7 ...


