B
3
4
D
C
5
E
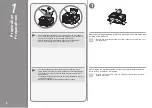
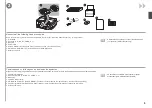
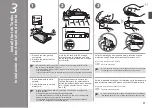
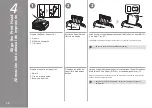
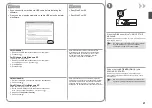
Introduzca firmemente el cable de alimentación en el conector situado a la
izquierda de la parte posterior del equipo y a la toma de corriente.
NO conecte el cable USB o Ethernet en este momento.
Asegúrese de que la cubierta de documentos (B) esté cerrada.
•
•
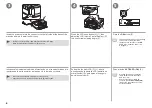
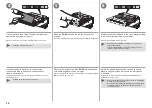
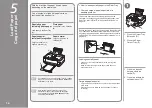
Pulse el botón Abrir LCD (C) (1), ajuste
a continuación la pantalla LCD (pantalla de
cristal líquido) (D) para obtener un ángulo
de visión cómodo (2).
El equipo puede producir algunos
ruidos durante el funcionamiento.
Esto es normal.
Una vez conectado el cable de
corriente, el botón
ACTIVADO (ON)
tarda unos 4 segundos en ponerse
en funcionamiento.
•
•
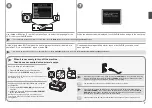
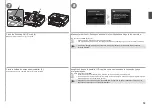
Pulse el botón
ACTIVADO (ON)
(E).
Insert the power cord into the connector on the left side at the back of the
machine and into the wall outlet firmly.
Do NOT connect the USB cable or Ethernet cable at this stage.
Make sure that the Document Cover (B) is closed.
•
•
Press the LCD open button (C) (1), then
adjust the LCD (Liquid Crystal Display) (D)
to a comfortable viewing angle (2).
The machine may make some operating
noises. This is normal operation.
It takes about 4 seconds for the
ON
button to work after the power cord
is plugged in.
•
•
Press the
ON
button (E).


