W-4
Installing the Software on Windows
●
Check that your PC complies with the system requirements for the software (A-8) on the
SOLUTION DISK as you follow the installation procedure.
●
For instructions for installing Photoshop Elements, refer to (W-8).
Correct Installation Procedure
●
Always install the software as described in the procedures below.
1
Start up your computer.
2
to
11
Install the software.
●
Never connect the camera to your computer before you have installed the
software. The software will not be installed correctly.
●
Connect the camera to your computer for the first time in step
14
.
12
Remove the CD.
13
Check the camera’s communication mode.
14
to
15
Complete the installation.
●
Once you connect the camera to your PC, installation is complete.
●
If you were unable to successfully install the software using the
procedure given in this guide, see “When You Have Problems with
Installation” (W-7).
●
If you connected the camera to your computer before installing the
software, see “Troubleshooting” (W-82).
1
Start up your computer.
●
Close any programs that are running.
2
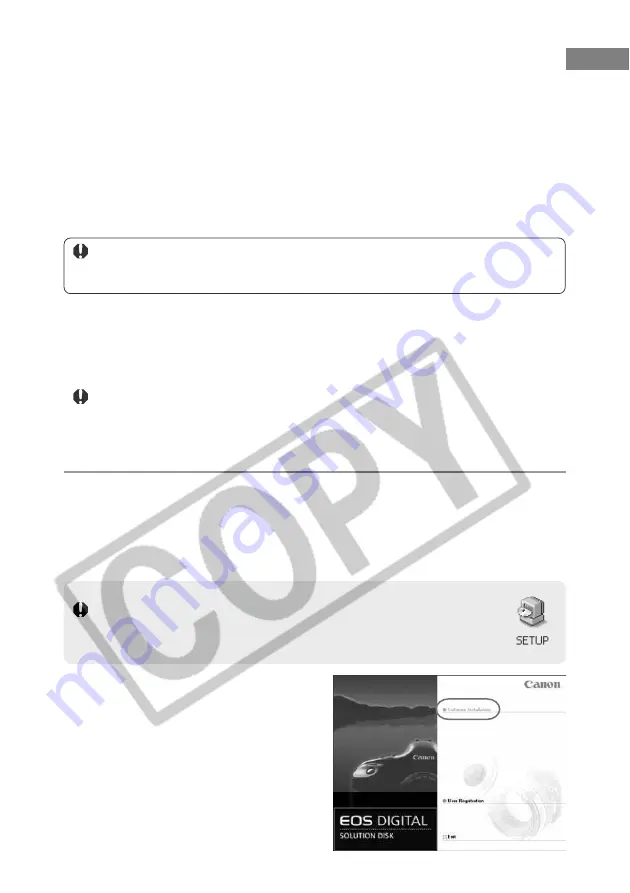
Insert the CD (EOS DIGITAL SOLUTION DISK).
\
The Installer panel appears.
If the Installer Panel Does Not Appear
Click the [Start] button
s
[My Computer]. (In other versions of Windows,
double-click [My Computer] on the desktop) Then right-click the CD-ROM
drive containing the CD, select [Open] from the menu that appears and
double-click the [SETUP] icon.
3
Click [Software Installation].
\
The [Preparing to Install] window is
displayed, and after a brief wait,
the [Welcome to the InstallShield
Wizard for Solution Disk] window is
displayed.


