


Summary of Contents for 9685A001AA - PowerShot G6 Digital Camera
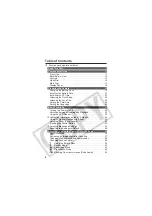
Page 4: ... iii ...
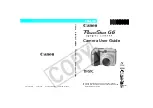
The Canon 9685A001AA - PowerShot G6 Digital Camera is a high-performance device perfect for amateur and professional photographers alike. Capture stunning photos with its 7.1 Megapixel resolution and enjoy advanced features. Easily access the free user manual and download it from 88.208.23.73:8080 to unlock the full potential of this exceptional camera.
Page 4: ... iii ...


