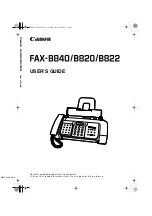
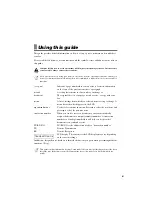
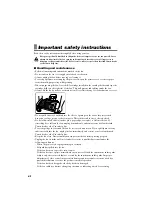
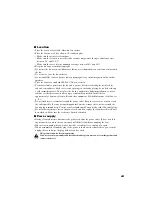
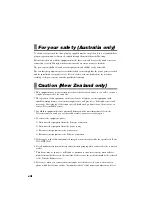
Canon B820, User Manual
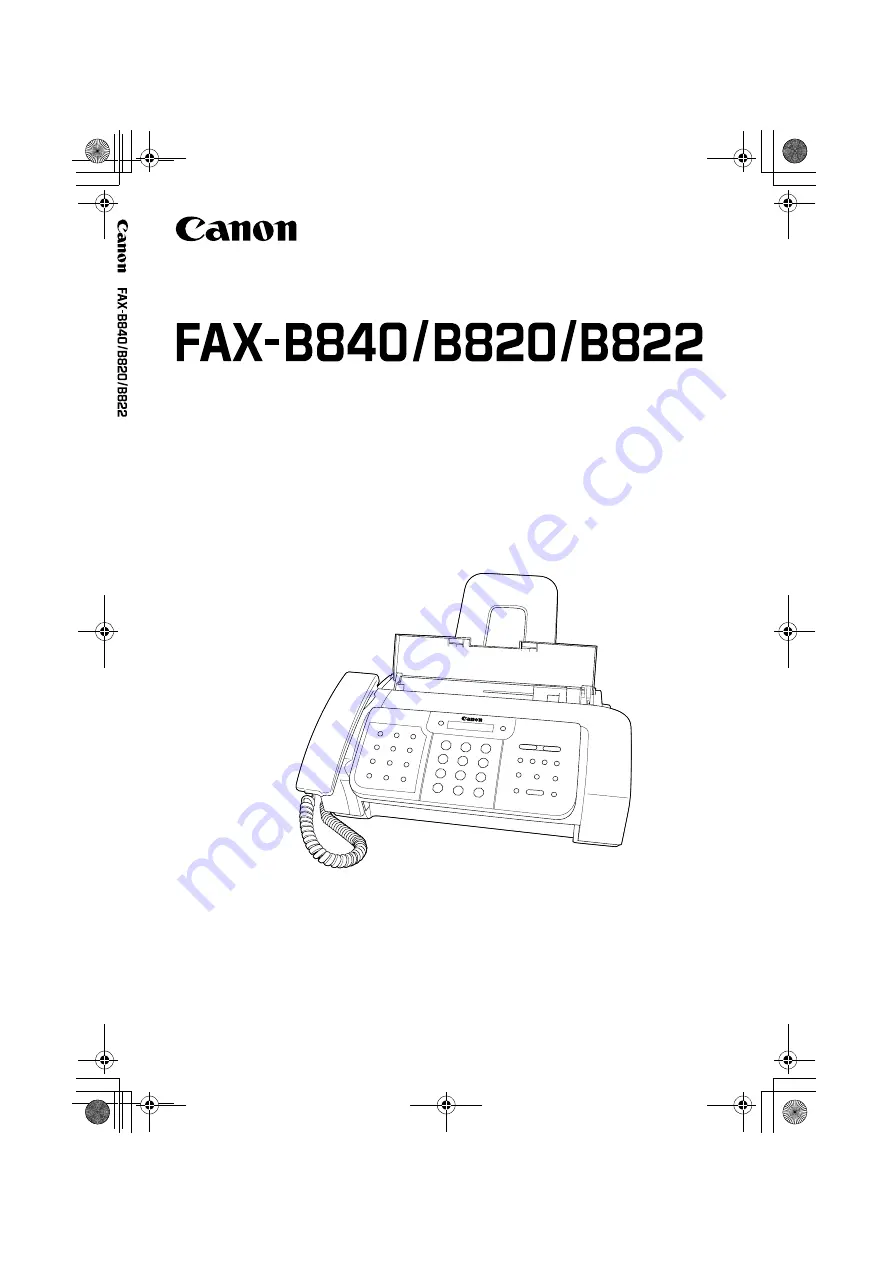
The Canon B820 is a feature-packed printer designed for professional printing needs. With its sleek design and user-friendly interface, this high-quality printer is perfect for both personal and office use. You can easily set up and operate the Canon B820 by referring to the free user manual available for download at 88.208.23.73:8080.
Share
Download
Reviews:
No comments
Related manuals for B820

FAXPHONE L190
Brand: Canon Pages: 28

FAXPHONE L190
Brand: Canon Pages: 100

FAXPHONE L80
Brand: Canon Pages: 124

FAXPHONE L80
Brand: Canon Pages: 203

FAXPHONE L100
Brand: Canon Pages: 28

MultiPASS L6000
Brand: Canon Pages: 39

MultiPASS 800
Brand: Canon Pages: 103

FAX-L280
Brand: Canon Pages: 24

MultiPASS C3500
Brand: Canon Pages: 47

PIXMA MX882 Series
Brand: Canon Pages: 80

FAX-L280
Brand: Canon Pages: 212

SmartBase PC1270D
Brand: Canon Pages: 88

FAX-B155
Brand: Canon Pages: 115

610
Brand: OKIFAX Pages: 147

C3000
Brand: Xerox Pages: 298

7042
Brand: Xerox Pages: 182

DP-180
Brand: Panasonic Pages: 65

Panafax UF-8000
Brand: Panasonic Pages: 187


