54
Using the Printer With Your Software
Chapter 4
Printer Setup Within Windows
After you install the Canon BJC-70 printer driver, you can run the
Windows Setup program to change the printer settings.
You can access the Setup program from the Printers dialog box in the
Control Panel, or you can select the Print Setup option that is available
from the File menu of most applications that run in Windows.
N
If the Print Setup option does not appear in the File menu for your
application, refer to the user’s manual supplied with the application. It
should provide information about changing the printer setup parameters.
To configure your BJC-70 printer driver, follow these steps:
1.
Start the application you want to use in the Windows environment.
2.
Open the document you want to print.
3.
Choose Print Setup from the File menu. The Select Printer dialog box
appears.
4.
Click once on the Canon BJC-70 printer name to select it.
5.
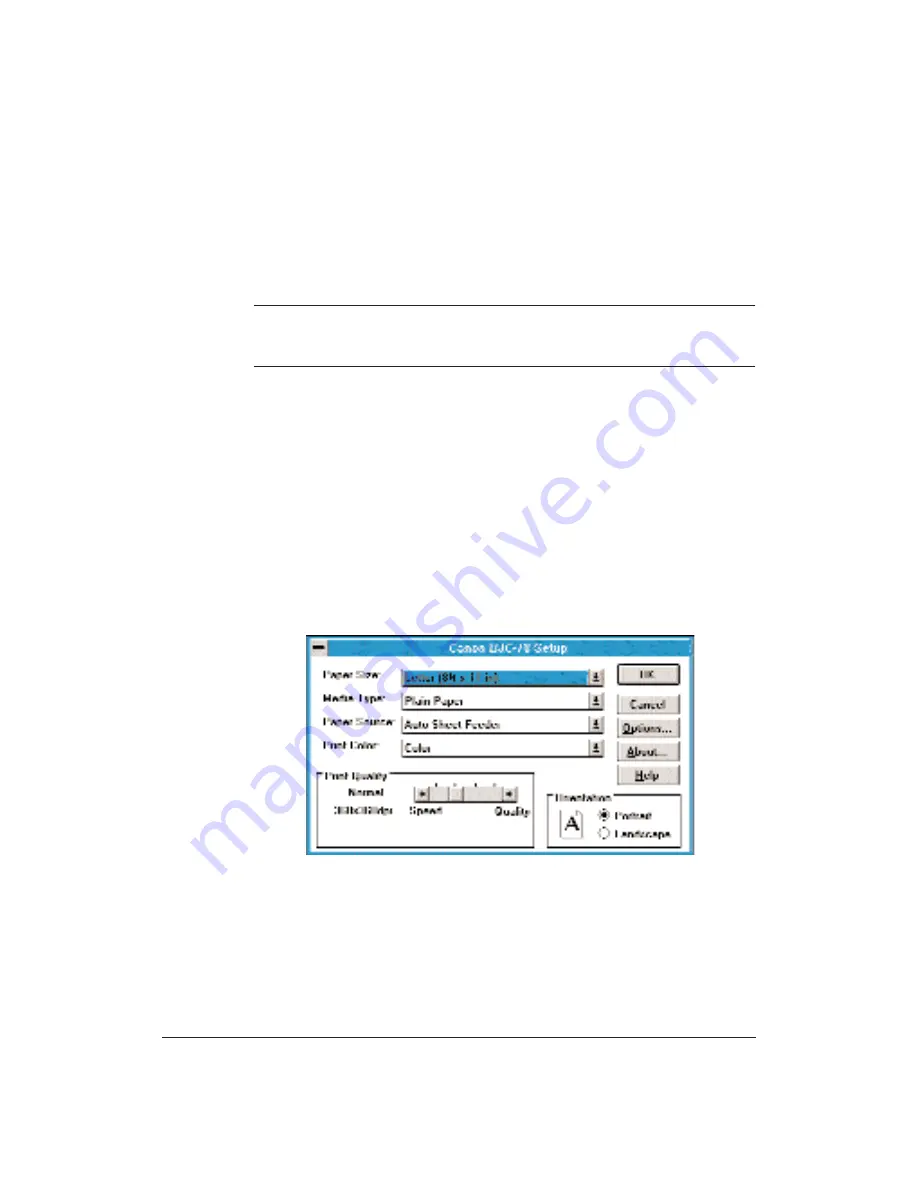
Click on the Setup button. Windows displays the Canon BJC-70 Setup
dialog box:
From this screen, you can select the Paper Size, Media Type, Paper
Source, Print Color, Print Quality, and Orientation for your print job.
You can use these options in any combination. See the next section for
more detailed information about the options.
6.
Once you select the options you want to use, click on the OK button to
close the Canon BJC-70 Setup dialog box, and then click on the OK
button to close the Print Setup dialog box.
Summary of Contents for BJC-70
Page 5: ...vi ...
Page 94: ...84 Using the Color Advisor Chapter 5 ...
Page 156: ...146 Troubleshooting Chapter 8 ...
Page 168: ...158 Customizing the Printer Chapter 9 ...
Page 188: ...178 Specifications Appendix A ...
Page 200: ...190 Application Notes Appendix B ...
Page 212: ...202 Glossary ...


