


7
7
7-18
7-18
Installation > Installation Procedure > Connecting with the Paper Folding Unit
Installation > Installation Procedure > Connecting with the Paper Folding Unit
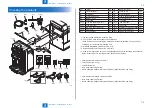
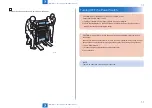
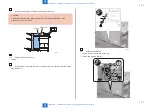
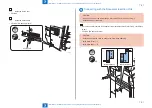
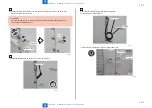
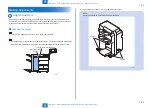
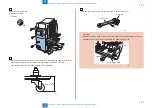
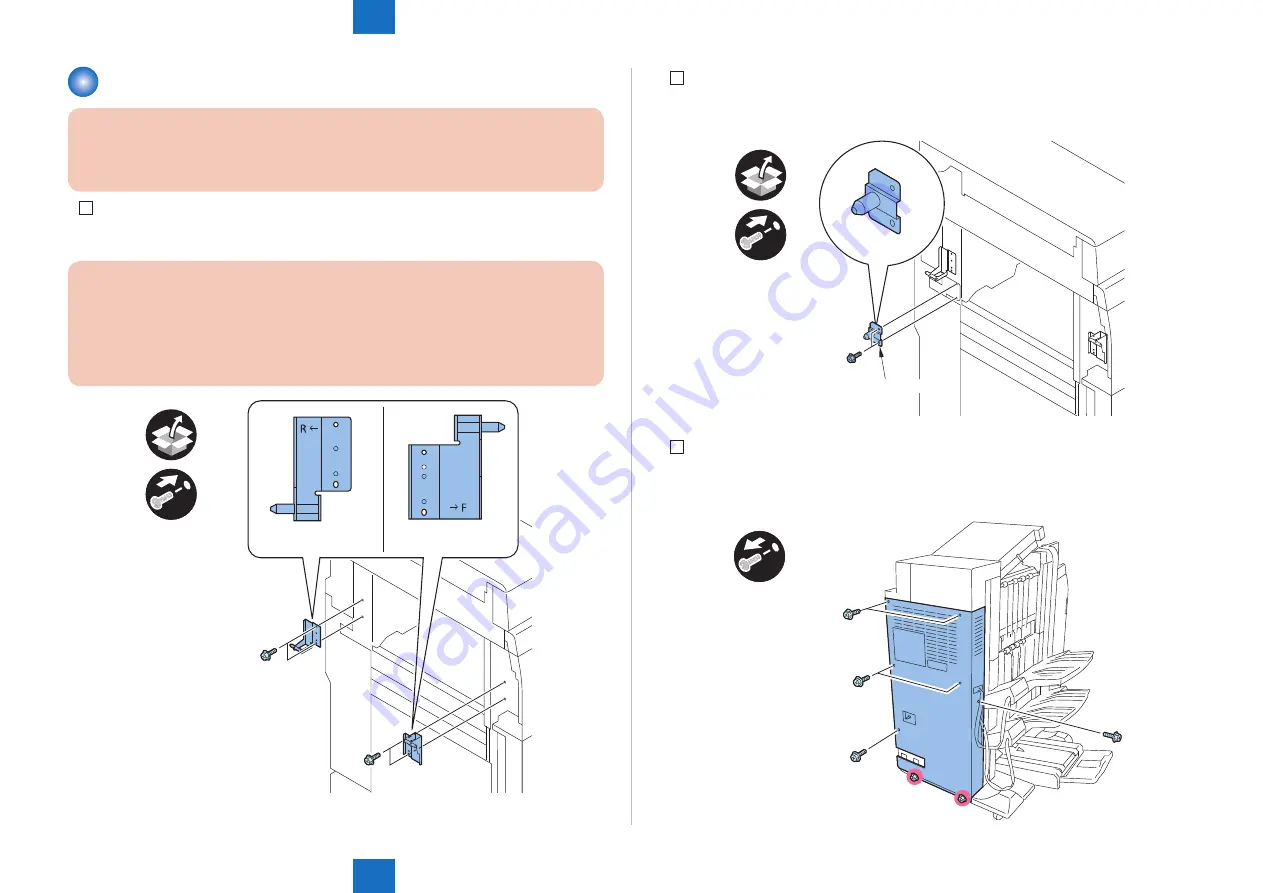
Connecting with the Paper Folding Unit
CAUTION:
Be sure the power of the Host Machine is turned OFF and the Power Plug is
disconnected from the outlet.
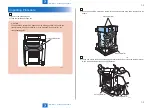
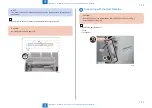
1) On the Paper Folding Unit's upper left side, install the Latch Plate (Front) Latch Plate (Rear).
• 4 Screws (RS tighting; M4x10)
CAUTION:
Confirm the engraved mark on each Latch Plate when attaching.
Latch Plate (Front) : F
Latch Plate (Rear) : R
Latch Plate(Front)
Latch Plate(Rear)
x4
F-7-42
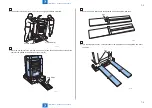
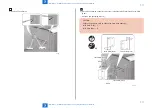
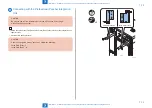
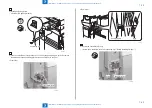
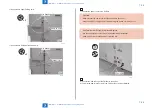
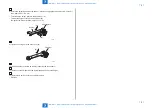
2) Fit the positioning pin.
• 2 Screws (RS tightening; M4x10)
x2
Positoning Pin
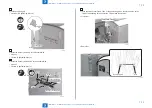
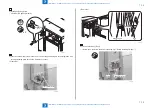
3) Remove the Rear Cover.
• 2 Screws (Loosen)
• 6 Screws
x6
F-7-43
F-7-44
Summary of Contents for Booklet Finisher-D1
Page 12: ... Notes Before Servicing Points to Note at Cleaning Safety Precautions ...
Page 14: ...1 1 Product Outline Product Outline Product Specifications Names of Parts ...
Page 60: ...3 3 Periodic Servicing Periodic Servicing User Maintenance Maintenance and Inspection ...
Page 315: ...6 6 Troubleshooting Troubleshooting Upgrading ...
Page 357: ... Service Tools Solvents and Oils List of Signals General Circuit Diagram Appendix ...