7. Daily Inspection and Maintenance
-50-
5
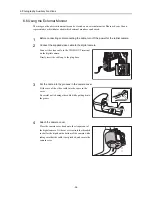
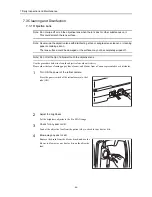
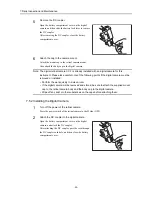
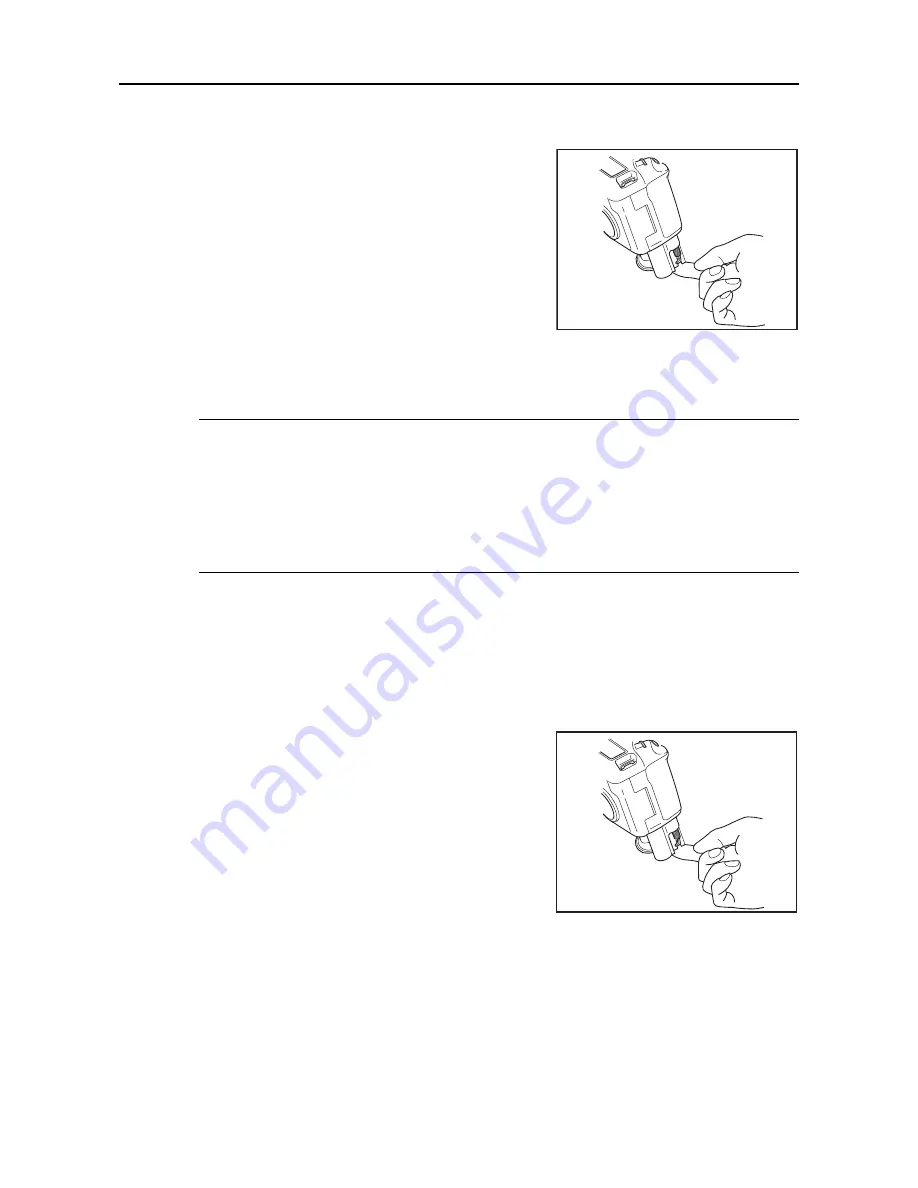
Remove the DC coupler.
Open the battery compartment cover on the digital
camera, and then slide the battery lock lever to remove
the DC coupler.
After removing the DC coupler, close the battery
compartment cover.
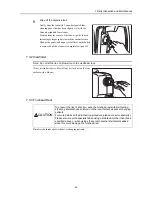
6
Attach the cap to the camera mount.
Attach the mount cap to the retinal camera mount.
Also attach the body cap to the digital camera.
Note: The digital retinal camera CX-1 is already installed with an digital camera for this
instrument. Please take careful note of the following points if the digital camera must be
removed or installed.
• Perform the work quickly in a clean room.
• If the digital camera will be removed and stored, be sure to attach the supplied mount
cap to the retinal camera body and the body cap to the digital camera.
• Wipe off any dust or other substances on the caps before attaching them.
7.5.2 Installing the Digital Camera
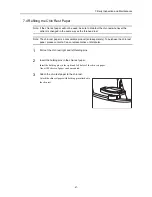
1
Turn off the power of the retinal camera.
Press the power switch of the retinal camera to the
O
side (OFF).
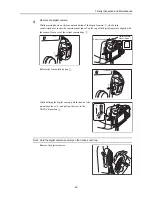
2
Attach the DC coupler to the digital camera.
Open the battery compartment cover on the digital
camera, and attach the DC coupler.
After attaching the DC coupler, pass the cord through
the DC coupler cord hole, and then close the battery
compartment cover.

